Muscle cars are all about nostalgia, noise, eyeball and tire smoke. Enjoying one to its fullest means driving it — sometimes flat-out.
In today’s market, date-coded original muscle car components, such as rear-axle assemblies, are valuable assets at sale time — especially with documentation to prove their originality. As such, cracking into one that’s otherwise original for a gear swap and internal upgrade to suit a long-distance road trip or summer of grudge racing is a hard call to make. But those high-strung 4.11s take the fun out of highway cruising, factory 3.08s won’t win you any drag races, and 100,000 miles on bearings, races and seals will make you think twice before leaning on that throttle. In those cases, valuable original parts can stop you from using your muscle car the way you’d like to use it.
What if you could pull your original axle, set it aside to preserve its integrity and originality, and bolt in a strong, new unit? One that’s visibly indistinguishable from an original and set up by experts specifically for your current needs? What if you had a lesser unit originally and want to upgrade without having to hunt down a list of elusive and prized original parts?
Moser Engineering, a maker of high-performance rear-axle components, has the solution. Just like a crate engine or transmission, Moser’s Muscle Pak axle is a ready-to-run assembled third-member. It’s built using all-new components, including brakes, and is available in a variety of styles, including 9-inch Ford, Mopar 8¾, Dana 60, M88 and the 12-bolt. It’s offered for a range of makes and models, is designed and manufactured in the United States, and assembled using stronger-than-stock internal components at Moser’s shop in Portland, IN.
It’s just the thing to take whatever punishment — or open highway speeds — you have in mind for your muscle car. If your original engine and transmission are already stored away in favor of crate parts, this is just the ticket for you.
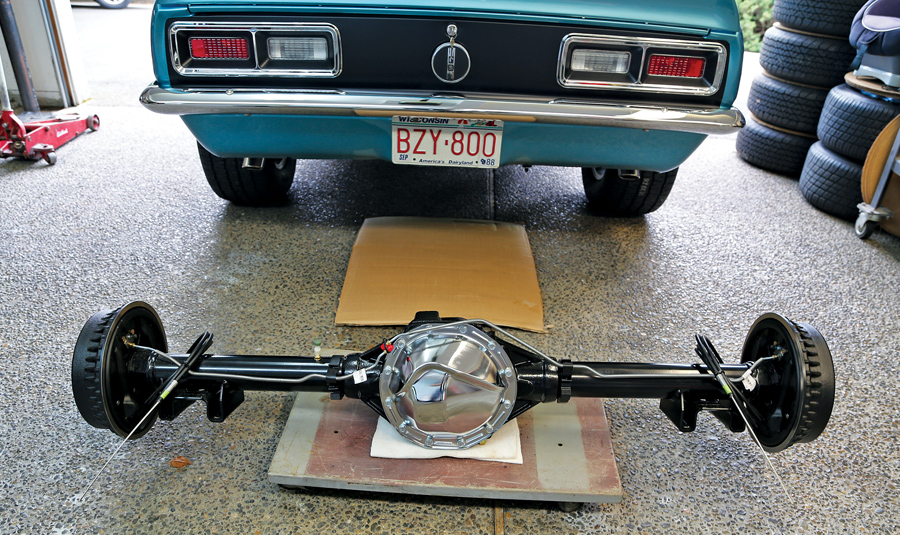
We ordered a Moser Muscle Pak 12-bolt Chevrolet-style axle assembly from Summit Racing to upgrade a 1968 Camaro’s original 10-bolt assembly, along with a new set of OER multi-leaf rear springs, to show how easy this job is. Here’s how it all worked:
Summit Racing Parts List
(www.summitracing.com)
P/N MSR-Custom Moser 12-bolt Chevrolet rear axle assembly, complete, $3,387.99
P/N OER-RL5 5-leaf rear springs, $109.99 each (2)
P/N OER-RL8 Leaf-spring pads, $7.99 each (4)
P/N LUC-10043-1 Lucas heavy-duty gear oil, 80W90, $7.99 each (2)
P/N ADO-10-4003 GM friction modifier, 4 oz., $9.99
Other Parts
Custom U-bolts, ½-inch round stock, 3-inch bend radius, 7-inch length, with nuts and washers, $45
Prestone brake fluid, 32 oz., $7.99
Time spent: Eight hours
Difficulty: 3/5
-
-
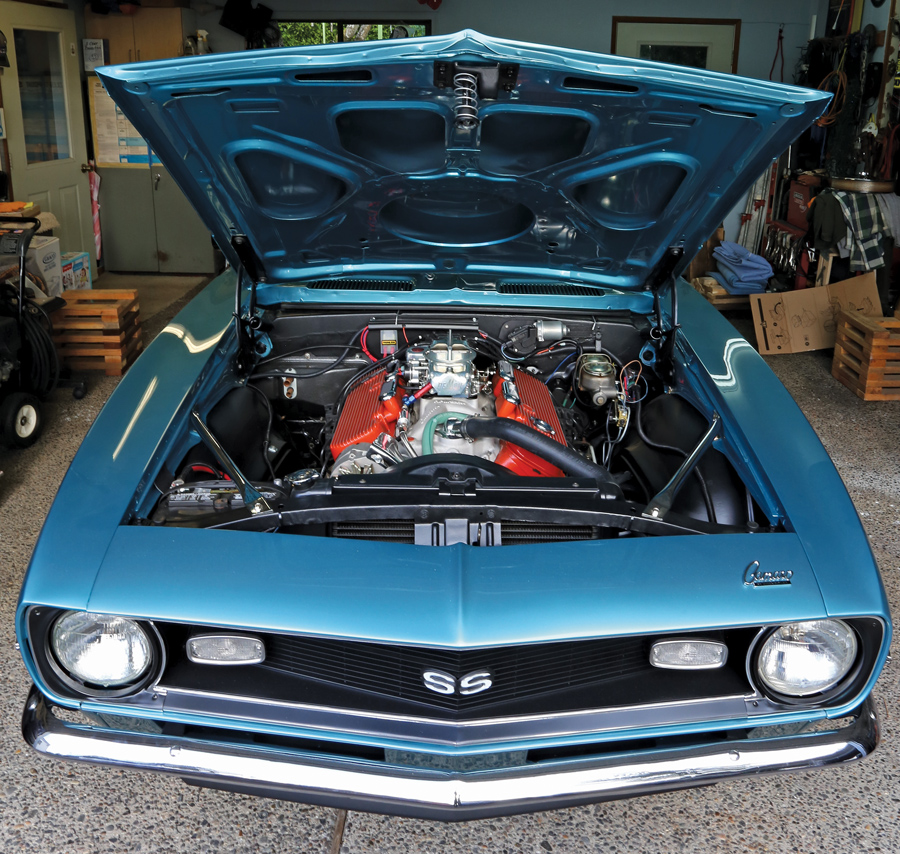
Our 1968 Camaro started life as a small-block car with mono-leaf rear suspension and a 3.08-geared 10-bolt rear axle. In restoration, it gained a 396 engine — so an upgrade to a stronger 12-bolt rear and a multi-leaf spring setup, like the factory SS 396 cars had, was in order. -
The Moser Muscle Pak 12-bolt uses a brand-new cast housing, new axle tubes, and 30-spline bolt-in axles, which eliminate the factory 12-bolt’s one weak point: C-clip axle retainers. The Moser unit also has all-new Timken bearings, studs, seals, retainer plates, housing ends, Eaton Positraction, 1310-style pinion yoke, ring and pinion, chrome cover, brakes, brake lines, clamps, and parking-brake cables — and it ships completely assembled. We picked a 3.73 ratio for street performance, but ratios are available ranging from 3.08 to 5.86. We also chose stock-style drum brakes and also elected to have ours powder-coated in semi-gloss black prior to assembly. -
Getting the car up high enough to work under it is key, as is making sure it’s supported safely — but you don’t need a lift or fancy shop to do it. We used fabricated hardwood cribbing blocks for weight distribution and stability, alongside a set of steel jack stands for redundancy, as we knew we’d be wiggling this car around a lot during this install. Always use overkill methods when lifting cars for chassis work — especially when you’ll be jostling and aligning heavy components. -
With the car supported, the rear suspension could hang unloaded. Once the wheels were removed and out of the way, the lower shock mounts were the first thing to come off — sliding a jack under the rear axle and lifting it up slightly made this job easier. -
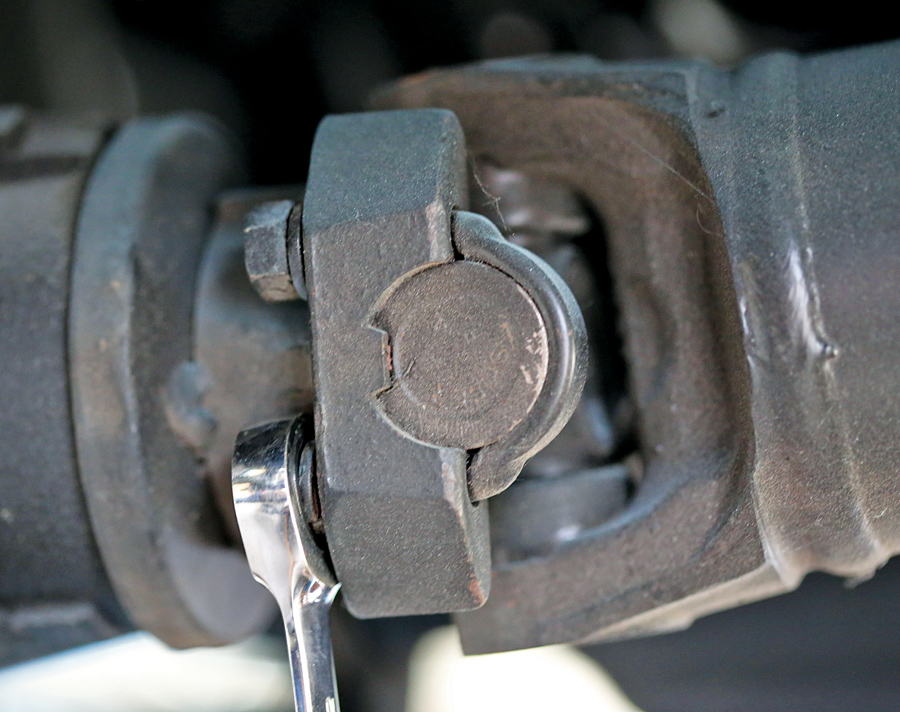
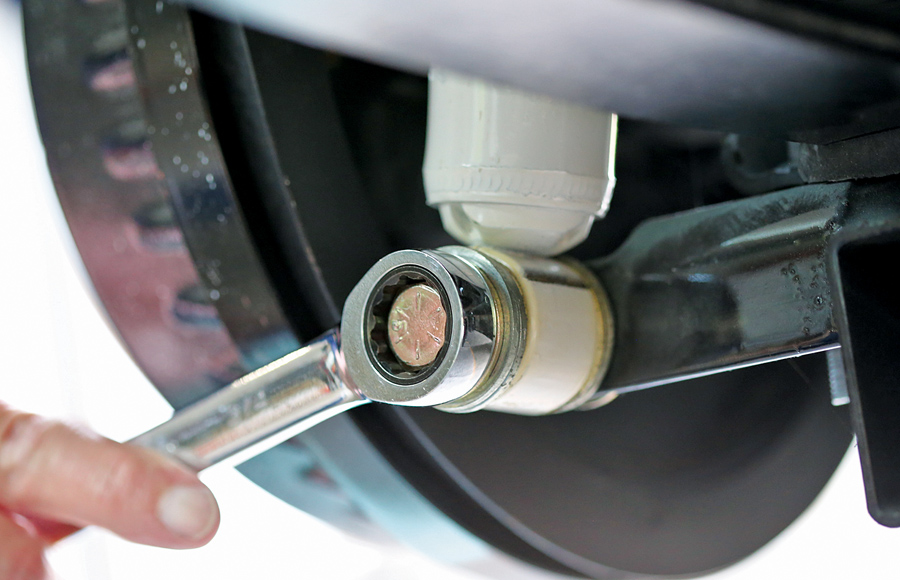
Next up was the driveshaft, which was fixed to the 10-bolt with four ½-inch nuts. This is a 1310-style joint, which is the same unit as on the new axle — meaning the U-joint can be reused if it’s still in good shape. Once it was loose, a strip of tape wrapped around the joint kept the caps in place. We then pulled the shaft and set it aside. -

The new axle comes with brake lines already plumbed to this location, so it was the obvious place to disconnect the original brake line — with a drain pan handy. We also removed the bolt holding this bracket to the rear axle cover. This was also a good time to disconnect the factory parking-brake cable under the car. -
Since we were replacing both the springs and the rear axle, we pulled it all out as one unit — six bolts in front hold the right and left spring bracket to the unibody, along with two shackle bolts per side in the rear. With the axle supported by the jack, we removed all six 9/16-inch front spring bracket bolts. We then dropped the jack slightly to pivot the axle and spring assembly forward and down, which gave better access to the 11/16-inch rear shackle bolts. We then removed those as well. -

With the bolts removed, the axle could drop all the way down and slide out from under the car on top of the floor jack. We then removed the springs from the axle for easier storage and pulled the rest of the front- and rear-mounting hardware for inspection and reuse with the new setup. -
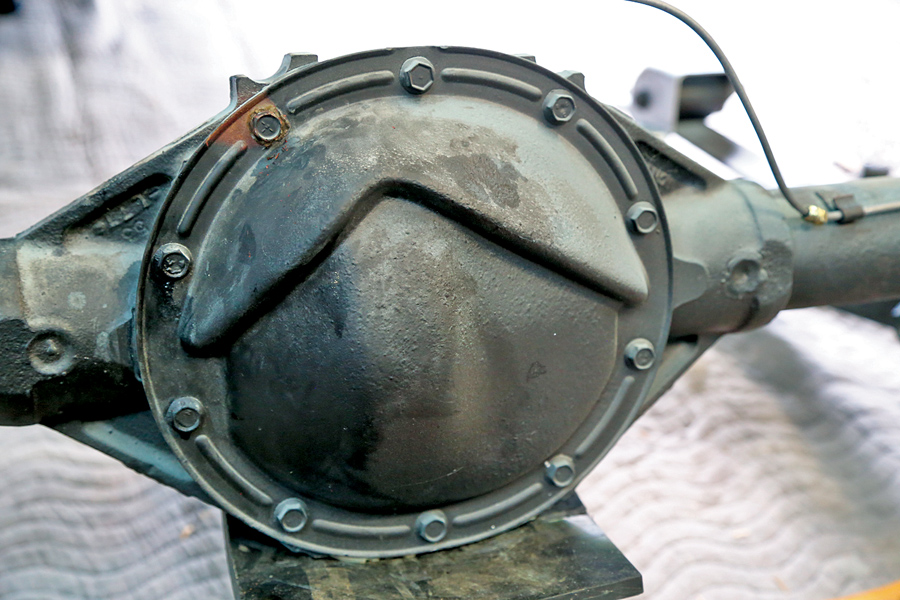
The most obvious difference between a Chevrolet 10-bolt and the 12-bolt is the bolt count on the rear cover. While you can just count to know which rear axle assembly you have, the nomenclature actually refers to the number of bolts that hold the ring gear to the carrier, which is internal. This 10-bolt’s carrier is 8.2 inches in diameter, while the beefier 12-bolt’s is 8.875 inches. 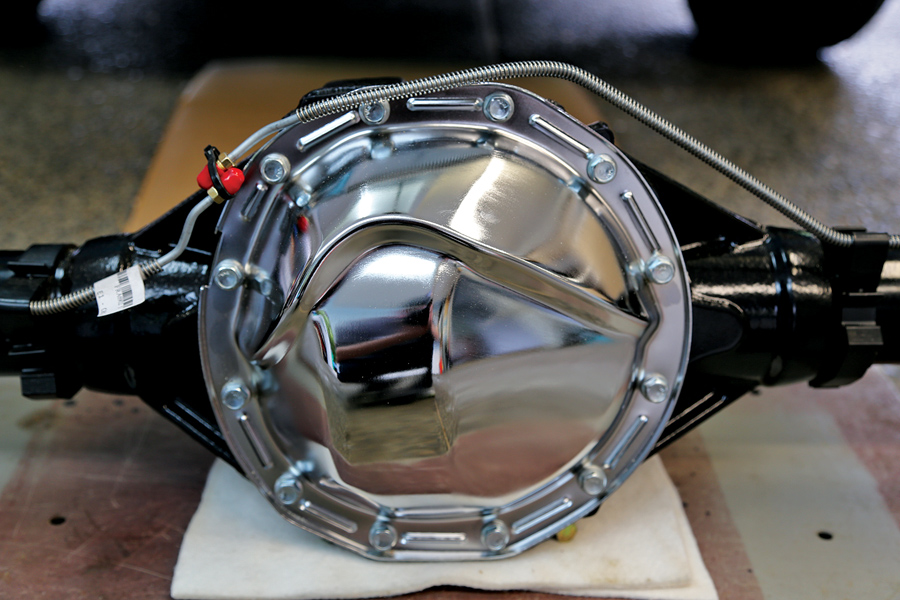
-
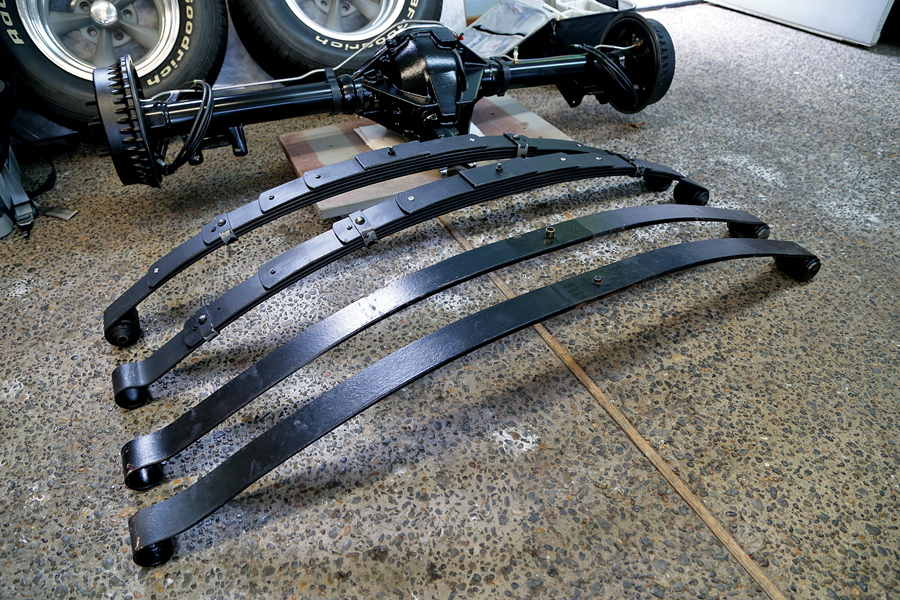
Small-block 10-bolt-equipped Camaros came from the factory with mono-leaf rear springs in 1968. Big-block and Z/28 cars had multi-leaf rear springs from new, which is why we elected to upgrade with OER’s P/N RL5 reproduction springs — units with the same specs as those original big-block units. Summit Racing had ours in stock. Here they are (rear), compared with the mono-leaf units (front). The rear axle needs to have the proper perches welded to it to match the spring style — Moser supplied our axle for use with multis. -
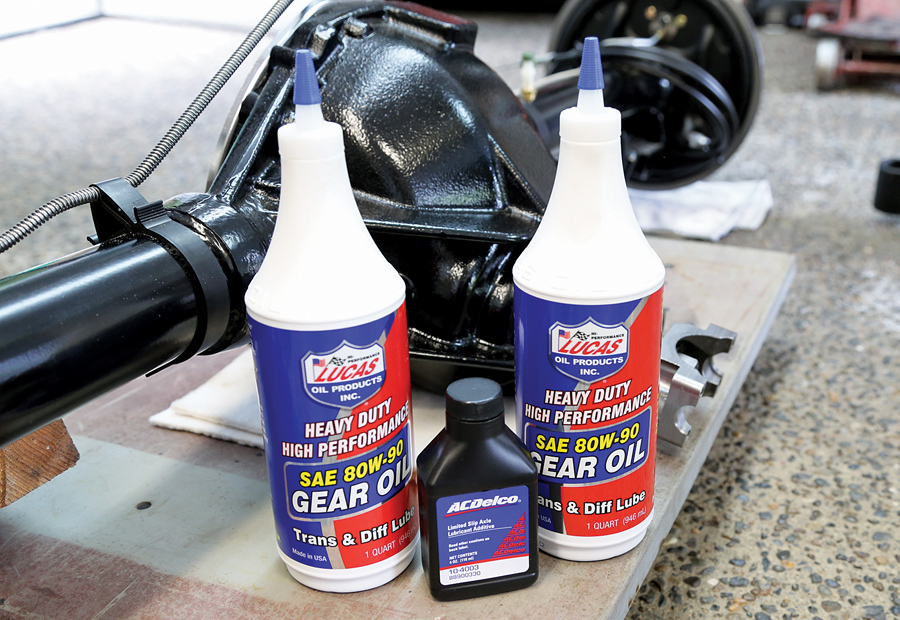
With the old axle out of the way, it was time to prep the 12-bolt for installation. It ships without oil from Moser. The new Eaton Positraction unit works best with mineral-based gear oil, so we ordered some 80W90 Lucas Oil to fill it. I’ve also had the best luck using GM’s own friction modifier for clutch-type Positraction units — Summit Racing has both. -
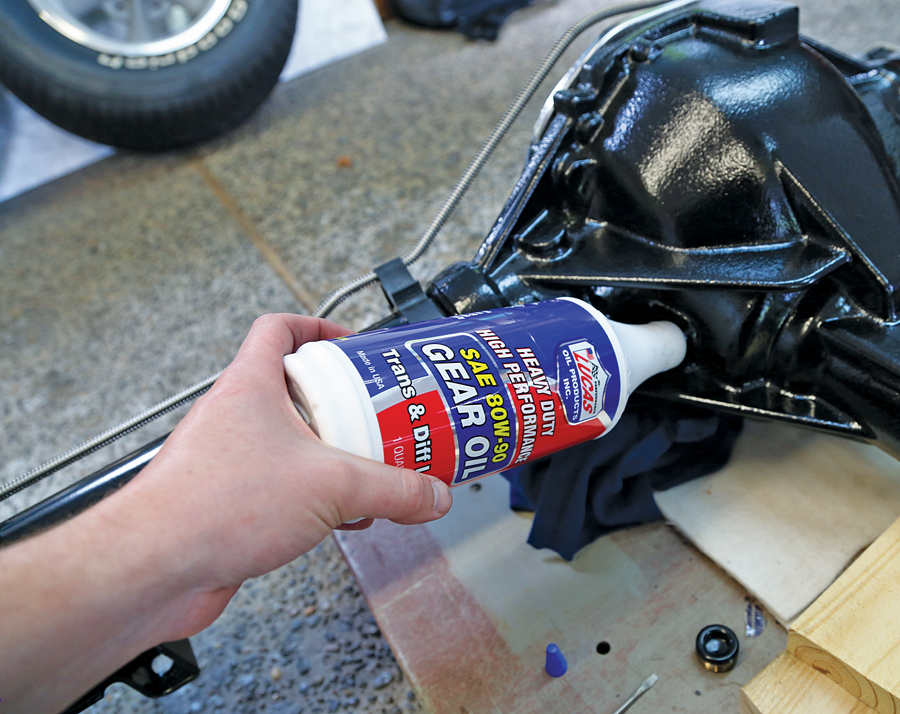
Filling the axle was simple — we removed the plug in the side of the housing and added oil until the fluid level came up to the bottom of the fill hole. We then reinstalled the plug. I find it’s best to add one quart, then the friction modifier, and then fill the rest of the way. -
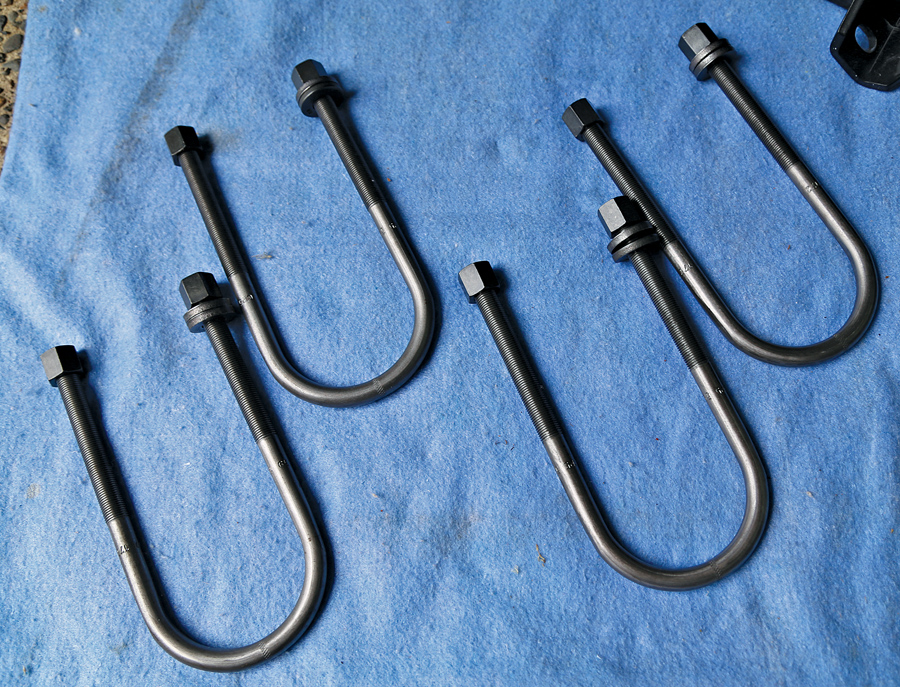
It’s smartest and safest to replace suspension U-bolts rather than reuse them. They aren’t expensive and can be sourced at any spring shop. We had four made for us locally while we waited — and we were able to get exactly the length we wanted, too. A quick cleaning and paint job made them ready for installation. -

The rear springs mount to the axle using factory-style rubber pads. These also came from OER via Summit Racing — they’re just like the originals, complete with rubber nubs to center them on the spring and spring perch. -
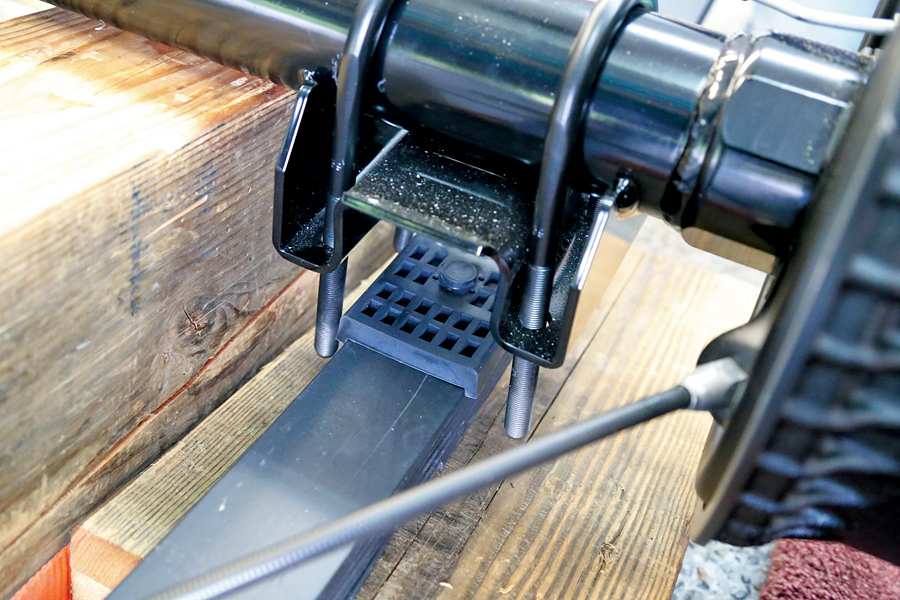
Assembling the spring, axle, aftermarket traction bar (which for us replaced the stock lower spring plate) and the rubber pads took a bunch of hands, but it was straightforward — we simply aligned the pads, sandwiched between the spring and the axle and traction bar, and then snugged up the U-bolts. The alignment service was handled via a bolt that passed through the spring and lined up with a hole in the spring perch on the axle and a hole in the traction bar underneath, all of which was isolated with the two rubber pads. We then repeated this on the other side. -
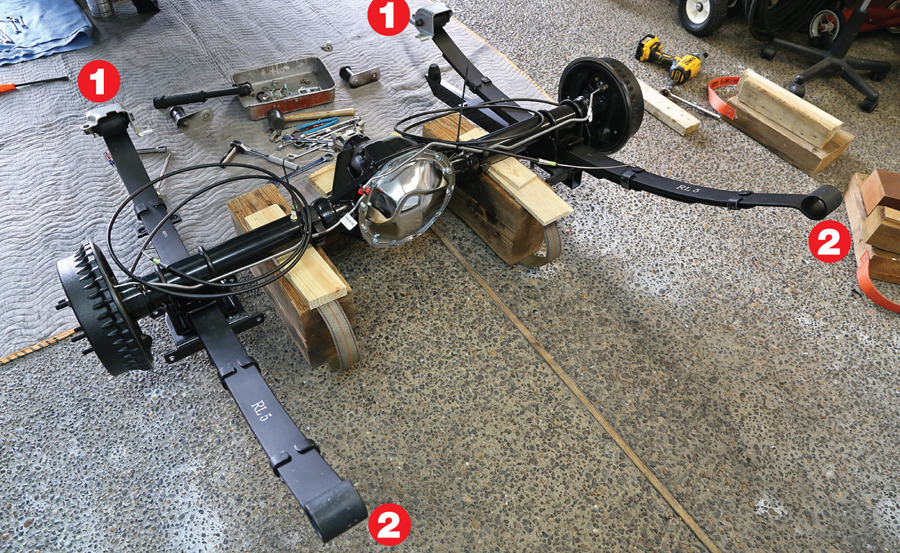
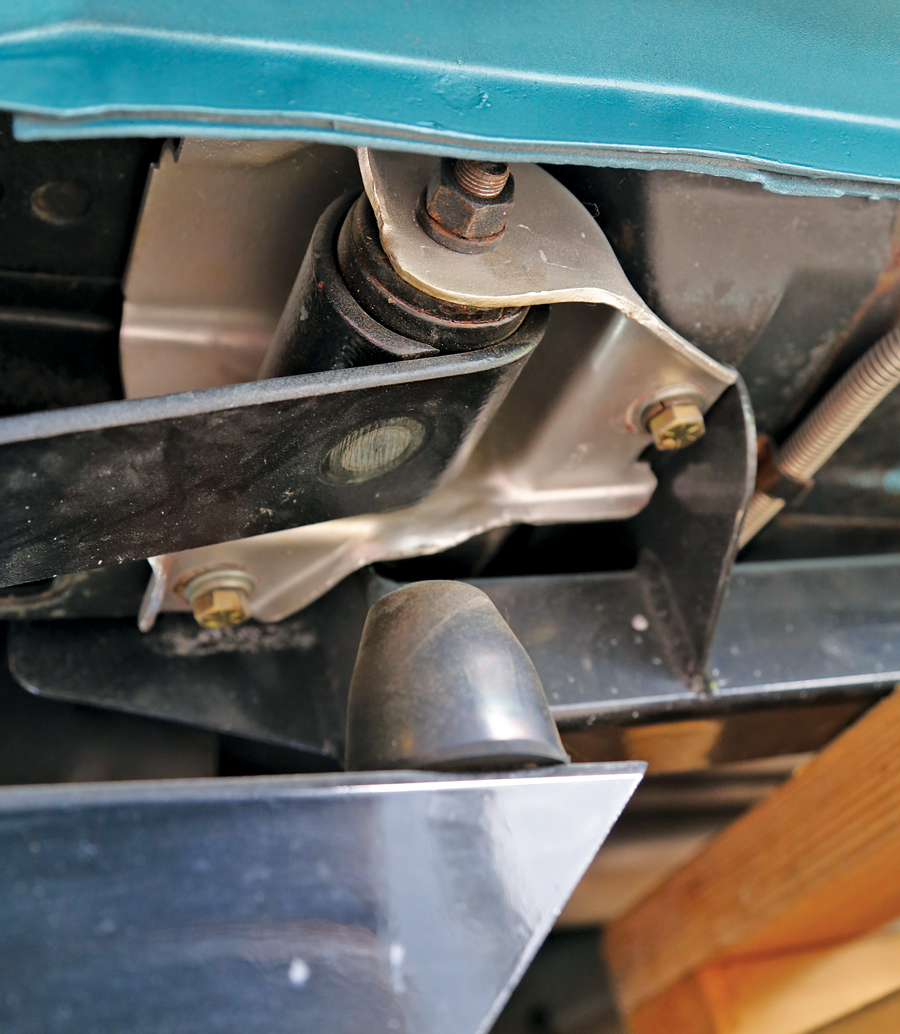
With the springs fitted to the axle, the last components to install were the front spring brackets (1) and the rear spring bushings (2). The brackets slide over the front spring bushings and were held in place with ¾-inch bolts. The bolt heads sit toward the inside of the car, with the nuts on the outside. The rear bushings and shackles simply push into place, fixed to the car with two 11/16-inch nuts and bolts per side. -
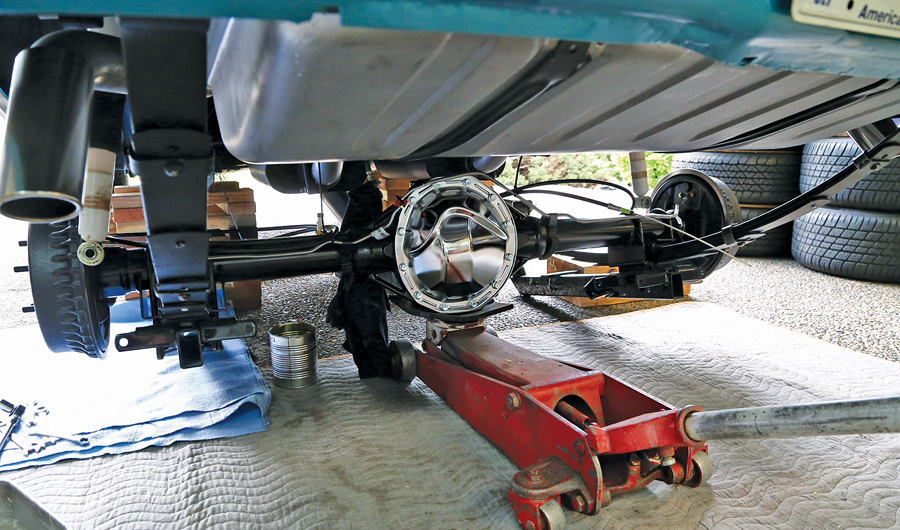
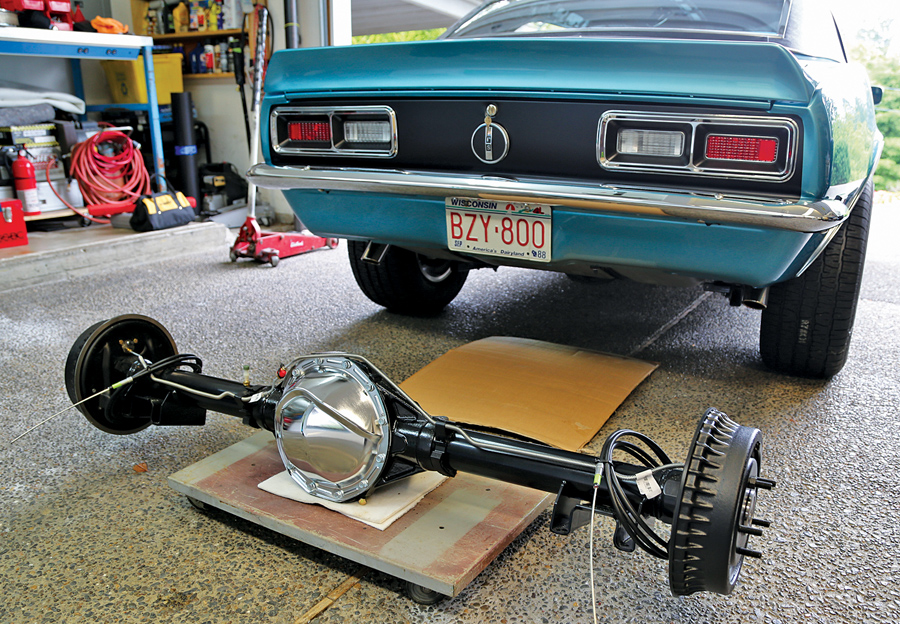
With the 12-bolt axle placed on the jack, we slowly rolled it in from the back of the car, roughly centered it, and raised it into position — carefully balancing it and watching alignment on the way up. -
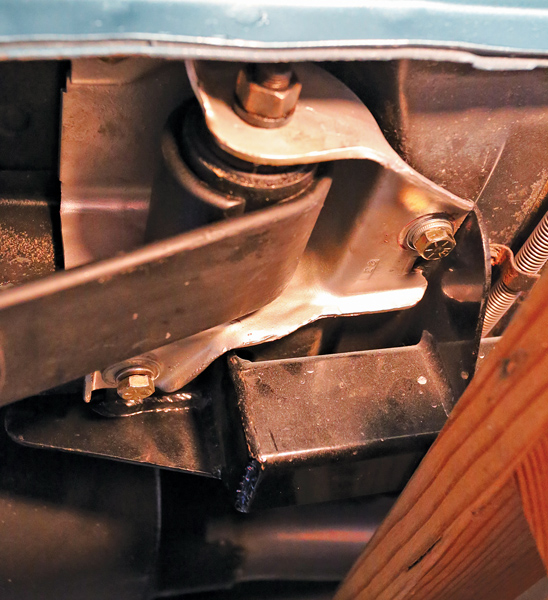
The three bolts per side that hold the front spring brackets to the car were a real challenge to align and install — mainly because those bolts needed to pass through holes in a set of aftermarket subframe connectors that didn’t line up perfectly. Also, the nuts that these bolts thread into inside the body are spring-clip J-nuts that can move around slightly, which caused trouble. Patience, lineup tools, and a good flashlight were key for us, along with a torque wrench set to 30 ft-lb. -
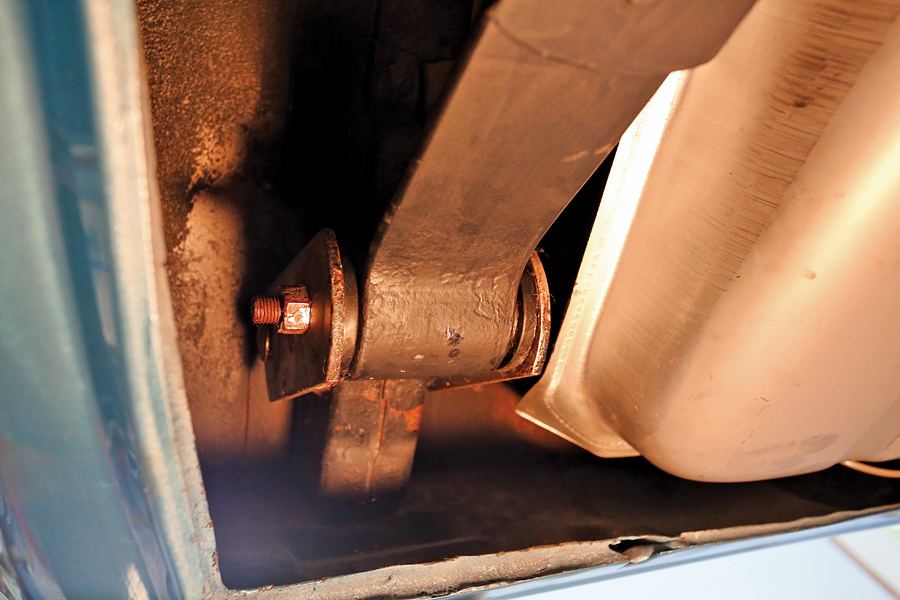
With the front spring brackets bolted in place, we reinstalled the rear bushings and shackles and tightened the nuts using an 11/16-inch ratcheting gear wrench — a normal ratchet didn’t fit up inside the body, and neither would a torque wrench. -
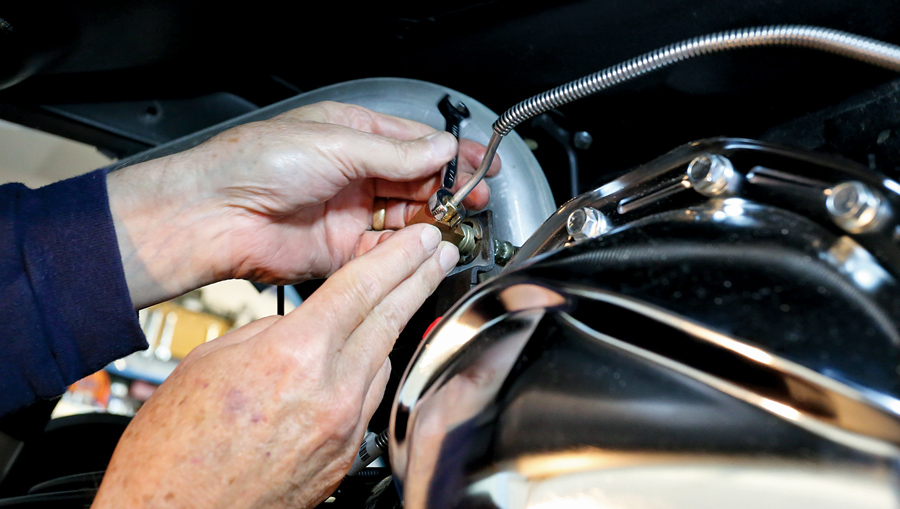
With the axle now bolted up in the car, it was time to reconnect the brake hydraulic hoses — this was as simple as threading the new brake lines into the junction block already in the car. We also affixed the bracket to one of the axle cover’s bolts. -
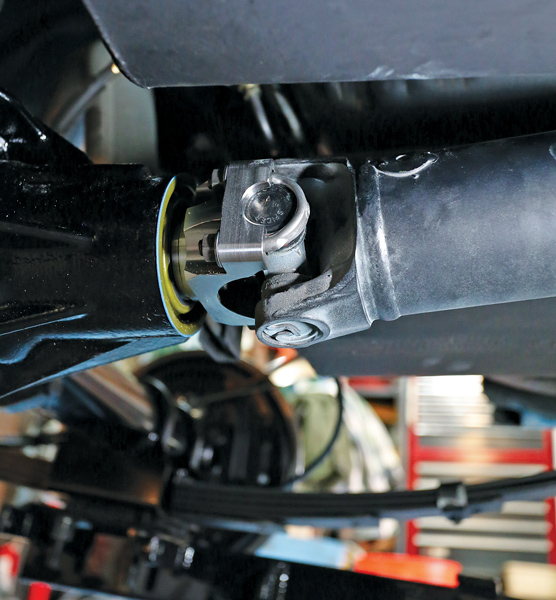
The driveshaft slid right back into place in the transmission and lined up perfectly in the machined 1310 yoke of the Muscle Pak. New U-bolts and nuts were part of the package. -
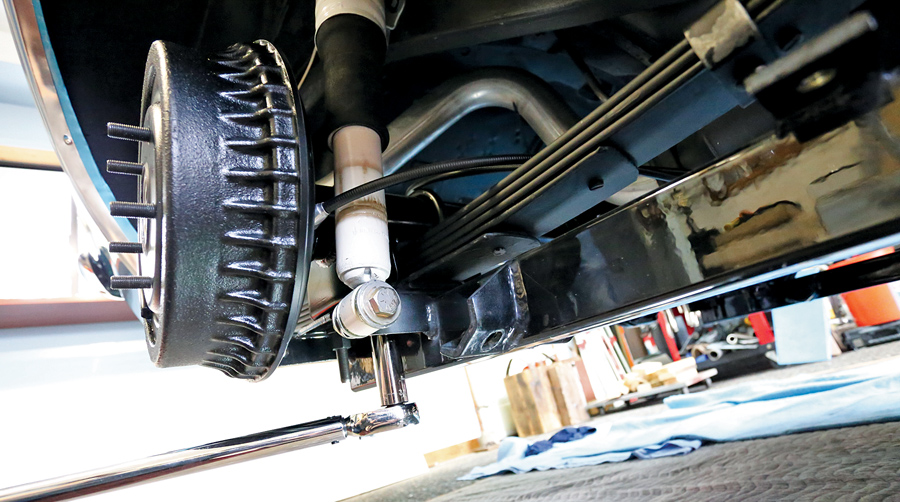
After reinstalling the shocks using our original hardware, we finally torqued the rear axle’s U-bolts to 70 ft-lb. -

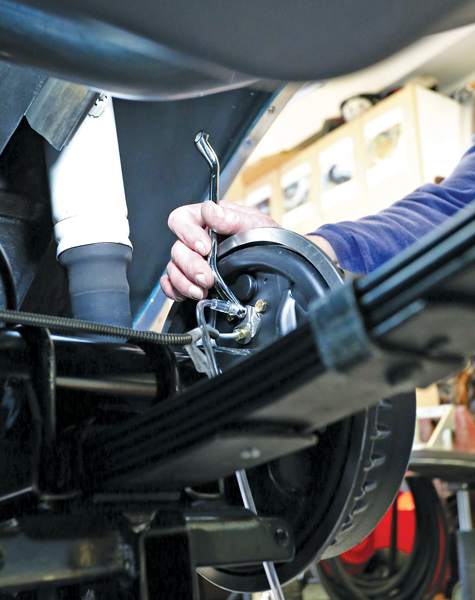
Bleeding the new brakes was quick and easy — a little Prestone brake fluid to top things off got us started, and then we went to the passenger’s side rear and started there. One person in the car pumped up the brake pedal and held it while another cracked the bleeder valve to release the pressure in the line, then closed it before telling the driver to release the pedal. We then repeated until all the bubbles were gone from both sides. Note the clear rubber hose to contain the mess and show the bubbles.
-
-
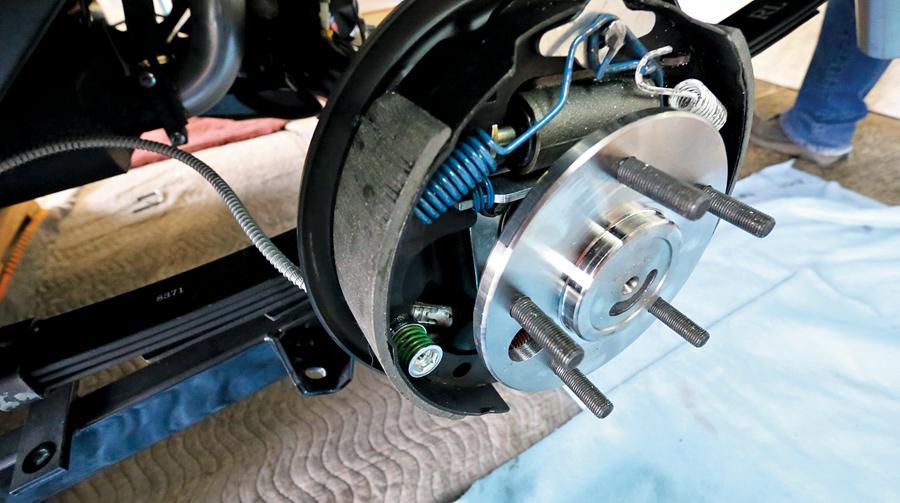
The Muscle Pak came complete with a set of Lokar universal parking-brake cables, which were nice but would have required other modifications elsewhere in the car. Since the all-new brakes on the Muscle Pak were identical to our stock Camaro drum brakes on the 10-bolt rear, we simply installed our factory parking-brake cables in the new housing and reused the factory setup under and in the car. -

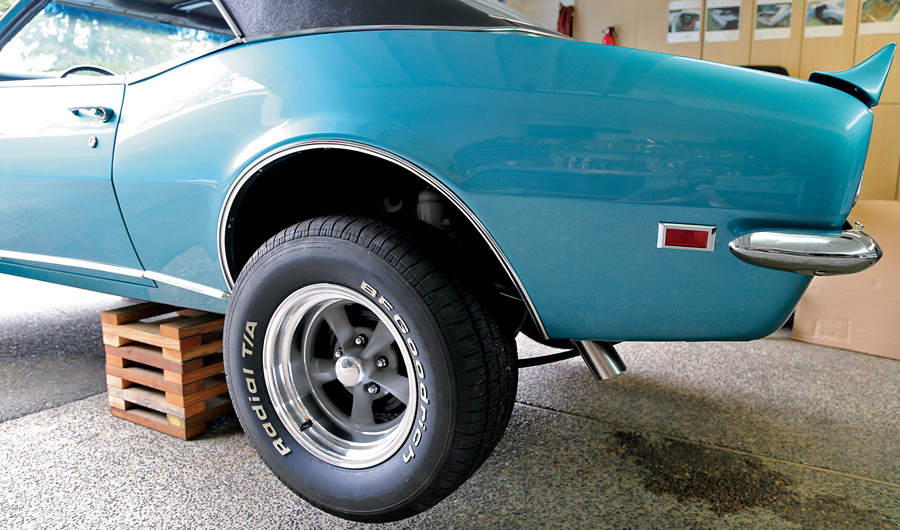
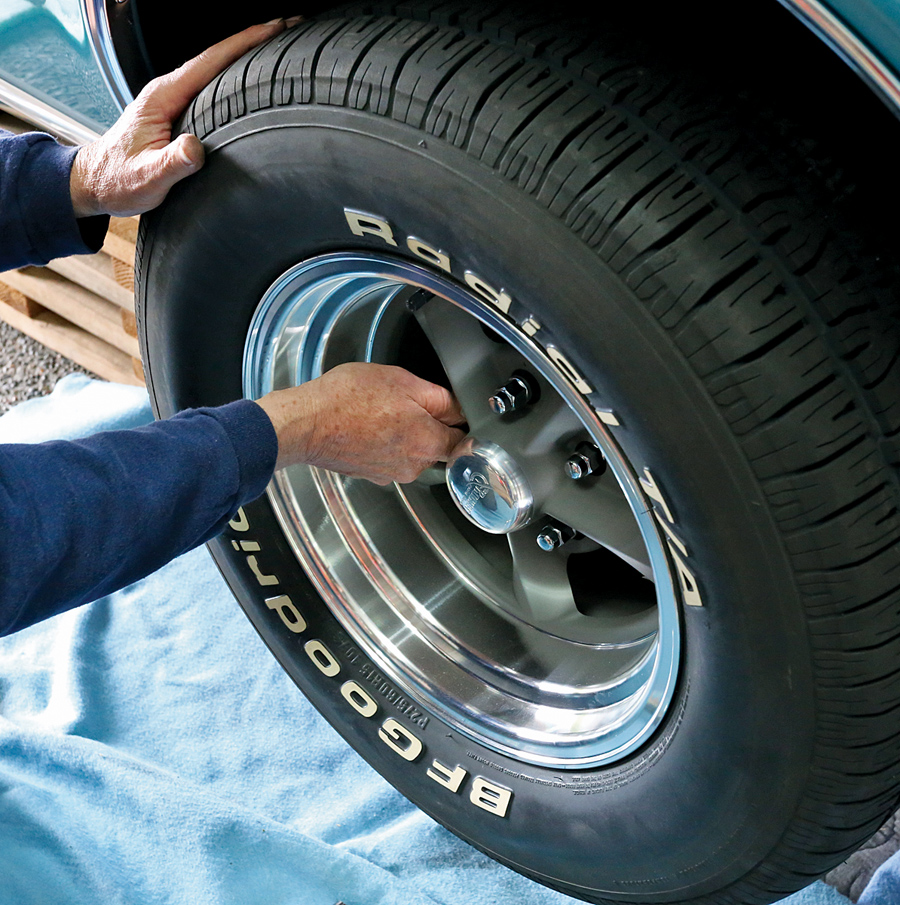
Before reinstalling the wheels, we triple-checked all the bolts and nuts, being careful that we got them all. We then torqued our Rocket wheels to 80 ft-lb in a star pattern.
-
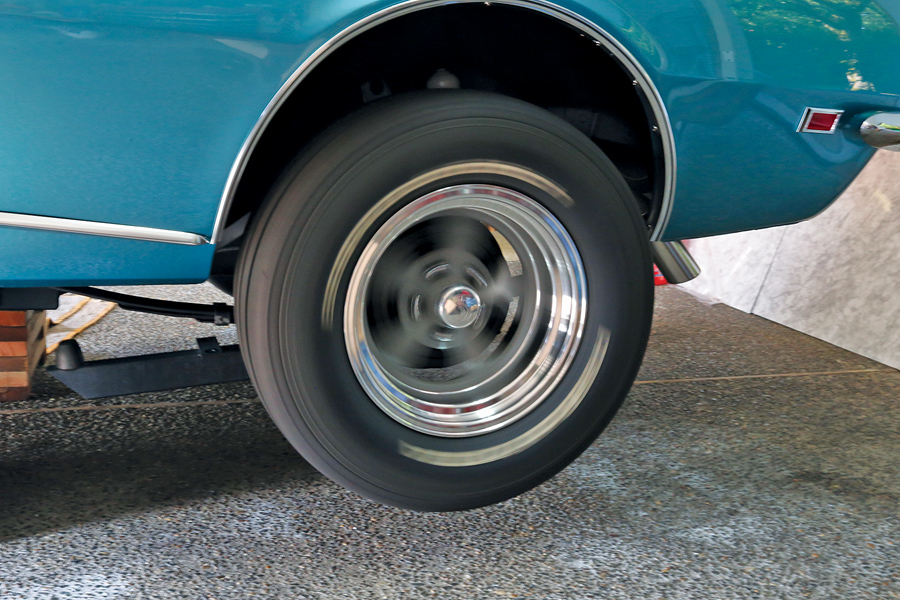
The final step in the process was to run the car for several minutes elevated in both forward and reverse to help break in the new rear gears. Then we needed to drive it for 10 miles at normal operating speed, accelerate and then decelerate several times, and then let cool for one hour. -
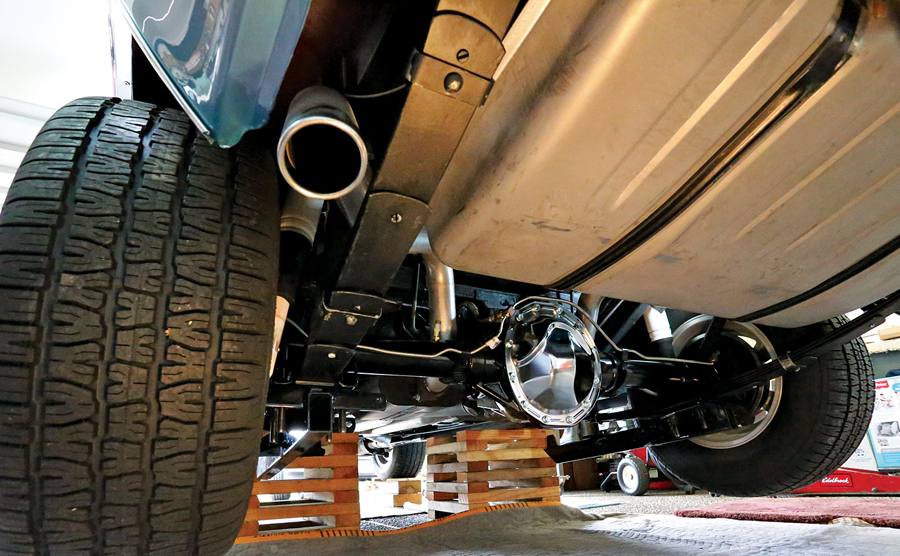
The new axle is installed and ready for whatever you might throw at it. While not cheap, it’s comparable in price to sourcing and building a 12-bolt for a first-gen Camaro with all parts and labor factored in — and for the factory stock crowd looking for a stout piece to fit in place of a numbers-correct unit, this install is reversible and the part easily resold when it’s time to go back to stock. All that’s left is to hit the road — or track — for worry-free fun.