It may be tough to imagine, but your average 1960s American muscle car is now 50 years old. And during that time, while it probably had a few engine swaps or performance upgrades, a bunch of different wheels and tires and other routine maintenance, I’m willing to bet your car is still sporting the two-speed wipers it was born with during the Johnson administration.
Those original wipers still work, but they’ve never been ideal — especially in a passing quick spring rain, when the two speeds you have don’t line up with what you really need to see the road in front of you. That’s a big reason why a lot of us leave our classics in the garage at the threat of rain, especially since our modern cars handle rainy-day visibility so much better than our classics do.
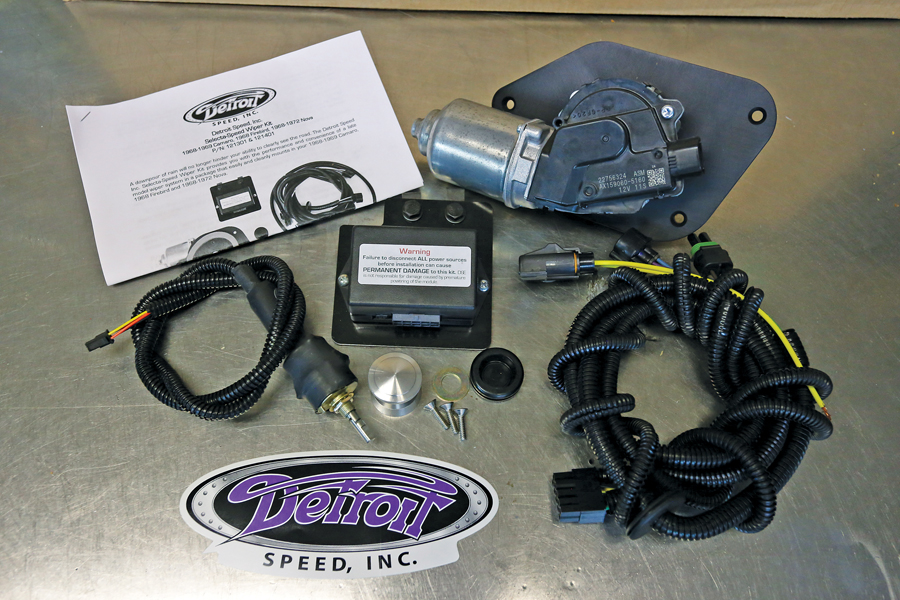
Detroit Speed’s Selecta-Speed wiper kits, available for a variety of ’60s American cars, solve that problem. They use a modern wiper motor and control unit that’s been engineered to bolt up to your classic car’s firewall, giving you five delays as well as low and high speeds. You can set the system and forget it, rather than keeping one hand on the dash to switch your old unit on and off as needed.
These systems come complete with their own wiring, so no hacking on your original harness is required for installation. Just supply power and ground and you’ve got a modern wiper system hiding in your Mustang, Corvette, Nova, Chevelle, Camaro, or Chevy truck.
We ordered a kit for a 1968 Camaro from Summit Racing to show you how easy the conversion is. Here’s how we did it.
Summet Racing Parts List
P/N 121301, Detroit Speed Selecta-Speed Wiper kit, $550
Time spent: Two hours
Difficulty: 2/5
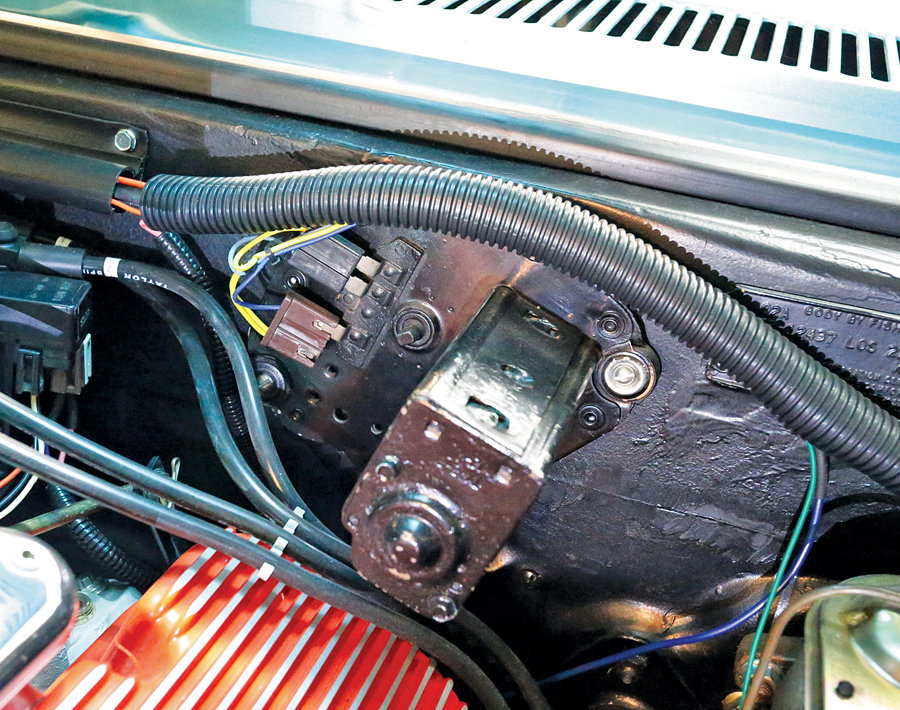 Here’s our 1968 Camaro’s original wiper motor and wiring. Before starting the disassembly process, we first disconnected the battery negative terminal to kill all power to the car.
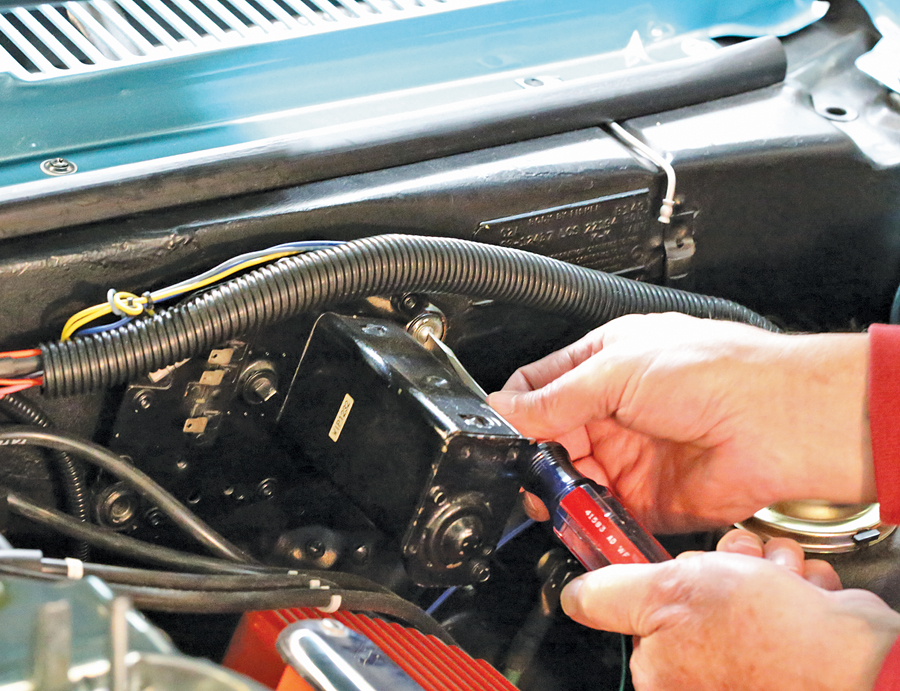 We unplugged the two factory connectors from the original motor and set them aside to be wrapped up and hidden away. Three screws held this motor to the firewall.
 With the wiper motor pulled away from the firewall, the motor’s arm and its 7/16 retainer nut were visible. Removing that nut and arm freed the motor from the car.
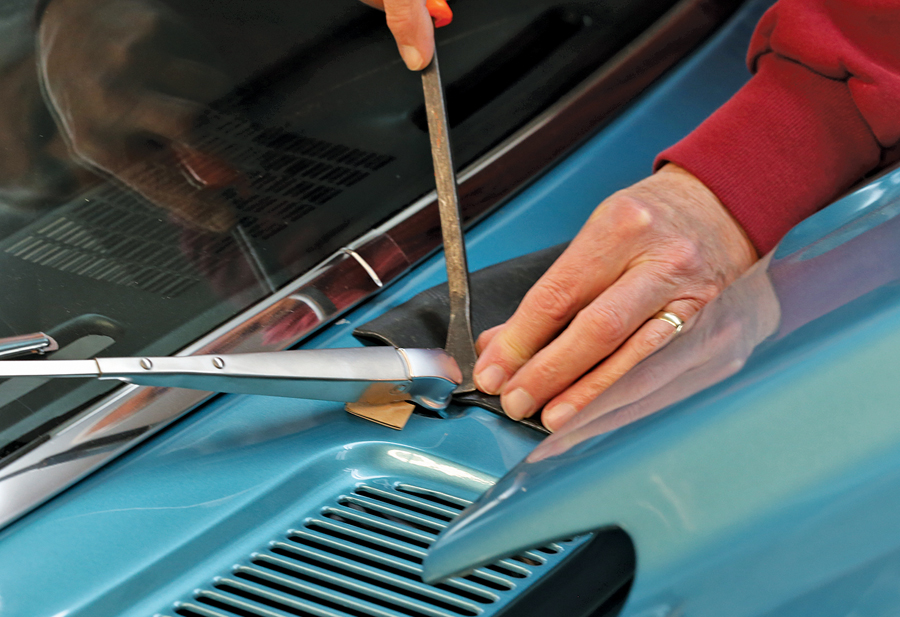 To gain better access to the linkage assembly and its ball-socket end, we elected to remove the car’s cowl panel and wiper arms. This isn’t absolutely required, but it makes the job a lot easier. A quick twist of a prying tool pops the wiper arms free — we used a rubber mat and some cardboard to avoid scratching the paint.
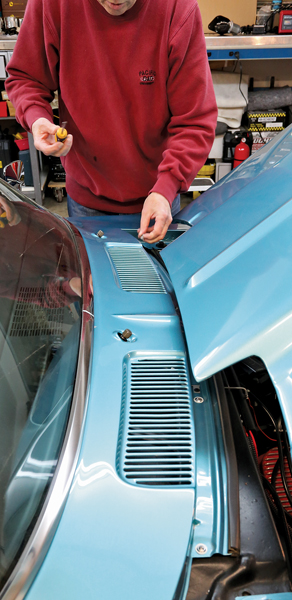 A few screws under the hood are all that held this panel in place. We removed them, then carefully pulled the panel and set it off to the side.
 With that panel out of the way, the ball socket and 3/8-inch nuts holding it in place were a lot easier to access — no risk of losing any parts down in the cowl. Loosening those two nuts frees the old ball-socket end from the wiper linkage.
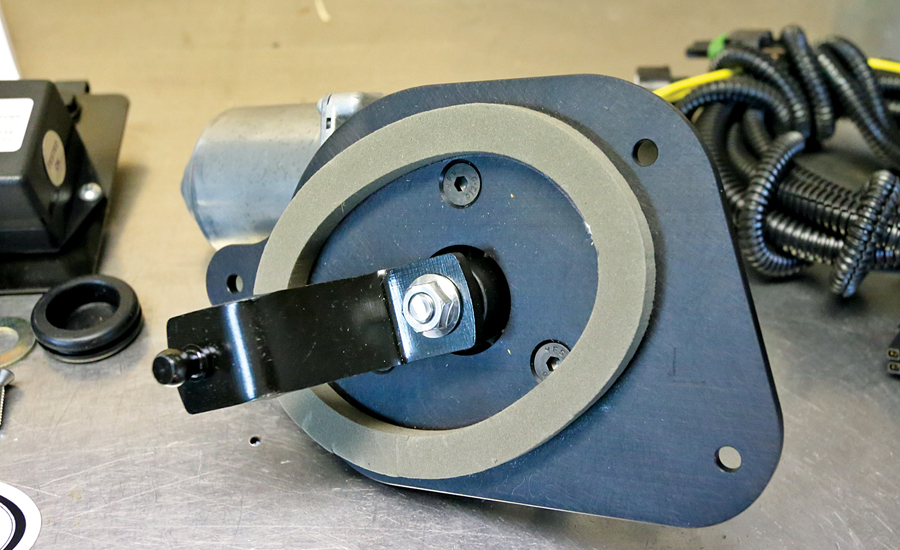 The new wiper motor is bolted to a thick aluminum bracket that’s been specially machined to fit the first-gen Camaro. Also note the arm-and-ball-socket assembly, which has a slightly different angle from stock. This motor comes in the park position — all we did was grease the ball end before installing it in the car.
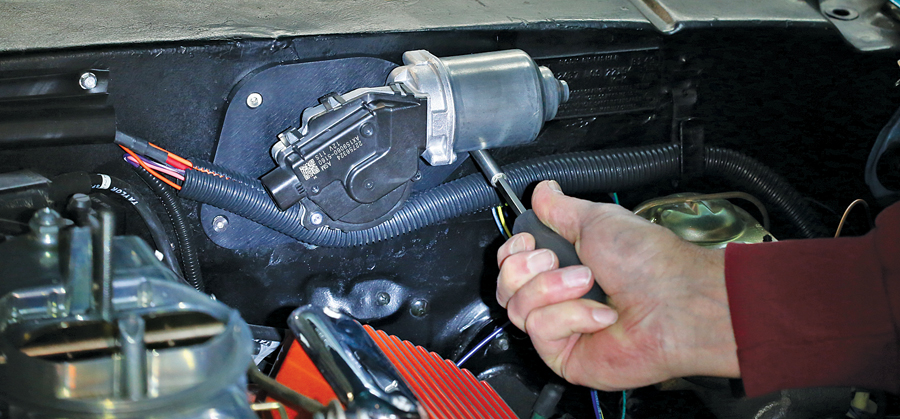 Installation of the motor is simple — three countersunk 10-24 stainless steel bolts, provided in the kit, affix the new bracket and wiper motor to the firewall.
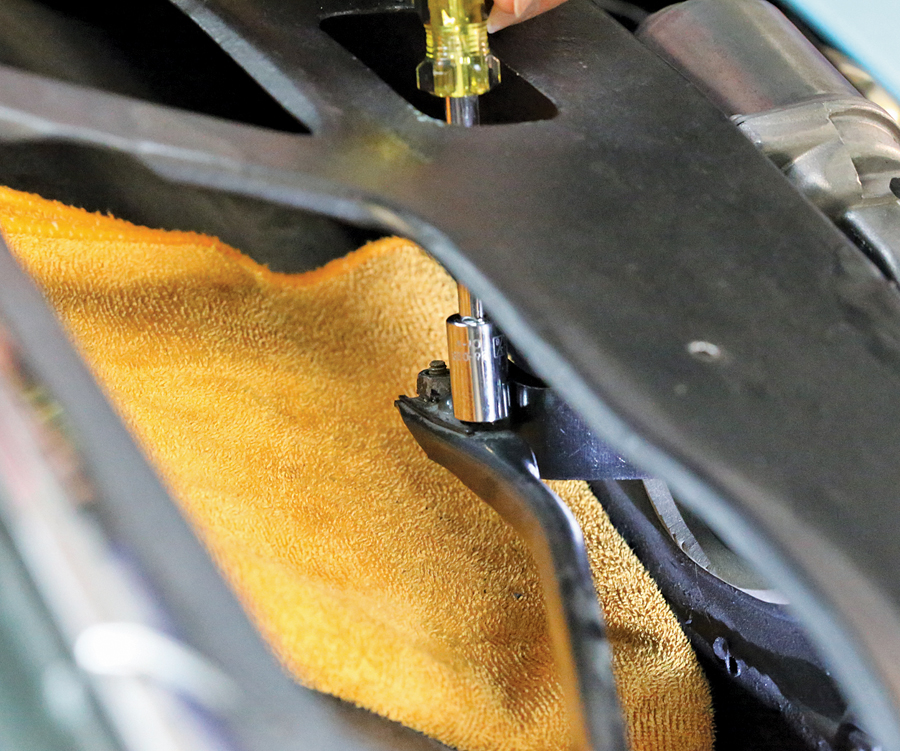 Next up, we reconnected the wiper motor arm’s ball socket to the linkage assembly. The quickest tool for the job here is a nut driver. These 3/8-inch nuts just need to be snug.
 With the motor installed, it was time to turn ourattention to the switch. We couldn’t reuse the original here, so it needed to come out. This one used a set screw to fasten the knob and a nut to hold the switch to the dash — but we didn’t remove the switch itself yet.
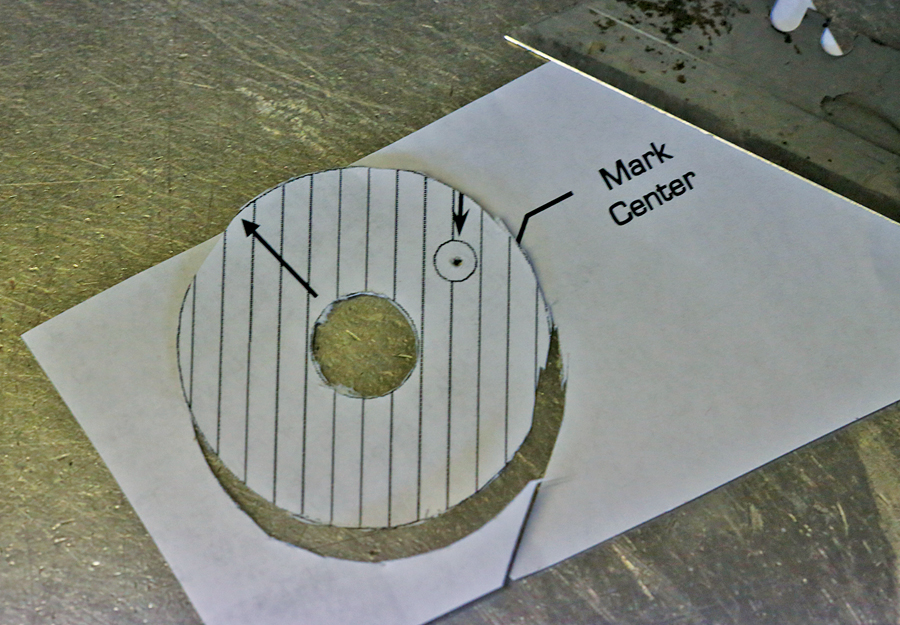 The one modification that must be made here is to drill a 5/32-inch hole in the dash for the new switch’s anti-rotation tab. The Detroit Speed instructions come with a handy template to cut out, which when oriented correctly, shows you exactly where to drill. The hole is hidden underneath the switch bezel, so even if you reinstall stock parts in the future, you’ll never see it.
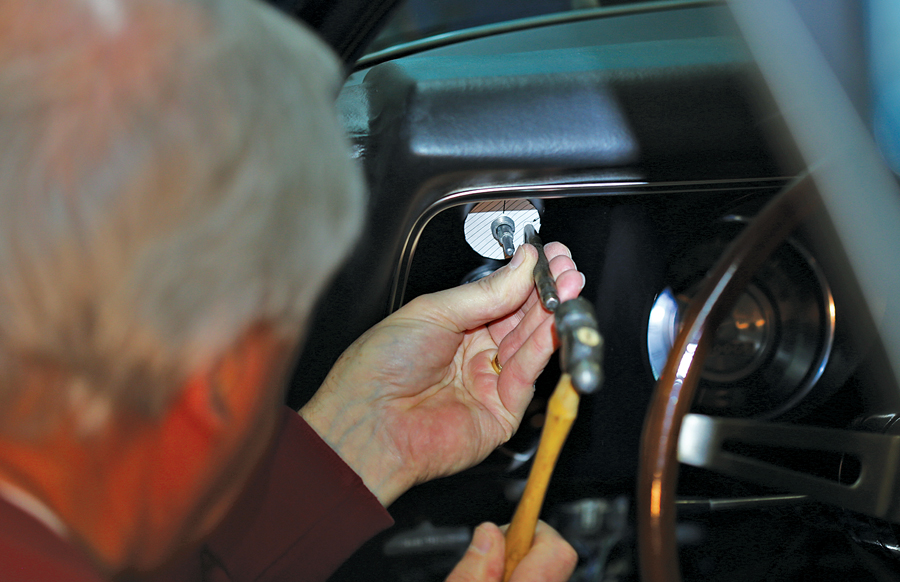 Once we had the template hanging over the original switch, we used a center punch to mark where our 5/32-inch hole would be drilled. Then we removed the original switch and drilled our hole, tucking the factory wiring up and out of the way for possible future use.
 With the hole drilled, we fished the new switch up into the dash and in place. Note we’ve pulled the driver’s side vent out for better access to the switch. The hole lined up perfectly with the tab on the switch, keeping it from rotating.
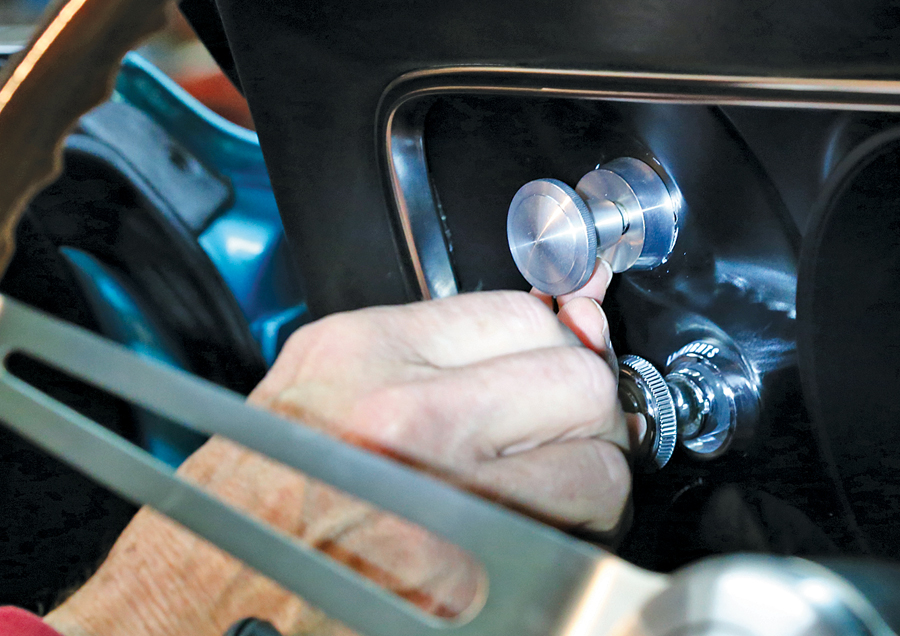 A threaded bezel holds the switch tight to the dash, and an Allen-head set screw holds the new knob on the new switch.
 The brain of the operation is this control module, which comes with its own bracket that you can bolt to the brake-pedal support bracket. We elected to affix ours to the inside of the body under the A-pillar, next to where the driver’s side vent exits into the interior. We used two pieces of double-sided trim tape — just make sure it’s accessible and near the wiper motor.
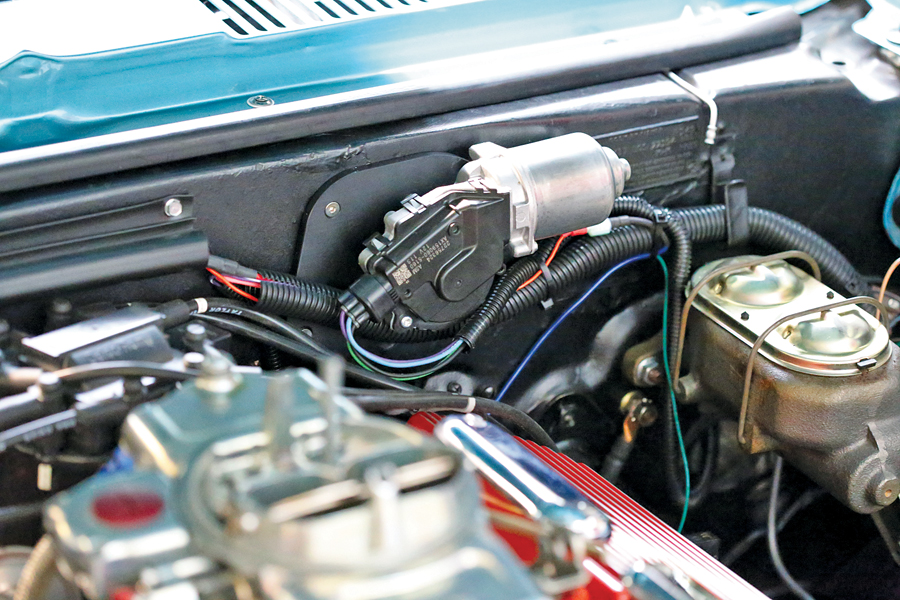 Installing the wiring is as simple as plugging the switch pigtail into the control module and routing the main harness through the firewall and out to the wiper motor. There’s an optional washer pump as well, and the harness has a provision for that. We didn’t add it here, so we just tucked that wire up under the dash. All in all, this is a clean look, and it takes up less space inside the engine compartment.
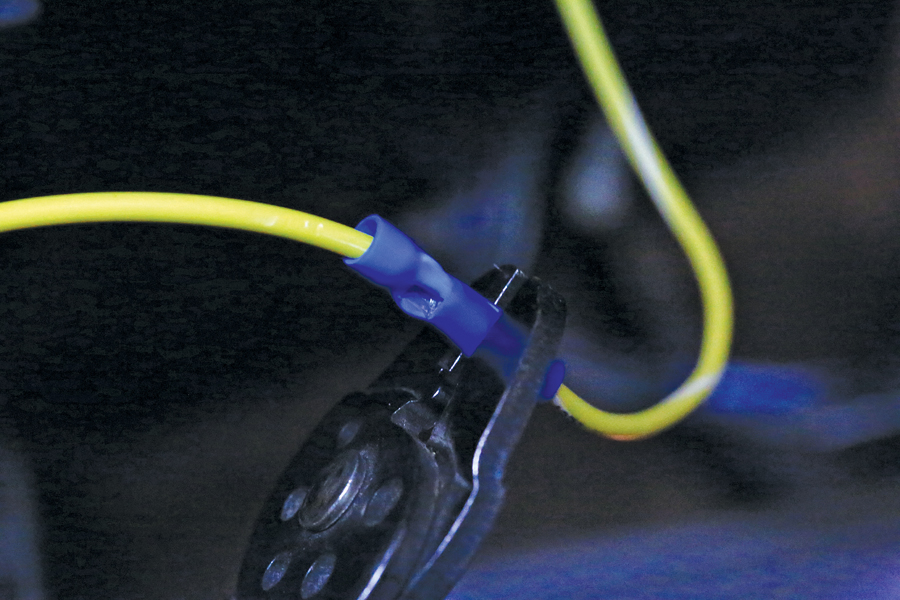 Hooking up power and ground is all that this kit needs to function. We ran a wire to a keyed hot source on the fuse panel and found a good ground on the steering column under the dash, then used shrink tube to seal the connection.
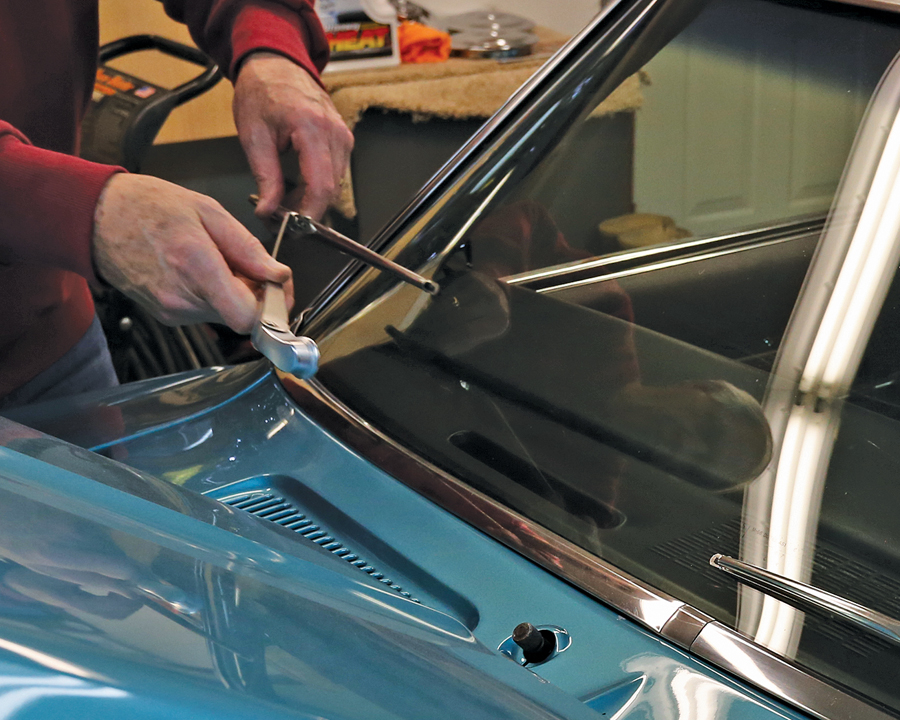 With everything else installed and tidied up under the dash and inside the engine compartment, we reinstalled the header panel and wiper arms, being careful to get the wipers sitting as level as possible.
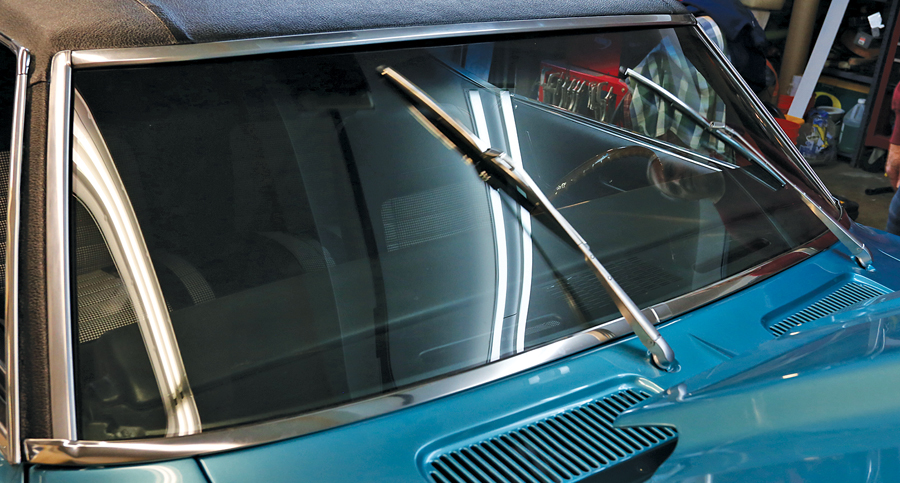 Hooking up the battery was the final step. With the key on, we hit the new switch and tested the new system and all its delays, while being careful to make sure the wipers parked where they should and didn’t hit anything. Now this Camaro is ready for any spring rain — and it will be more drivable because of it.
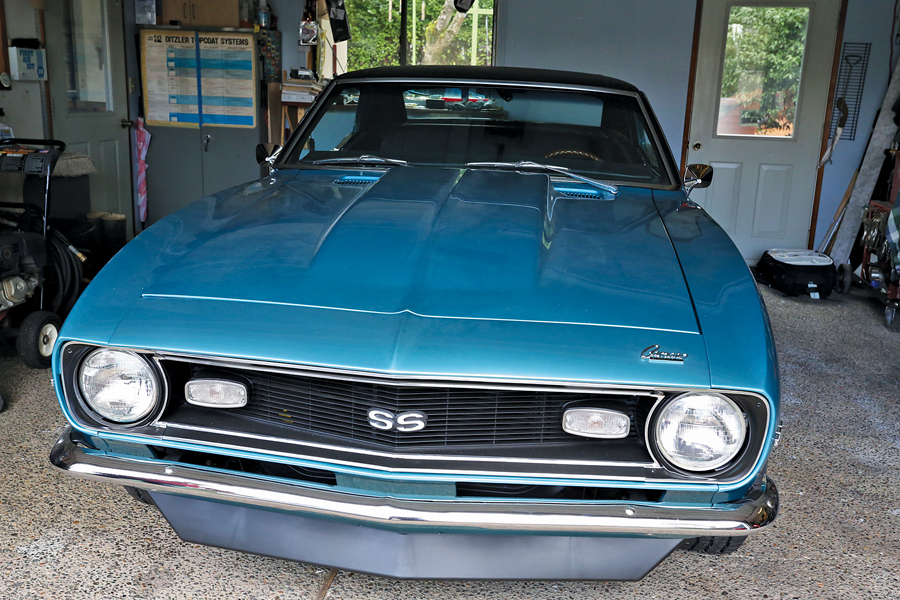 No need to hide in the garage now when it rains