If you drive your classic car often, chances are you’ve had a few close calls in modern traffic. A lot of today’s commuters don’t realize that classic cars from the 1950s and 1960s don’t handle and stop as well as today’s cars.
The drum brakes that were industry standard for most of the 1960s work fine in ideal conditions — but in today’s world, where drivers are more disconnected from their own driving than ever before, that old setup is no longer up to snuff. When you need to panic-stop, you don’t want to worry about which direction your car will pull, or if heat fade has left you enough grab to get your Bel Air, New Yorker or Thunderbird stopped before you rearrange its sheet metal into the shape of a Prius. And sure, those old bias-ply tires look right, but will they react when you crank the wheel to avoid a red-light runner on a cell phone?
For those of us who want to use our cars regularly but don’t want to lose the original look, what’s the answer? If you look hard enough, you can find a mechanic that can trick out your drum brakes with special metallic linings and all-new parts for a slight boost of braking performance, or you can change over to a disc-brake setup and solve the problem for good. And thanks to companies such as Summit Racing, Right Stuff Detailing and Coker Tire, you can get a lot of modern performance from your classic while keeping that old-school curb appeal. Don’t forget to check the wheel alignment after installing new wheels or tires in your car.
As a work-in-progress driver with its original, manual drum brakes, Auction Editor Chad Tyson’s 1967 Chevrolet Impala 4-door hard top was an ideal candidate for upgraded stopping power and fresh rubber. So we got in touch with Summit Racing and ordered Right Stuff Detailing’s front-disc-brake conversion kit, and called up Coker Tire for a set of GM Rally wheels and their new Firestone Wide-Oval Redline bias-look radials.
Here’s what it took to give this old driver better modern road manners without upsetting its original style.
-
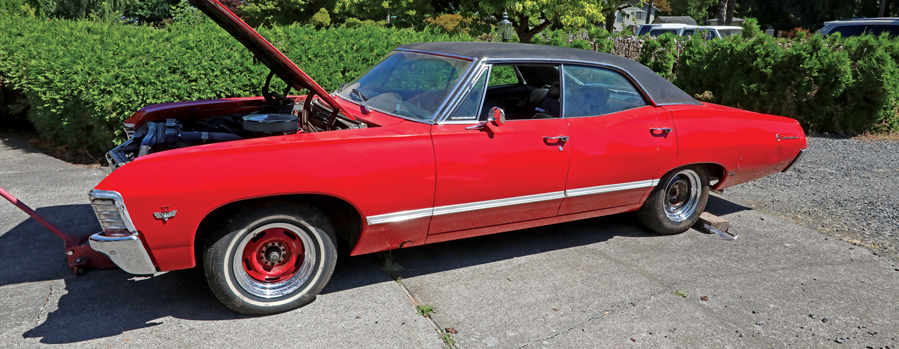
This 1967 Impala 4-door is a work-in-progress driver that has been sidelined due to poor OE stopping ability from its original-style manual front drum brakes. Thanks to Right Stuff Detailing, bringing its braking into the modern era was simple — and it didn’t require any suspension work. -
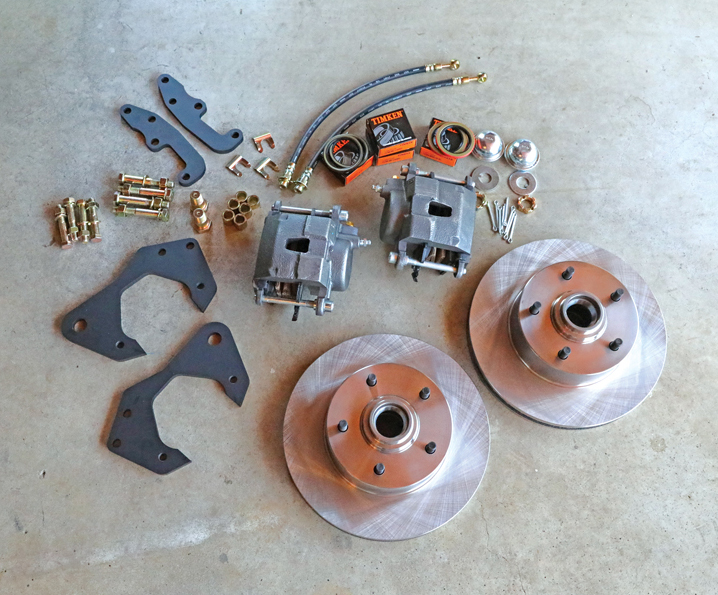
Right Stuff’s front-brake kit uses 11-inch discs and GM-style calipers, fitted to the original drum-brake spindle using fabricated brackets. The system also uses a 9-inch power brake booster and new dual-circuit master cylinder, and ships with pretty much everything you need to get rolling. 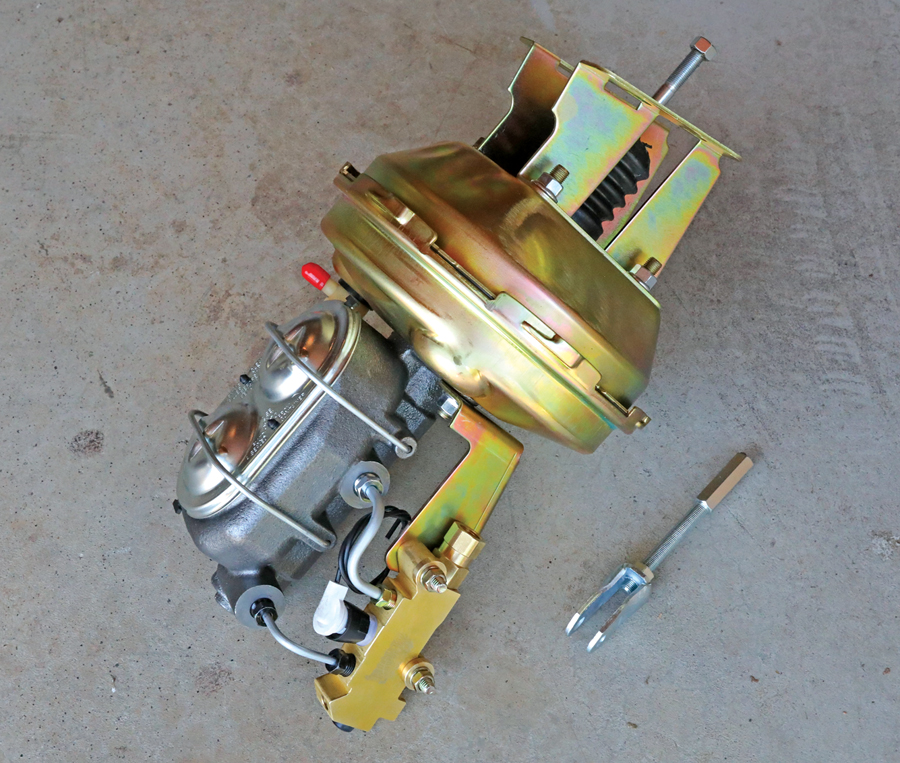
-
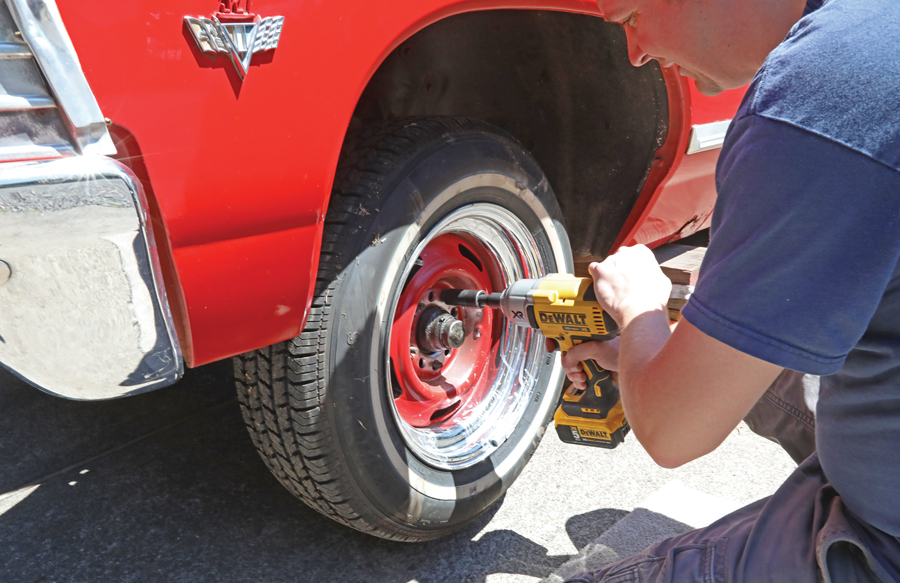
Getting the car up in the air safely is a must, so jack stands or trusted blocks were key. Once the car was up, we removed each front wheel and also removed each front drum. -
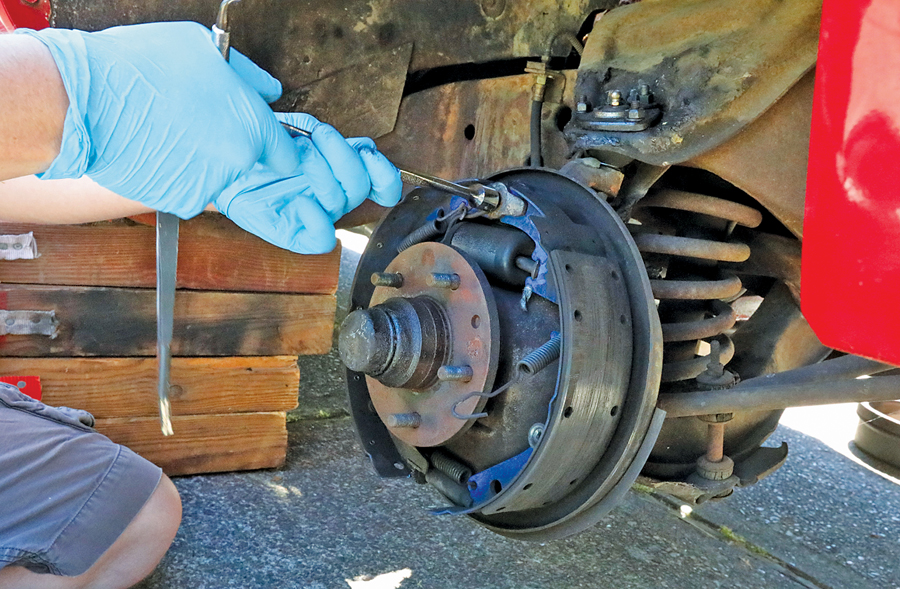
A good-quality drum-brake spring-removal tool made quick work of the factory shoes. We set everything aside in a box, including all the springs and hardware, to be put in storage. Nothing from the drum brakes, other than the spindles, was reused. -
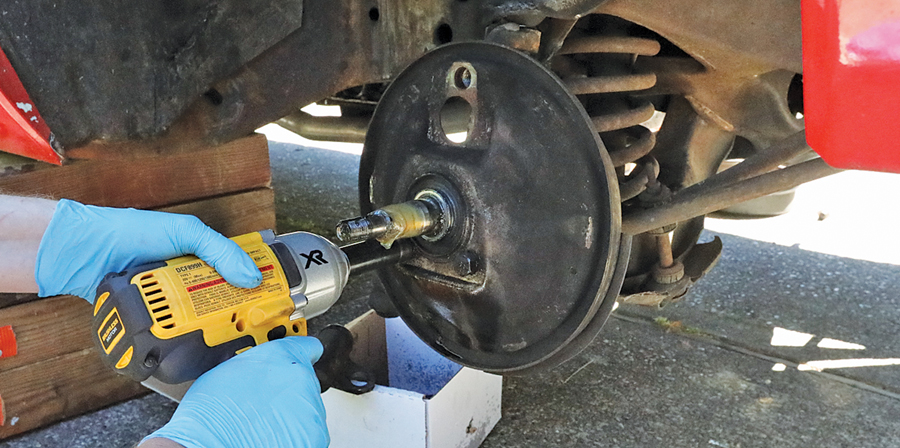
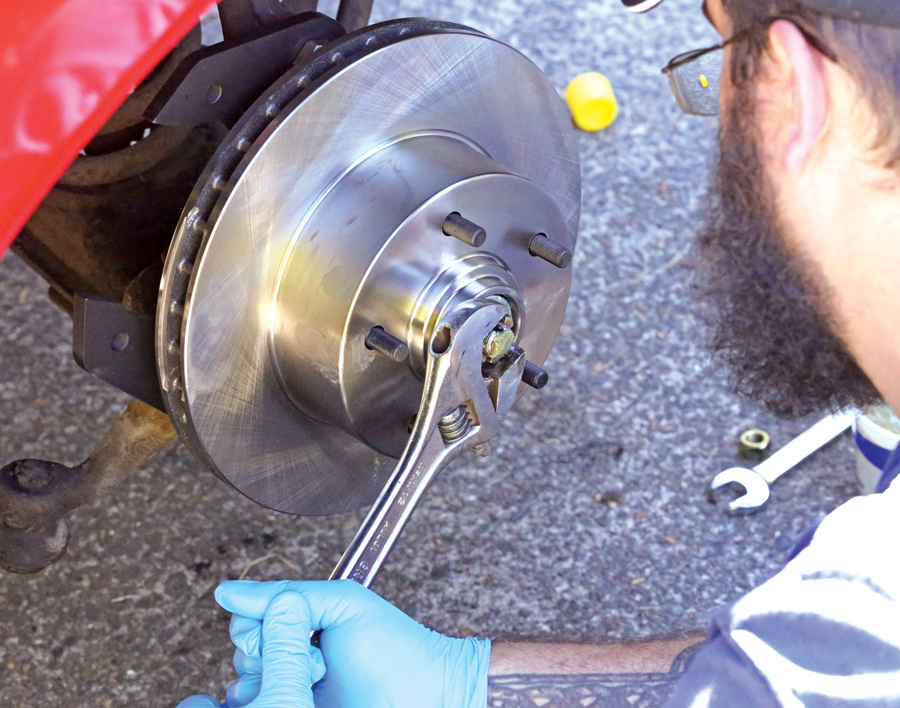
With the springs, shoes, wheel cylinder, brake line and original drum-brake hub removed and stored away, the next step was to remove the original backing plate from the spindle. A good impact wrench, such as our DeWalt ½-inch-drive unit, makes quick work of this, along with some PB Blaster spray penetrant. Once these two bolts (and nuts on the back side) were removed, a quick hammer tap knocked the backing plate free, as well as the steering arm from the spindle. The steering-arm bolts will serve as a mounting point for our new brakes. -
Next up was the original plumbing. Since the master cylinder hadn’t been off in years, we soaked its 9/16-inch mounting nuts in PB Blaster before attempting to remove them. We then broke them free, and then loosened the brake lines from the original proportioning valve. Then, inside the car, we removed the clevis-pin retainer clip and the pin itself from the brake-pedal assembly so the master could be removed from the car as a complete unit. 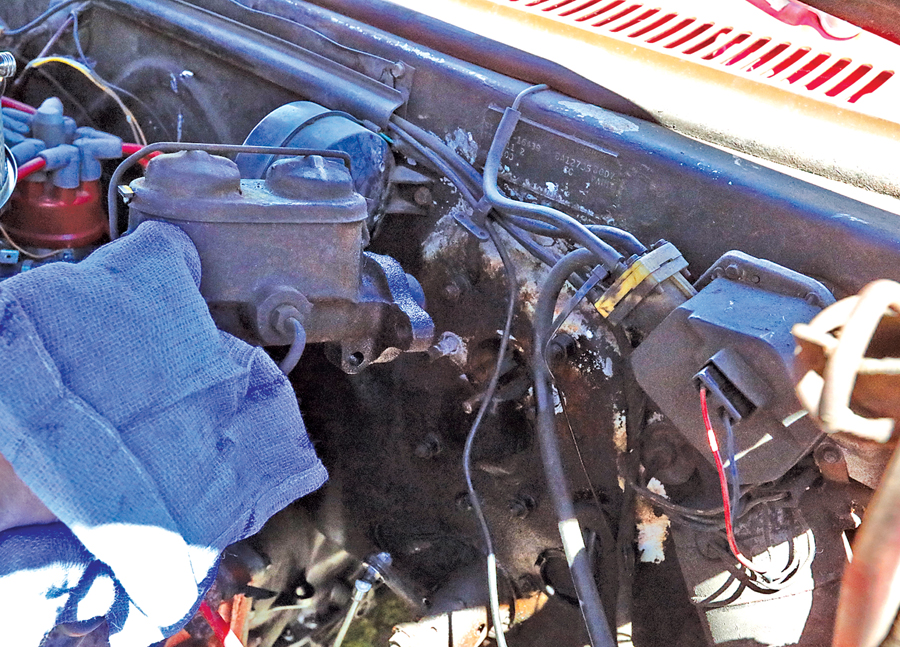
-
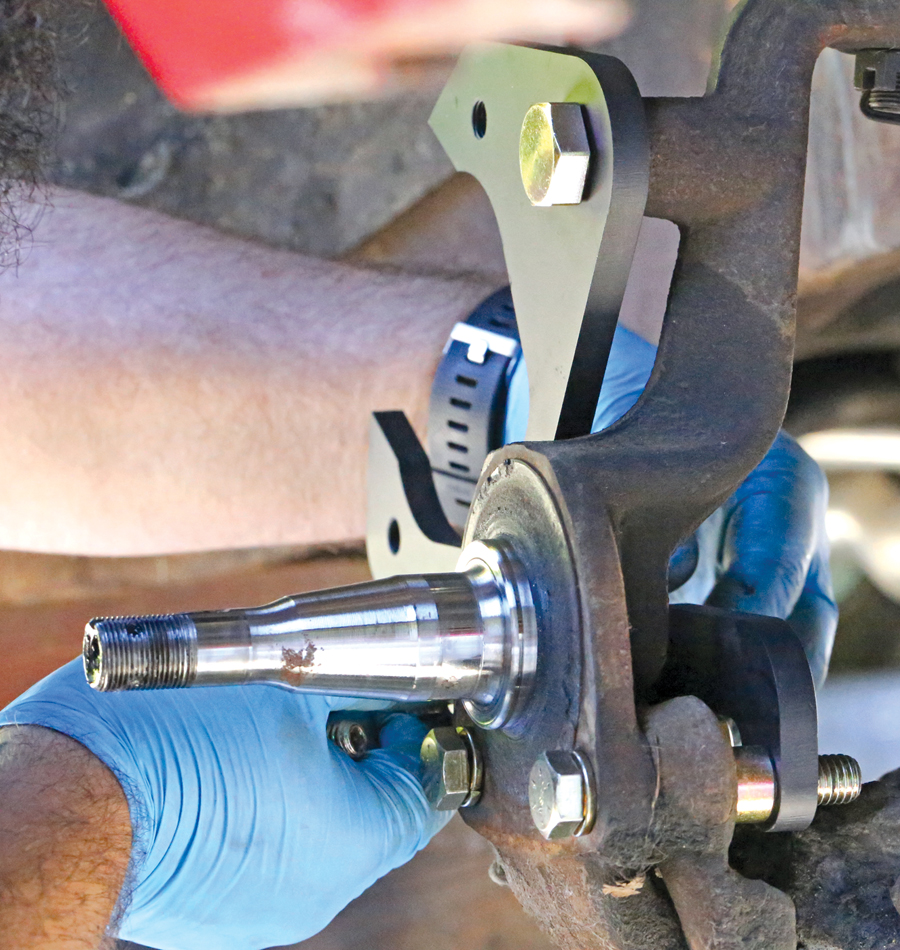
With the old drums now out of the way, it was time to bolt up our new disc-brake brackets. Two stout brackets, made of steel plate, were bolted to the original steering arm on the spindle, using new hardware and spacers in the original bolt locations. The back bracket extended to the rear and was cut out to clear the ball joint. 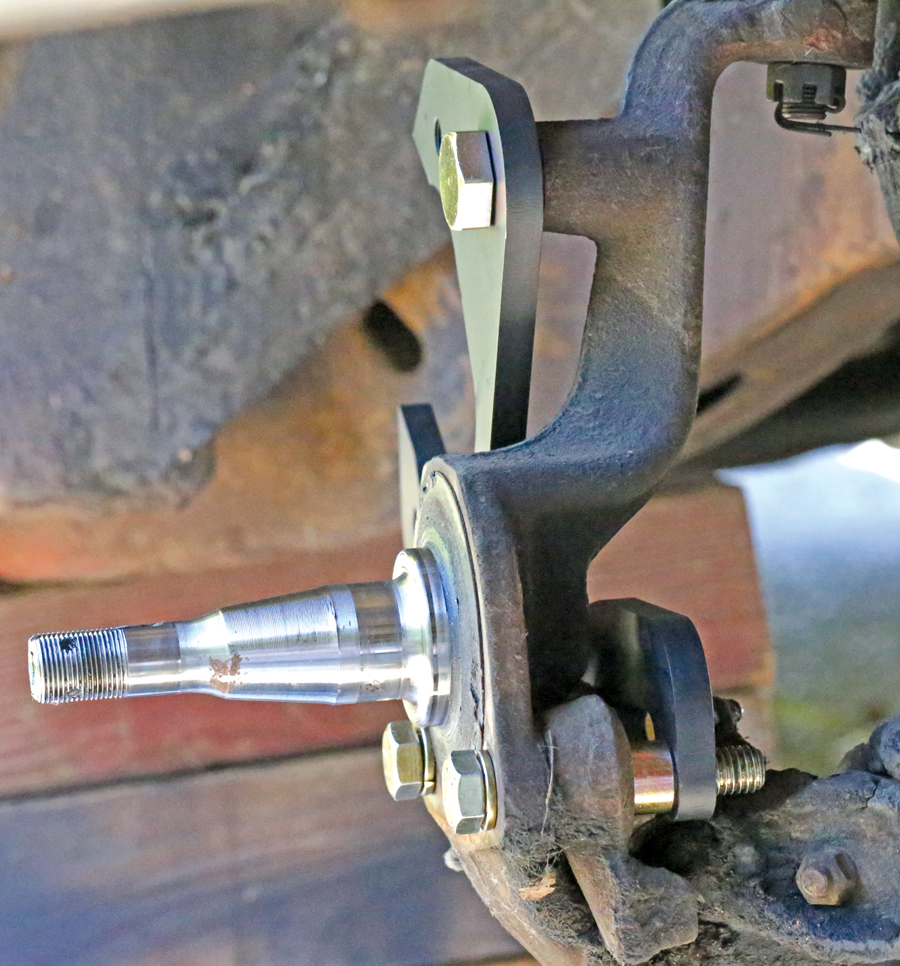
-
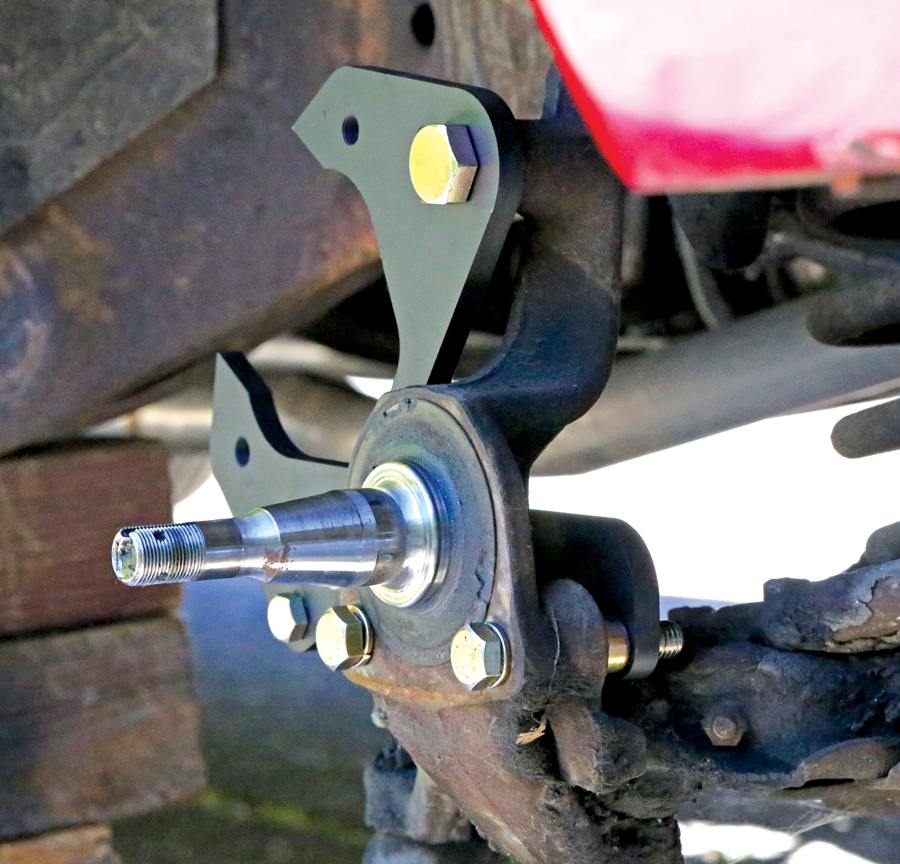
A total of five bolts per side affixed this new bracket assembly to the spindle: Two 3-inch-long bolts passed through the original steering-arm mount (visible here on either side of the spindle), with the front one using a ½-inch spacer and tightening into threads cut into the bracket behind it. The rear used a nut and lock washer. The two smaller bolts at the rear passed through both new brackets and required two ¾-inch spacers to line everything up correctly. The large bolt at the top finished it off. We torqued the steering-mount bolts and the upper bolt to 80 ft-lbs and the smaller rears to 50 ft-lbs. 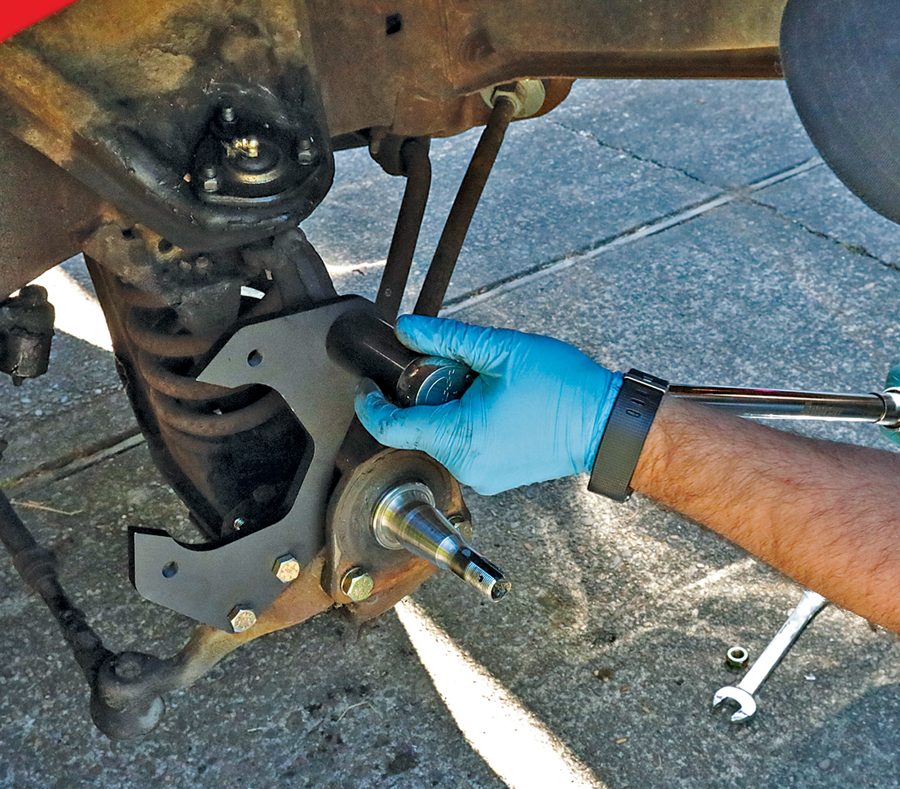
-
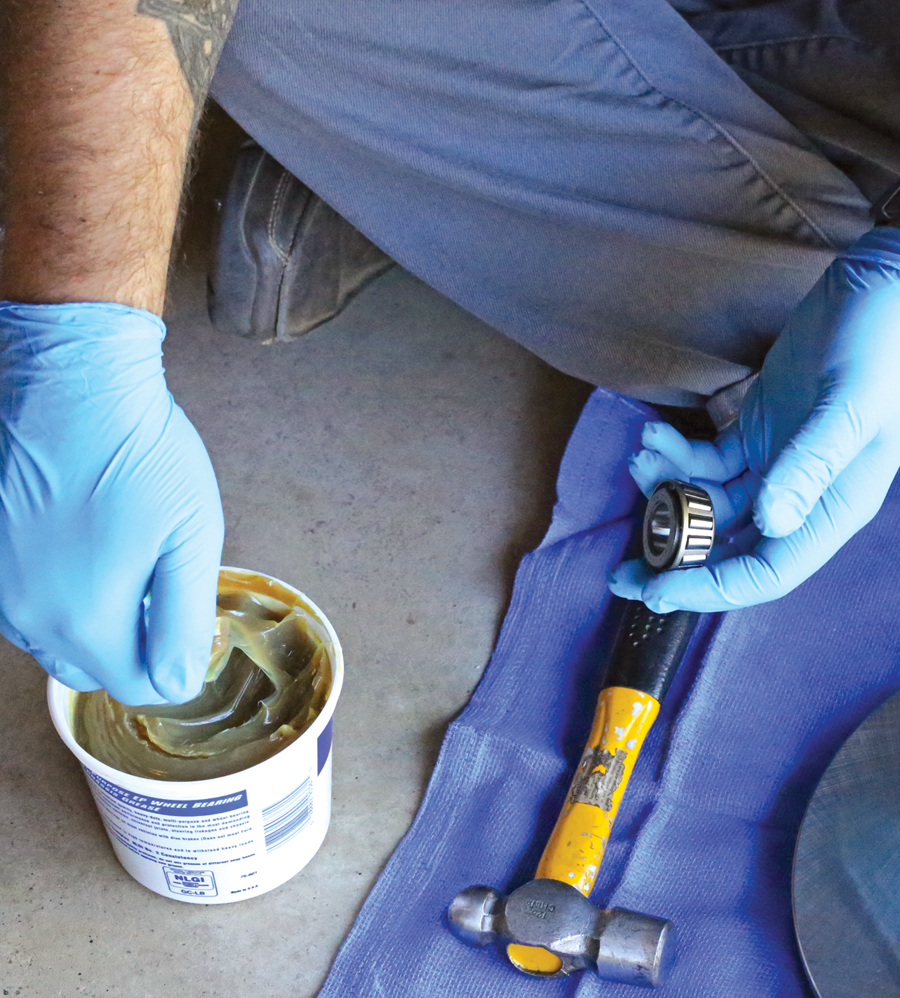
Next up were the rotors, which needed to be prepped before installation by fitting greased bearings and grease seals. Everything but the grease came in the kit. We scooped grease through the rollers of the inner (larger) bearings using the palm of a hand, then dropped each one onto its race and tapped each seal into place with a hammer. 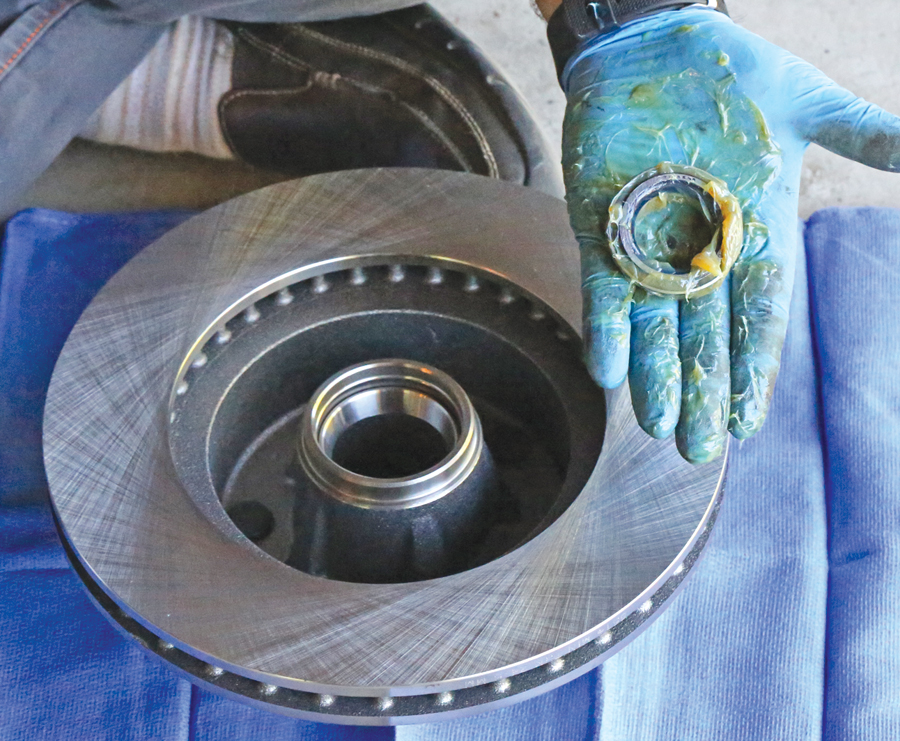
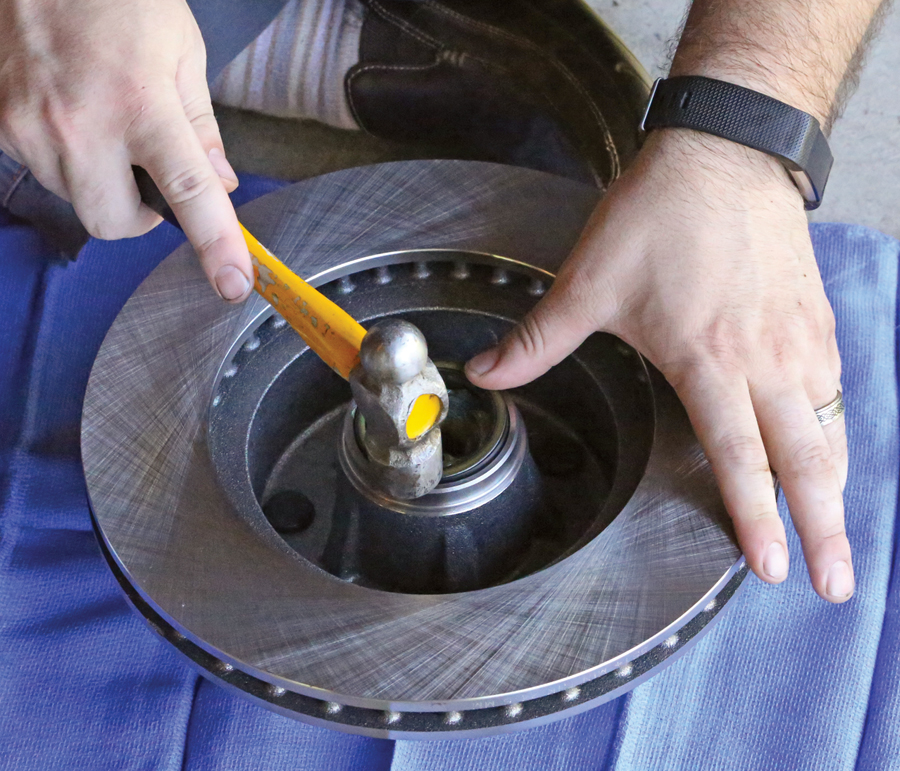
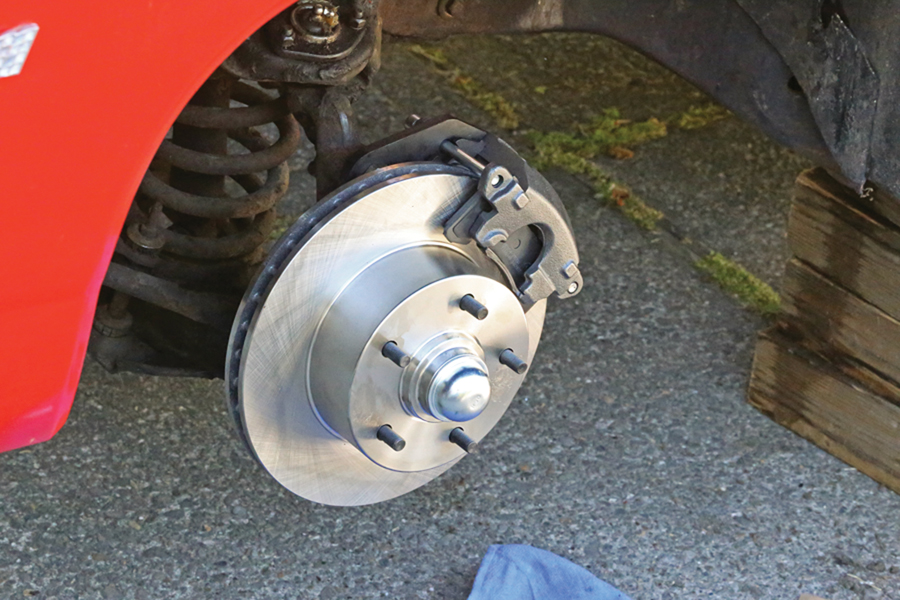
 After a liberal application of grease on the spindle, the rotor could be installed, along with the greased outer (smaller) bearing, keyed washer and castle nut. We tightened up the nut while turning the rotor slowly, bringing it up snug and then backing it off slightly until there was no drag. We then installed a cotter pin and dust cap. Then we repeated the same bracket installation process on the other side.
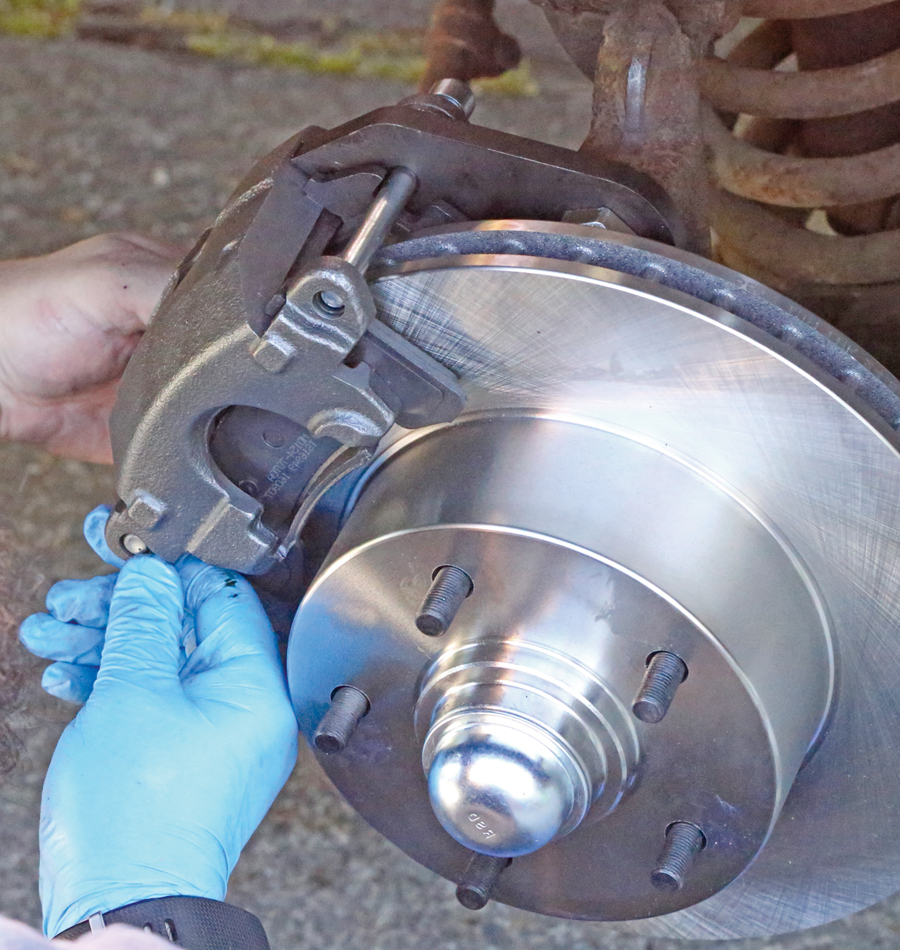 The calipers and pads were next, fixed to the new bracket using GM-style Allen-head caliper bolts. From there, the last step at each wheel was hooking up each new brake line, which was as simple as bolting them to the caliper using the supplied bolt and copper washers, routing them to the factory bracket on the frame and using the supplied clips to retain them in place.
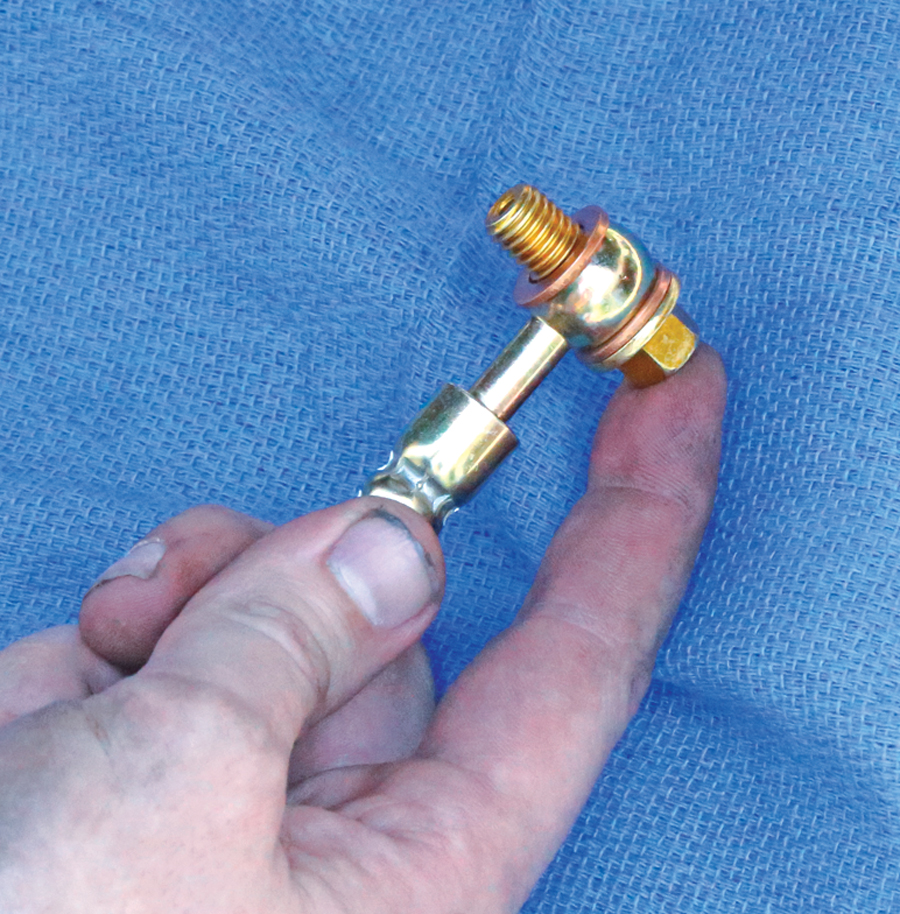
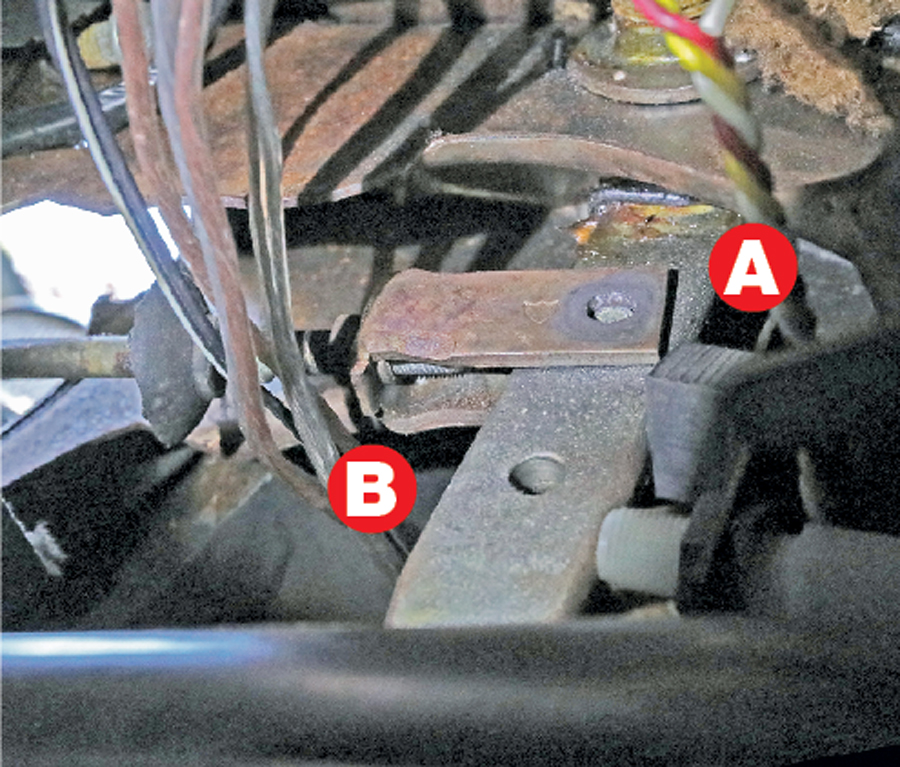 GM brake pedals from this era have two clevis-pin holes: one for manual-brake cars (up high on the pedal arm for more leverage, A), and one for power-brake cars (same location, but about an inch lower, B). As this was a manual car, the master cylinder was mounted up high on the firewall for proper geometry with that higher pedal clevis-pin hole. Our new power-brake booster came with a special angled bracket to allow it to be mounted in the higher manual location and use that lower power-brake clevis-pin hole, but thanks to GM’s one-size-fits-all manufacturing mantra of the era, this car already had all the proper firewall holes and cutouts to mount the booster down lower.
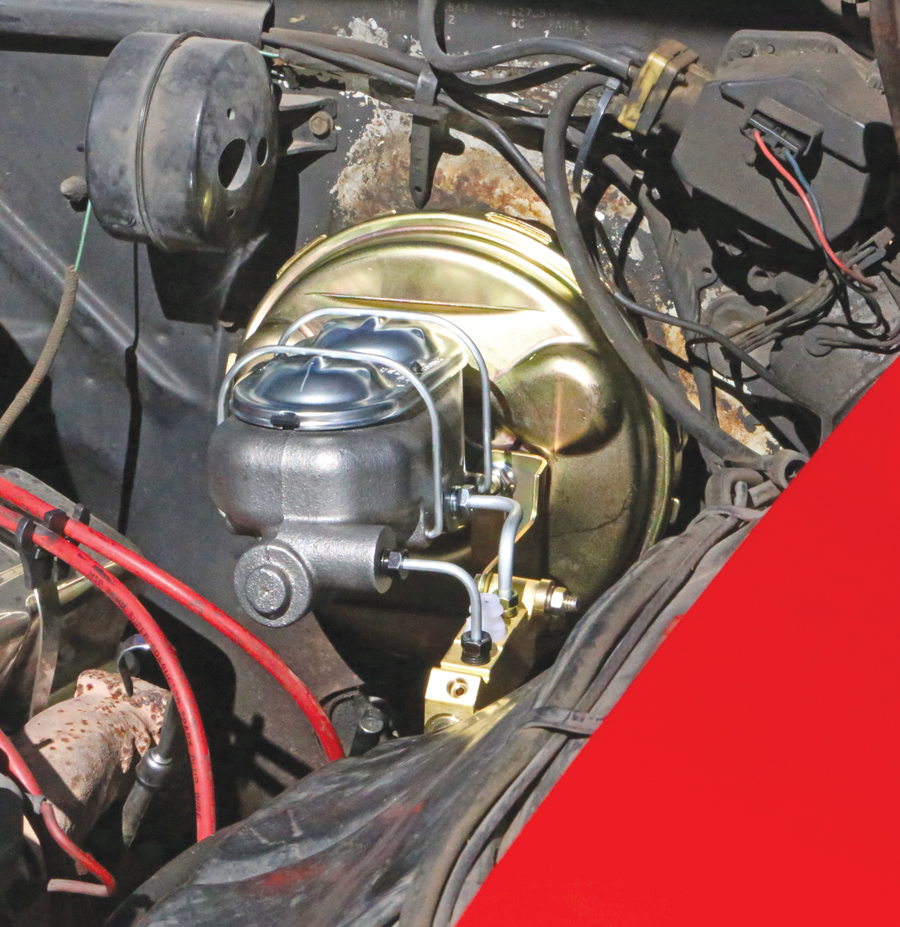
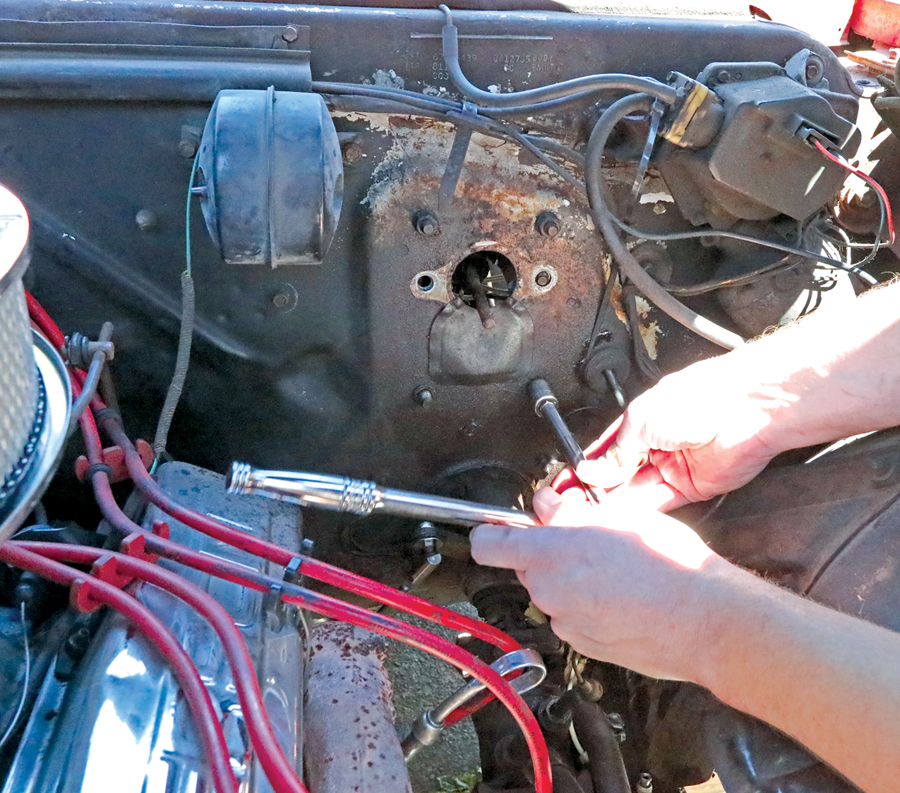 We could have mounted the booster on the provided bracket, but bolting it directly to the firewall resulted in better alignment with the brake lines, as well as more clearance inside the engine bay for any future engine swaps that might take place. All we needed to do was remove two more nuts from the firewall, ditch one rubber plug, and tap four studs out of place with a small hammer. From there, the new booster’s studs could bolt directly to the firewall, placing it directly in line with that lower power-brake clevis-pin hole, maintaining proper pedal geometry and tucking up tight to the firewall. Inside the car, a new clevis pin and cotter pin fixed the master cylinder’s rod to the brake pedal, and four 9/16-inch nuts held the booster in place.
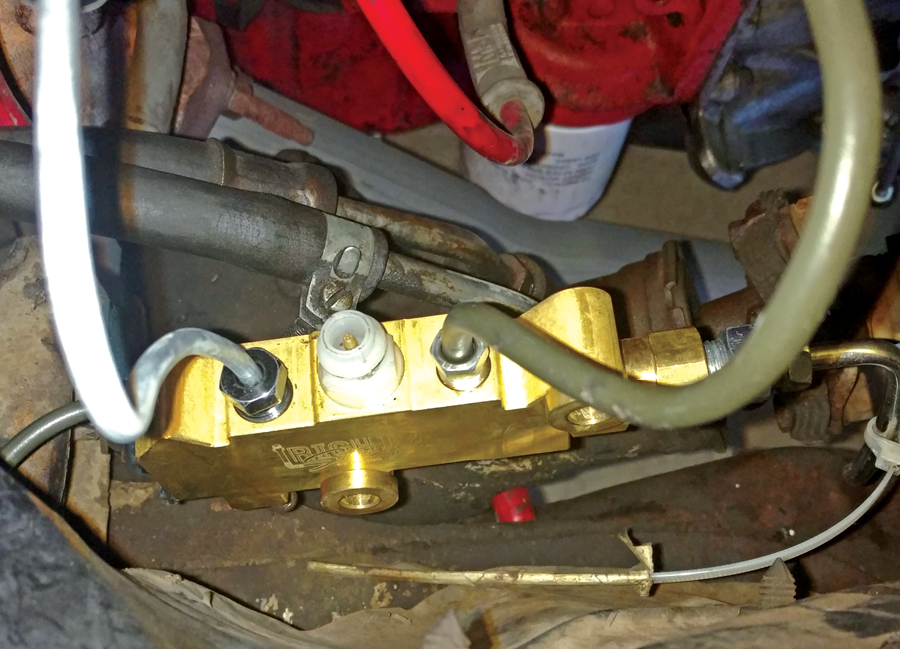 We chose to mount the new brake-proportioning valve down low, as per original, as doing so allowed us to utilize the factory brake-line locations. We did need to make a new driver’s side front hard line, but we reused the passenger’s side line and the rear line, as they were in good condition. We made two longer master-cylinder-to-proportioning-valve lines using eight-
inch-long pre-flared sections of 3/16 and ¼-inch steel line from our local auto parts store. We also sourced a 9/16-inch to ½-inch adapter for the rear line, which was too small for the new valve.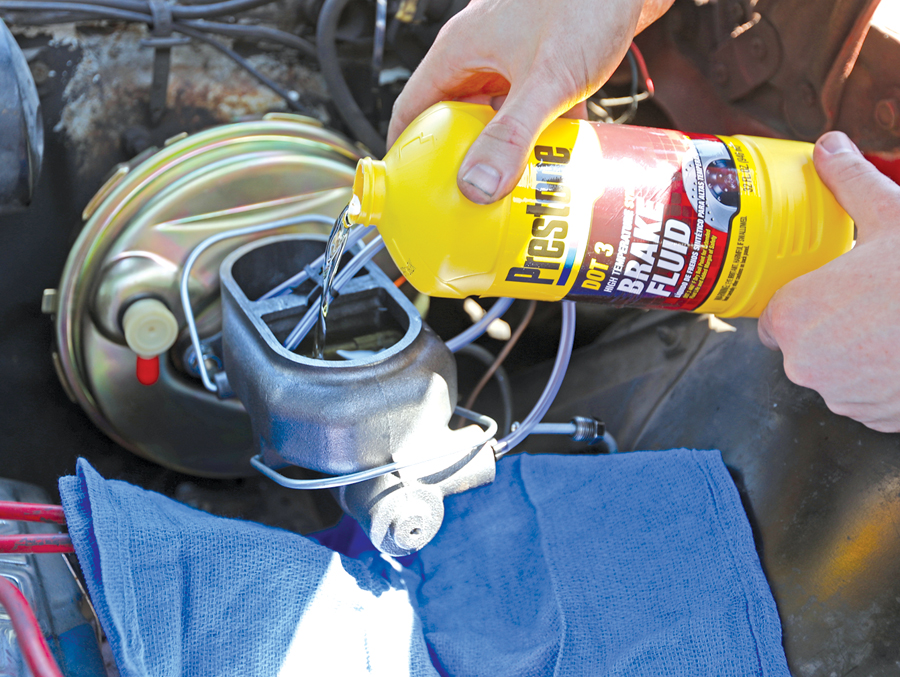 With the plumbing fabricated, the next step was to bleed the air out of the master cylinder. This can be done off the car in a bench vise, but doing it in the car is just as easy. We used a good-quality DOT 3 brake fluid — in this case Prestone — and ran the supplied bleeder tubes from the master’s brake-line fittings back into the reservoir. Then we simply worked the pedal slowly until all bubbles disappeared. After that, we reinstalled the hard lines.
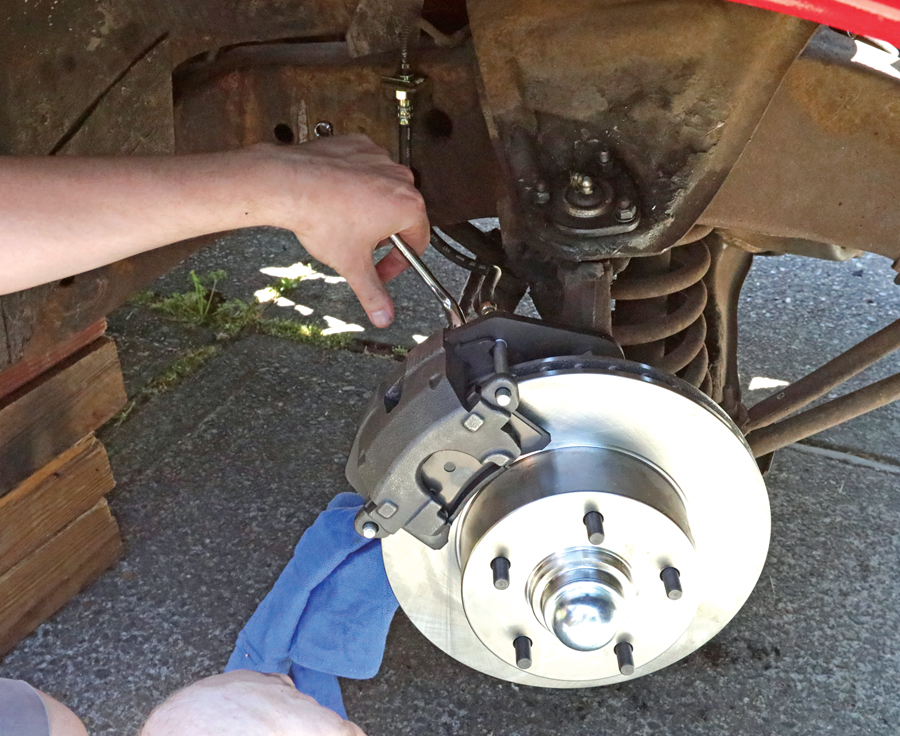 Next up was a full brake bleed, starting with the passenger’s side rear and moving around the car until each line ran clear and clean, with no bubbles. Simply opening the valves to bleed out air before pumping sped up this process. Brake fluid removes paint, so we used extra caution here. After bleeding, the pedal felt nice and firm.
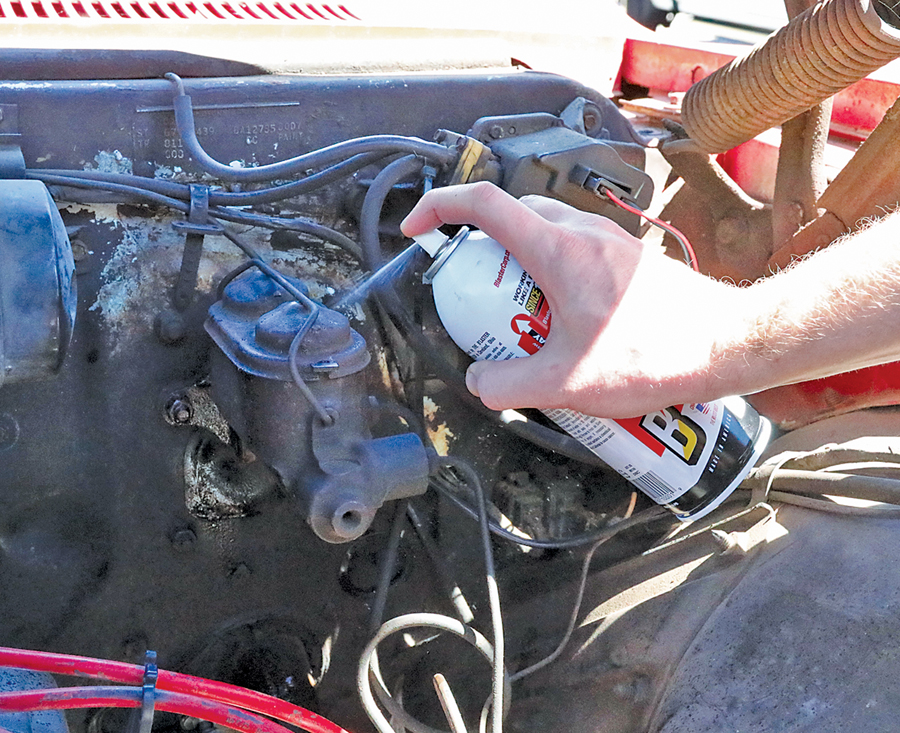
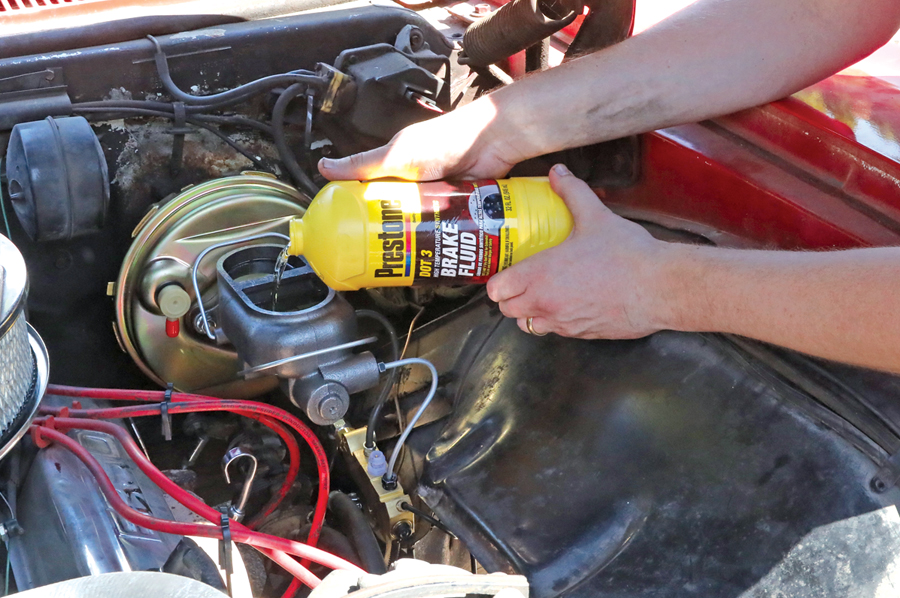 After topping off with Prestone brake fluid, the last step under the hood was to hook up the power-brake booster to a full manifold vacuum source. We used 3/8-inch PCV hose routed to the back of the carburetor.
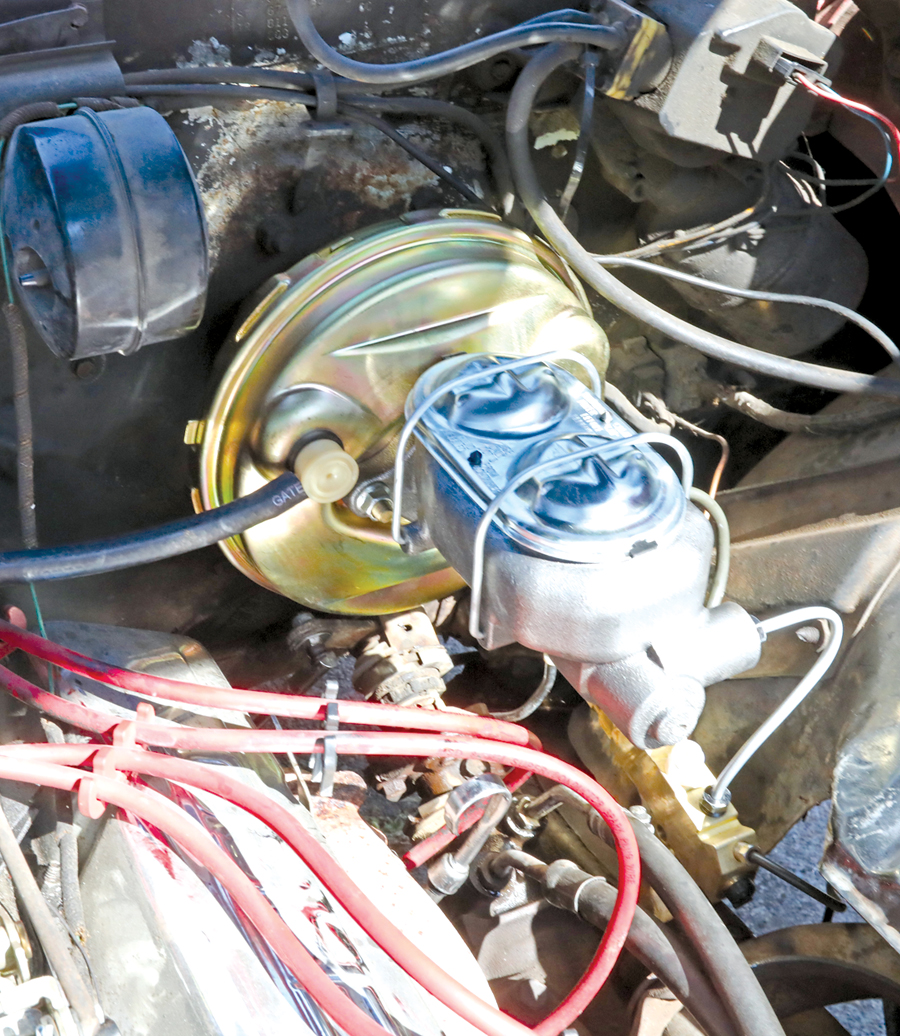
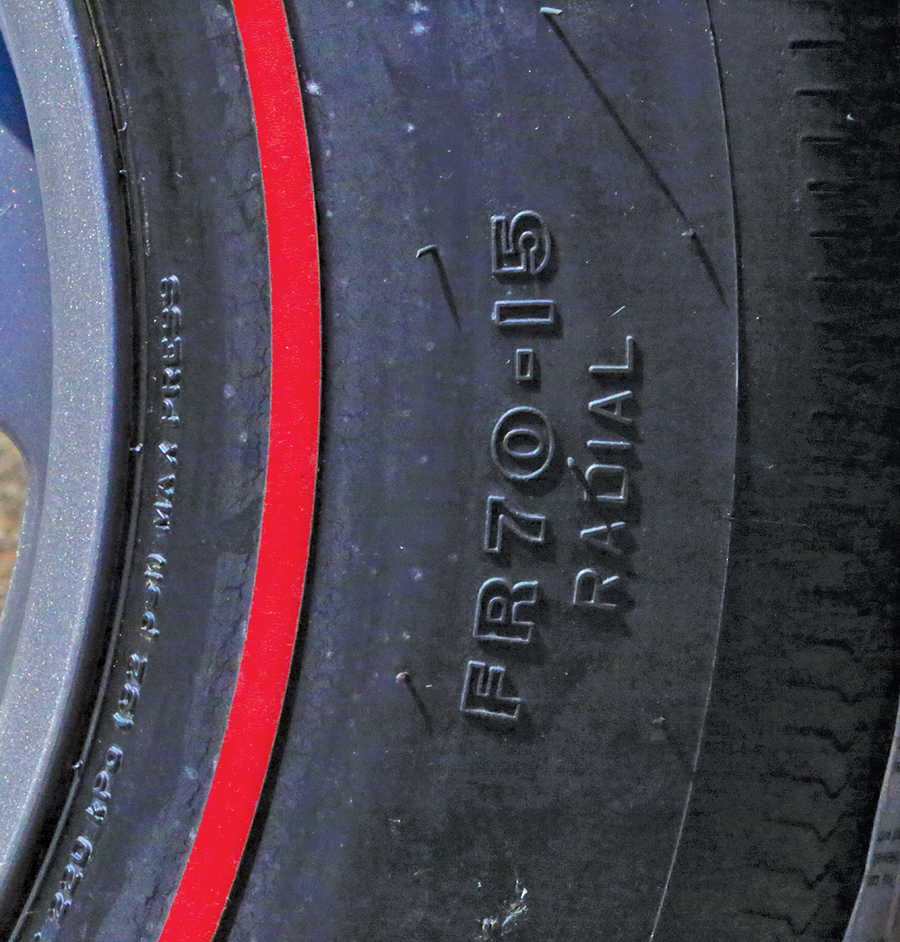
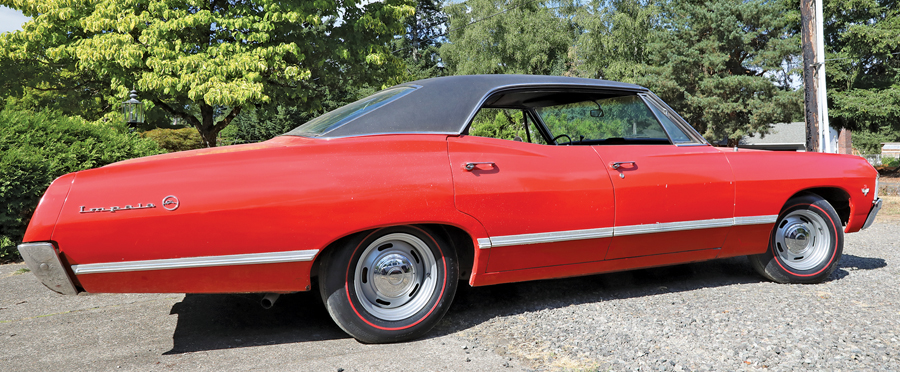
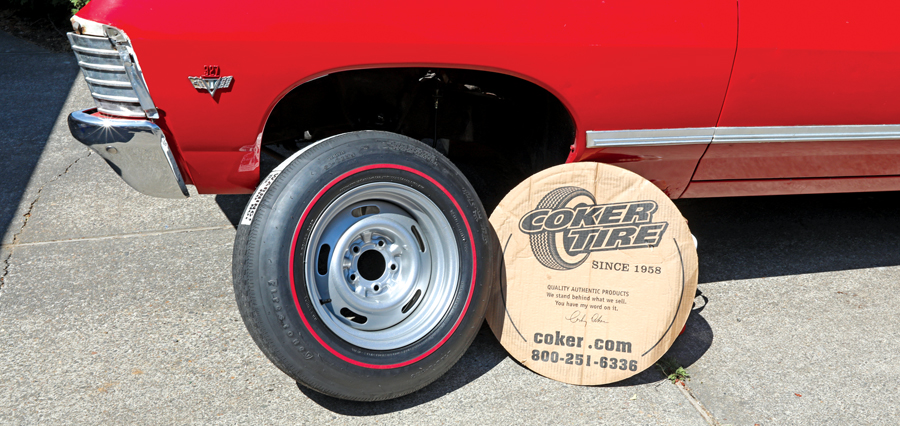 These disc brakes will clear 15-inch wheels, so for the proper original-style look, we sourced some 15×7 Rally wheels from Coker Tire, as well as their bias-ply-look Firestone Wide-Oval Redline radials in FR70-15, which fit a seven-inch rim well and are 27 inches tall — helping to fill the Impala’s big wheelwells. The rims come powder-coated in metallic silver, which looks great and is extremely durable.
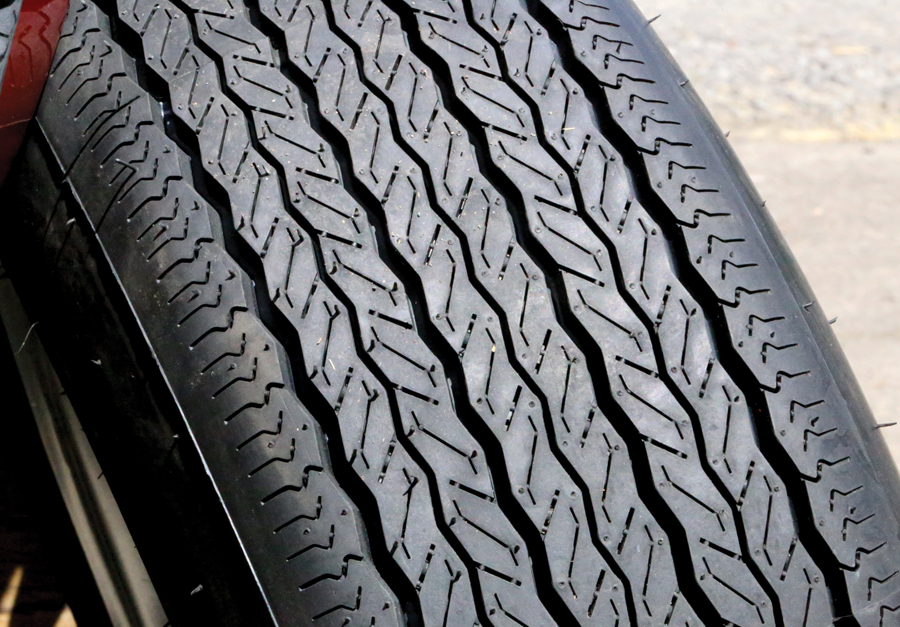 Coker’s Firestone bias-ply-look Redline radial tires look exactly like an original set of bias-ply rubber, down to the vintage tread pattern and all the original sidewall markings. The proof is in the ride: Underneath that old look is a modern radial tire. For a car that needs to have an original look without losing modern ride and feel, there’s no better choice. Coker offers a mounting and balancing service with their rims and tires, too, which is fantastic, as they arrive ready to go.
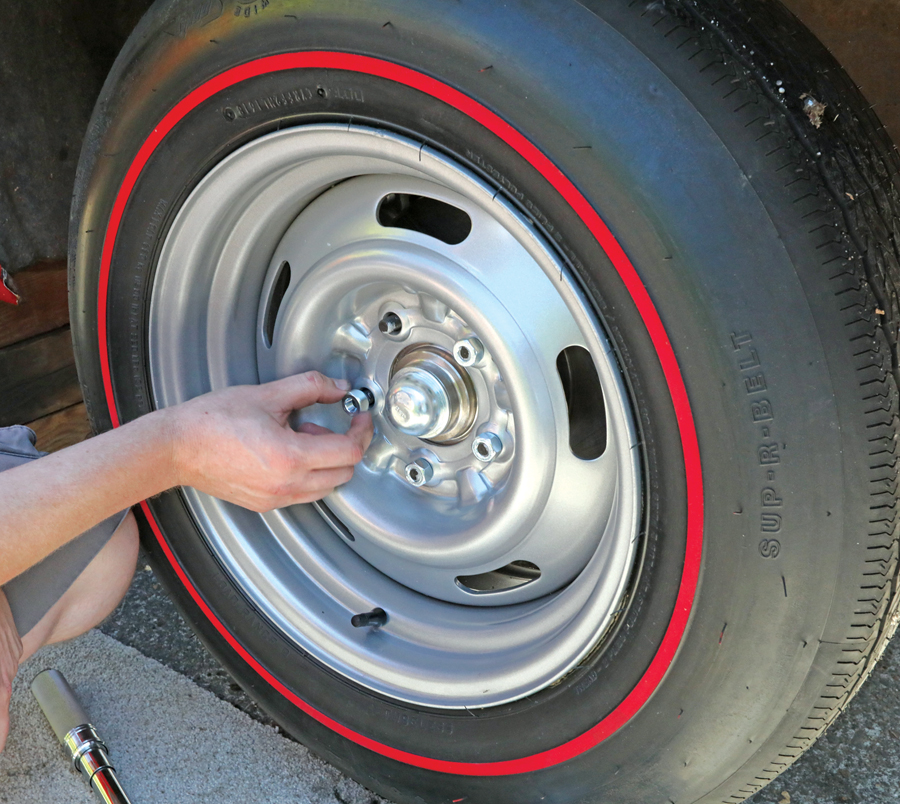 We bolted up the new wheels and tires with a fresh set of lug nuts, being sure to place just a small dab of anti-seize on each stud. We torqued them to 80 ft-lb in a star pattern and followed up with a chrome hubcap.
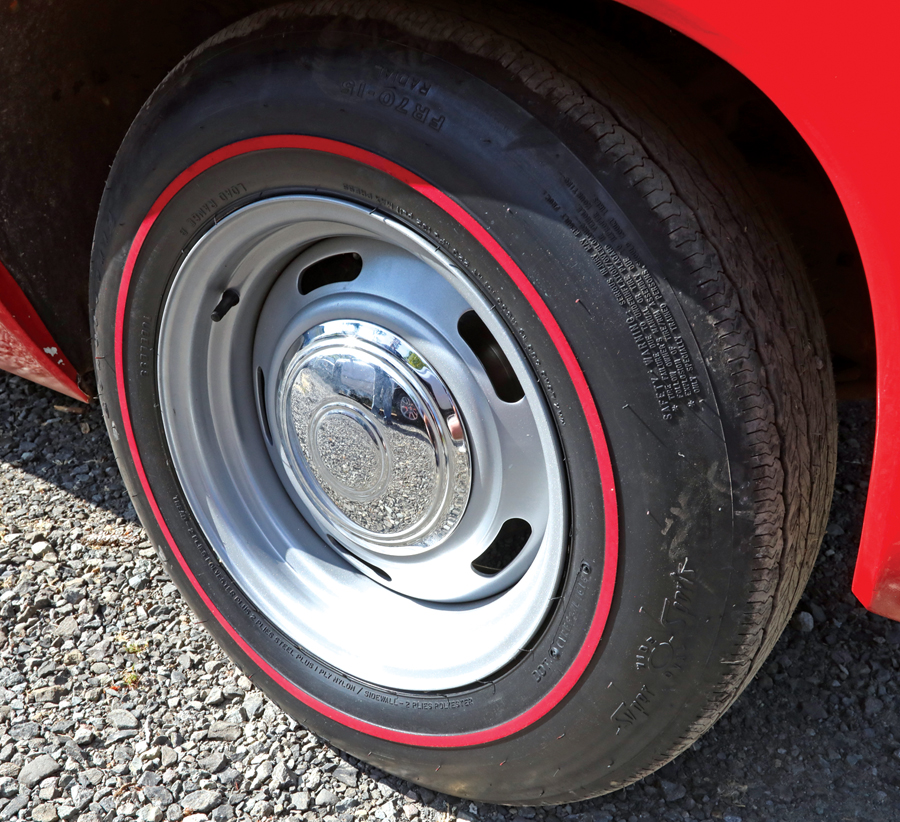
 After triple-checking every bolt for torque, we also checked clearance of the brakes, brake lines and new wheels from steering lock to lock and hunted for any leaks. Once we were satisfied, the Impala was ready for the road. No more stomp-and-pray braking here — just effective straight-line stops with no fade. The car handles great and looks right on Coker’s Firestone Redlines, too. Overall, it’s now safer, sharper and more fun to drive — all while retaining an OE look.