Classic cars and music go hand-in-hand. What fun is driving your ’57 Chevy without Buddy Holly, or your ’65 Mustang without the Beach Boys, or your ’70 Charger without the Stones?
Chances are your classic car still has its original AM radio. They just look right — better than a modern LED plastic piece that would be out of place in an otherwise OEM interior. Sure, there are some replacement modern systems that look stock-ish, but one of those is not exactly the same thing as an original unit — especially if you’re showing your car. Not to mention the fact that some original radios are odd sizes that aren’t currently supported in the aftermarket. So what do you do?
The answer to the problem comes in the form of a Bluetooth unit from Out of Sight Audio — keep that OE AM radio, but add on a separate, completely hidden unit that functions through a wireless connection to your smartphone. It’s slick, invisible and simple.
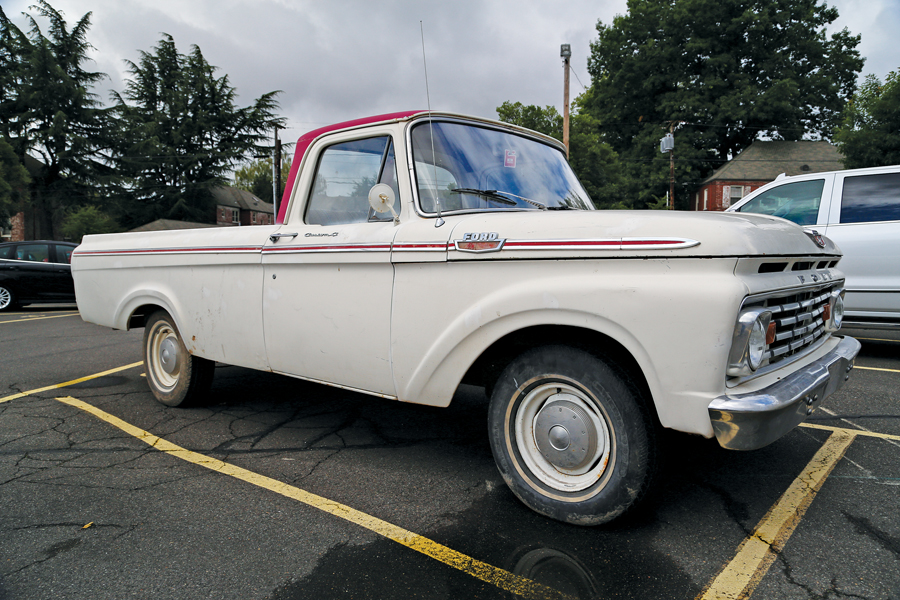
Auction Editor Chad Tyson just picked up a farm-fresh 1963 Ford F100 Unibody with a broken original AM radio, so we converted it using a hidden Mark III stereo head unit from Out of Sight Audio. Because this rig has already had some wiring “modifications” over the years, we also opted to install a Painless Cirkit Boss kit, which is an add-on stand-alone fuse panel that takes power right from the battery and provides four keyed and three constant hot 12-volt sources. No load on the original harness, no cutting up the dash for an aftermarket stereo.
Here’s how quick and easy getting modern sound from your vintage car can be.
Parts List:
- Out of Sight Audio (www.outofsightaudio.com)
- Mark III Head Unit, $319.99
- Summit Racing (www.summitracing.com)
- P/N C7AZ-18808-DVCA, Scott Drake stereo dash speaker, $53.06
- P/N 70207, Painless Performance Cirkit Boss Auxiliary Fuse Block, $95.99
- P/N 8136PT, Pico Speaker Wire, $4.97
- NAPA (www.napaonline.com)
- P/N 785300 Belkin 18-gauge wire (blue), $7.49
- P/N 785306 Belkin 18-gauge wire (black), $7.49
- P/N 03615 3M double-sided molding tape, $6.63
Time spent: Hour and a half
Difficulty: 1/5
-
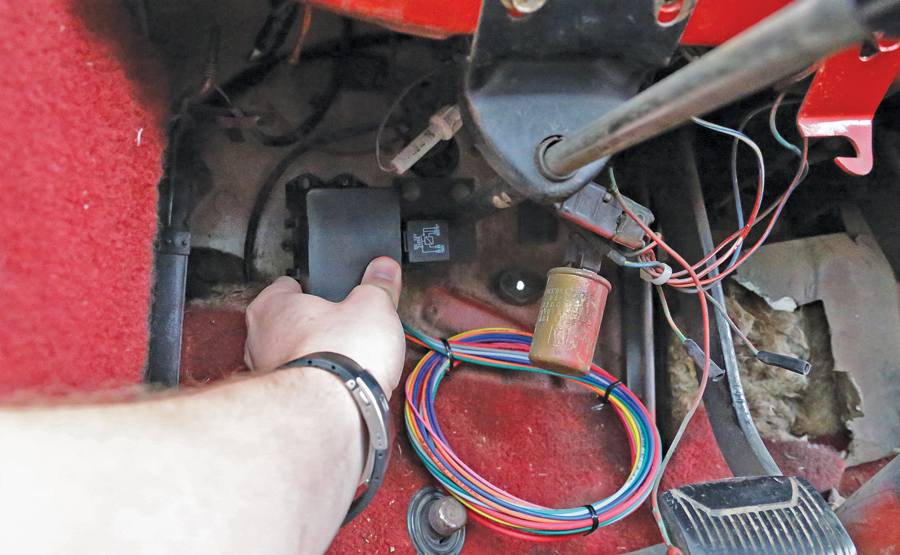
Step one is locating a good spot for the Cirkit Boss fuse panel. You don’t absolutely need to use one of these units, but it’s a great idea if you’re planning on adding other accessories in the future, or if you’re skeptical about messing with your car’s original wiring. We found a good, accessible spot under the dash near the clutch pedal. 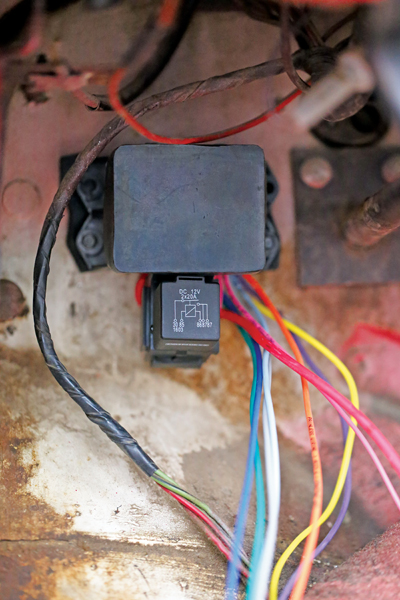
Using the supplied ¼-inch self-tapping screws, we installed the panel to the firewall. Drilling pilot holes with a small bit first can make quick work of the job — but be aware of what’s on the other side of wherever you’re drilling. Also note that one of these mounting screws serves as the unit’s ground. 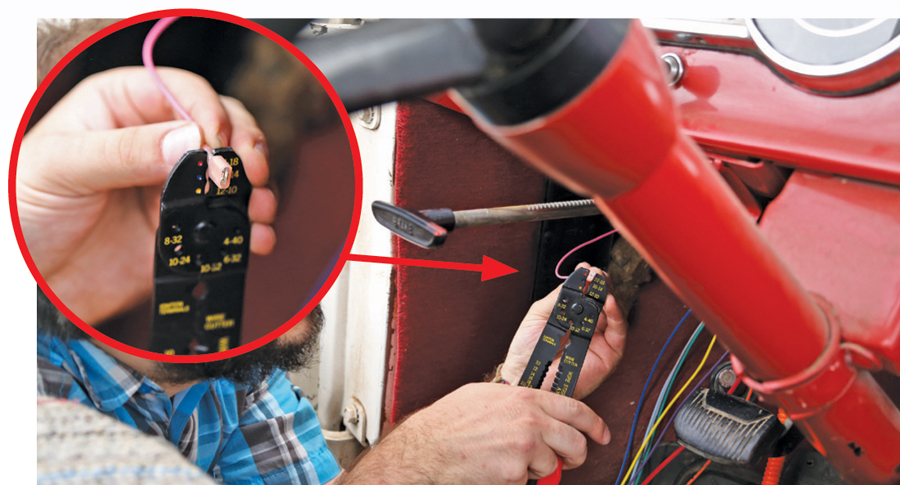
The Cirkit Boss kit is a stand-alone unit, drawing power through a heavy-gauge wire directly from the battery. It does, however, need a 12-volt keyed ignition source to use as a trigger. Using a test light, we found a fuse that’s hot with the key, and using the supplied fuse tap, plugged into it. We then cut the pink trigger wire to length, installed a female crimp connector on it, and plugged it in. 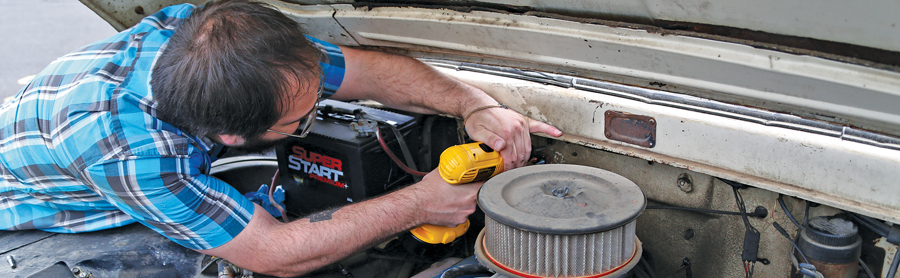
The kit comes with a circuit breaker to mount near the battery. We found a spot on the firewall, and using two more self-tapping nuts, installed it. (Note the farm-engineered bungee cord battery hold-down Chad keeps saying he’s going to replace.) 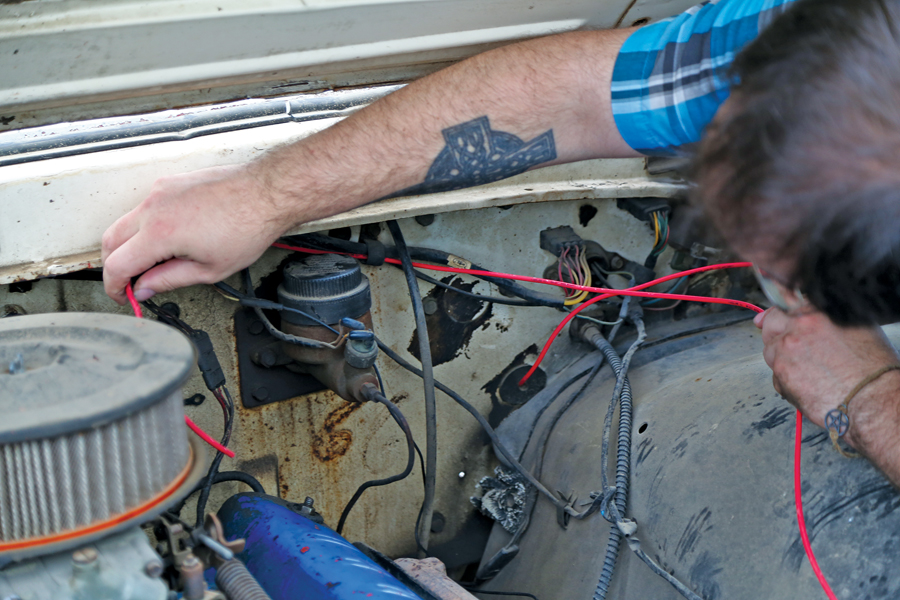
After running the red main power wire through an existing grommet on the firewall, we fed it through the original wiring harness retainers over to the breaker. 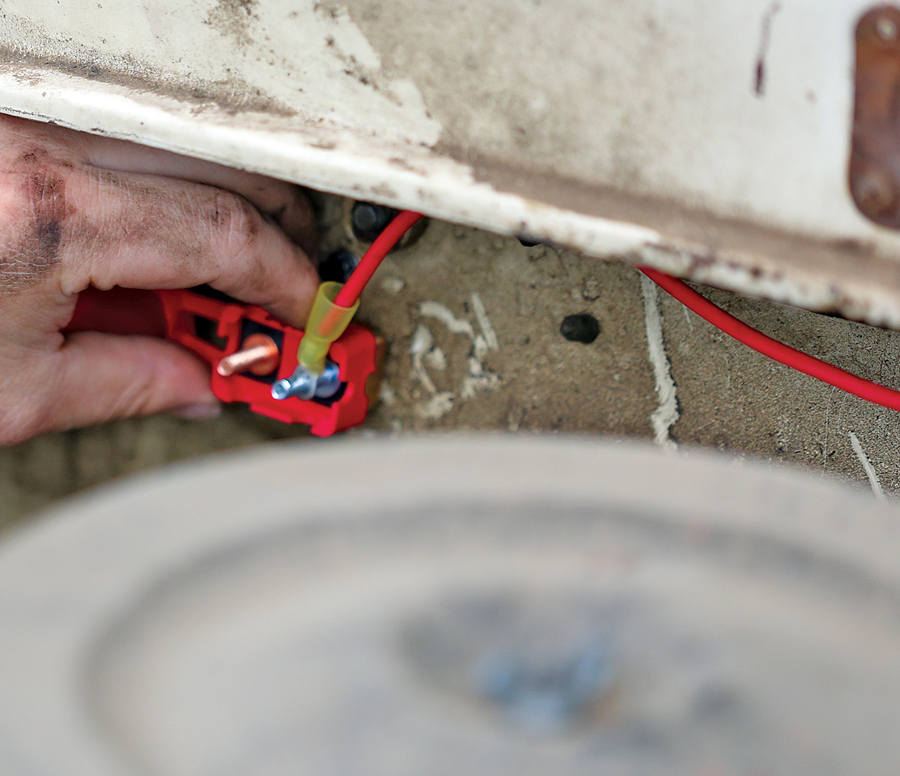
The kit comes with the proper wire ends to fit over the breaker studs, complete with waterproof heat-shrink ends to keep out moisture. We cut the wire to length, crimped on the end, and installed it using the supplied 3/8-inch nuts. 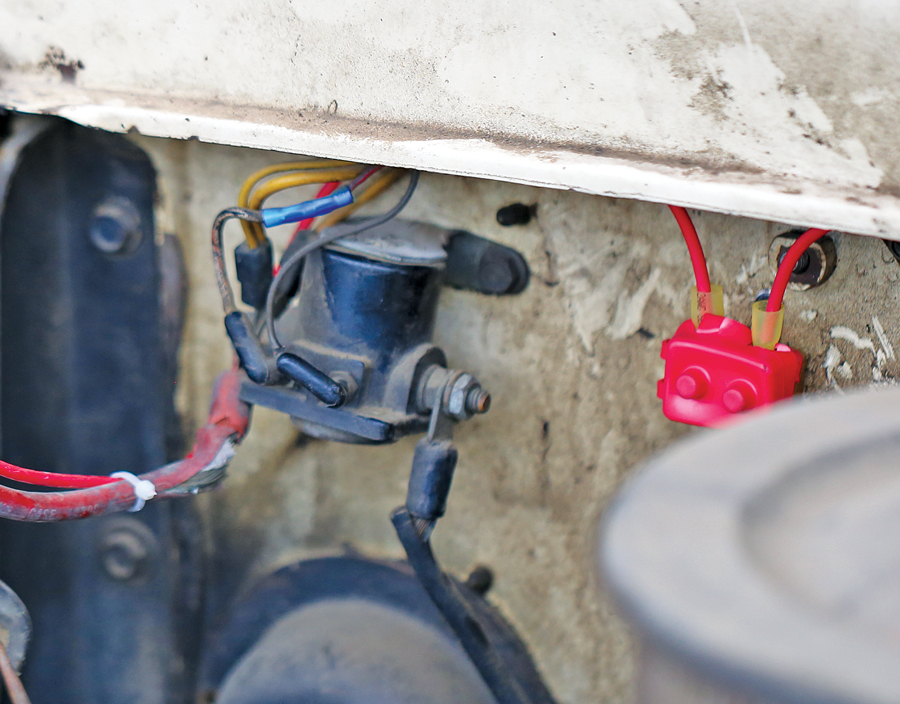
We then ran another short length to the positive terminal of the battery, and using the ends supplied with the kit, bolted it all together. We also zip-tied the new feed wire to the positive battery cable, just to clean things up a bit. 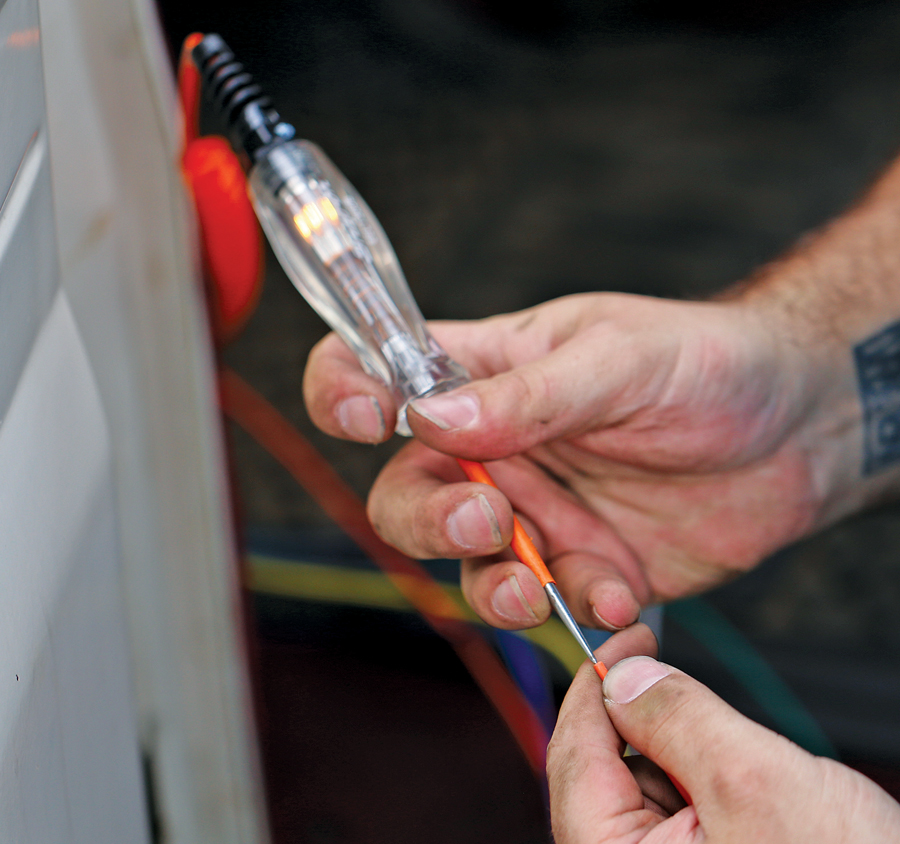
Using a test light, we checked to make sure the system had power — 12-volts constant hot on the constant-marked wires and 12-volts keyed hot on the ignition-marked wires. 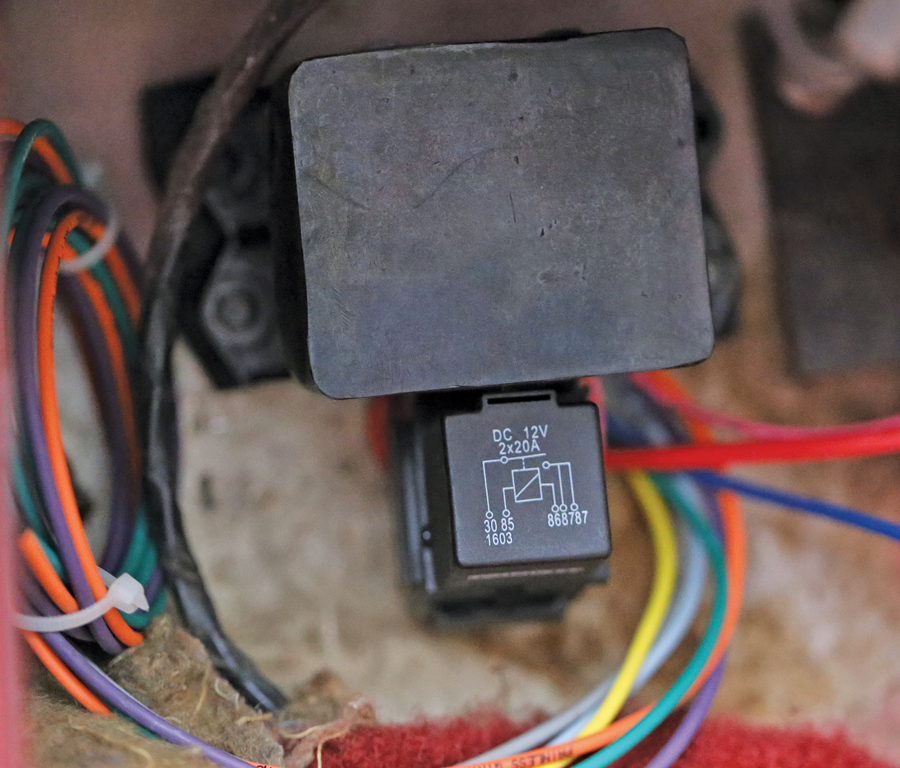
We wrapped up the wires we were not intending to use and tucked them out of the way — you can also pull the fuses on whatever you’re not using right away, just to be safe. We’ll be using the blue keyed-hot wire to power the new stereo. 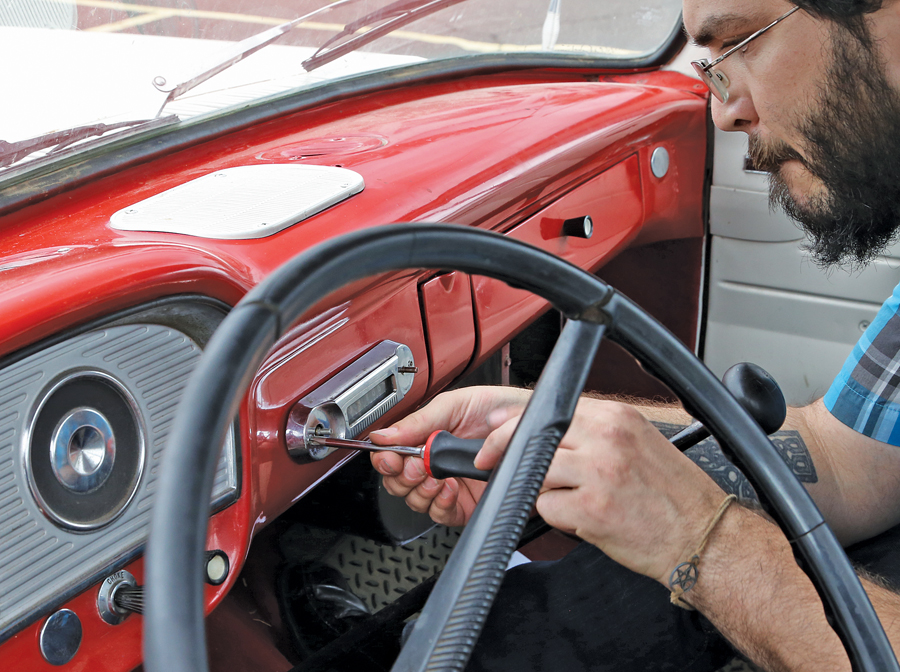
Stereo time! Chad’s Ford was missing its original speaker, but the AM radio was still in place. To get to the speaker’s mounting location, we pulled the original stereo out of the dash and set it aside. 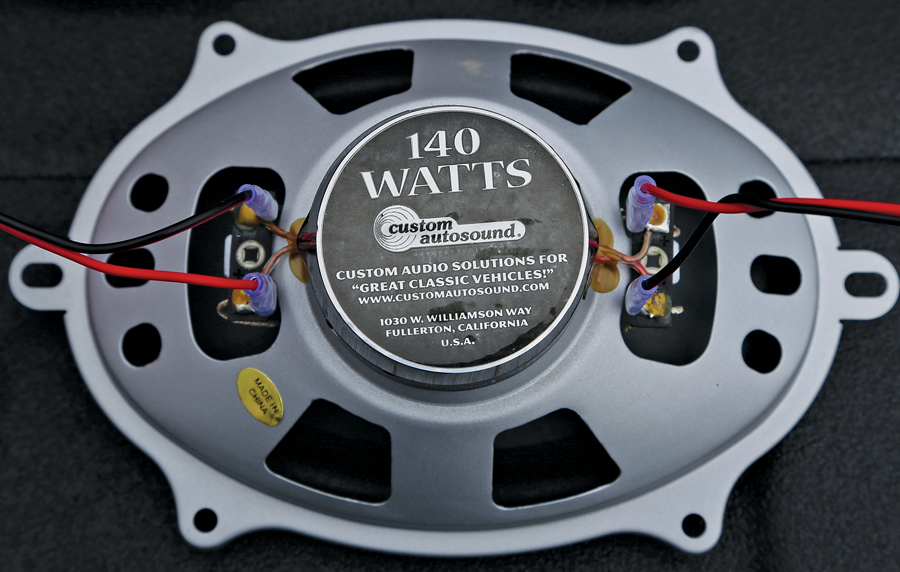
After measuring the original speaker-mounting holes, we ordered up a new speaker from Summit Racing. This speaker is actually a stereo unit, featuring both a left and right input for stereo sound from the original mono AM speaker location. 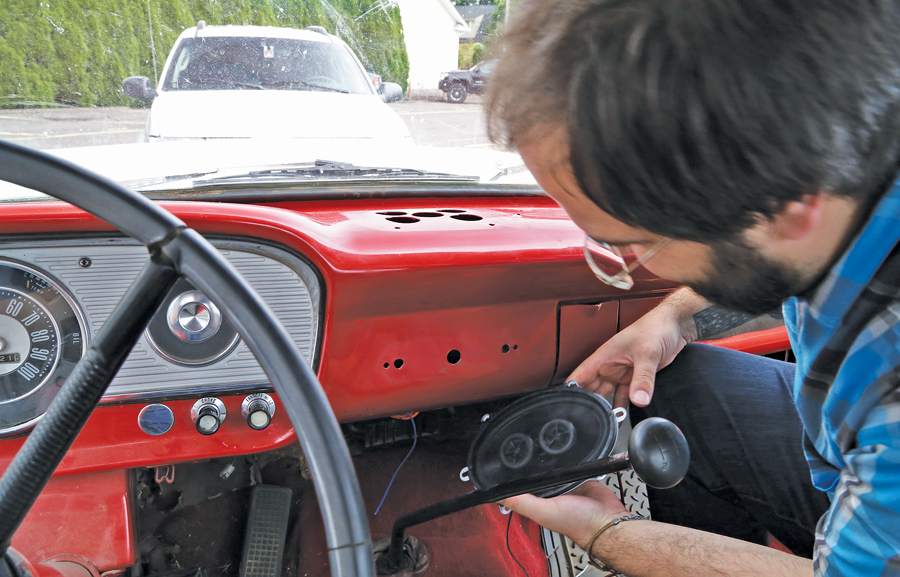
After installing both left and right speaker wires, we fed the new speaker up into the original location and installed it using the supplied mounting hardware. We then reinstalled the original speaker grille on the dash. 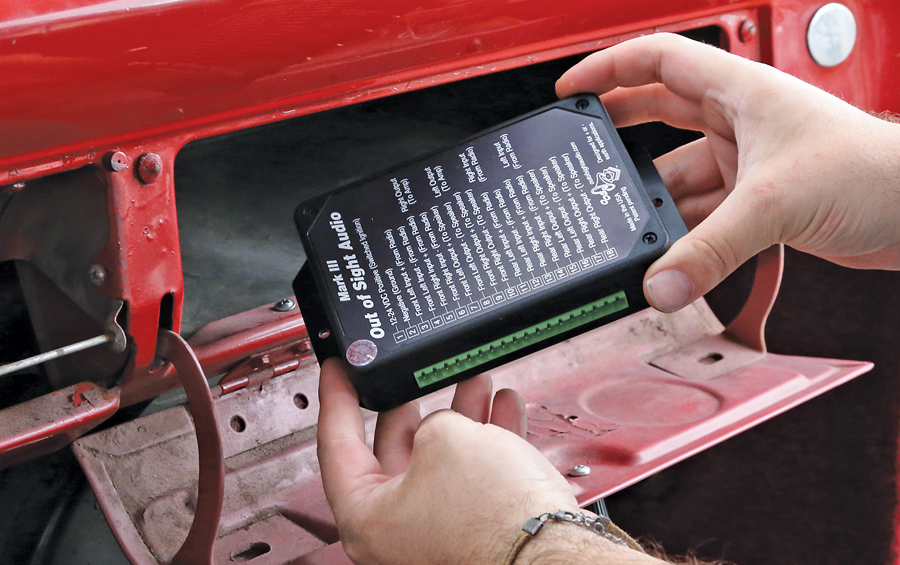
The best part about Out of Sight Audio’s unit is flexibility of mounting. It can go pretty much anywhere, as long as your Bluetooth device is no more than about three feet from it during operation. We elected to slide ours in the glovebox for easy access for later upgrades. This unit can power four 75-watt speakers and has two pre-amp outputs to power more speakers or a subwoofer. It can also be used in line with your original stereo system, adding Bluetooth to the factory system. 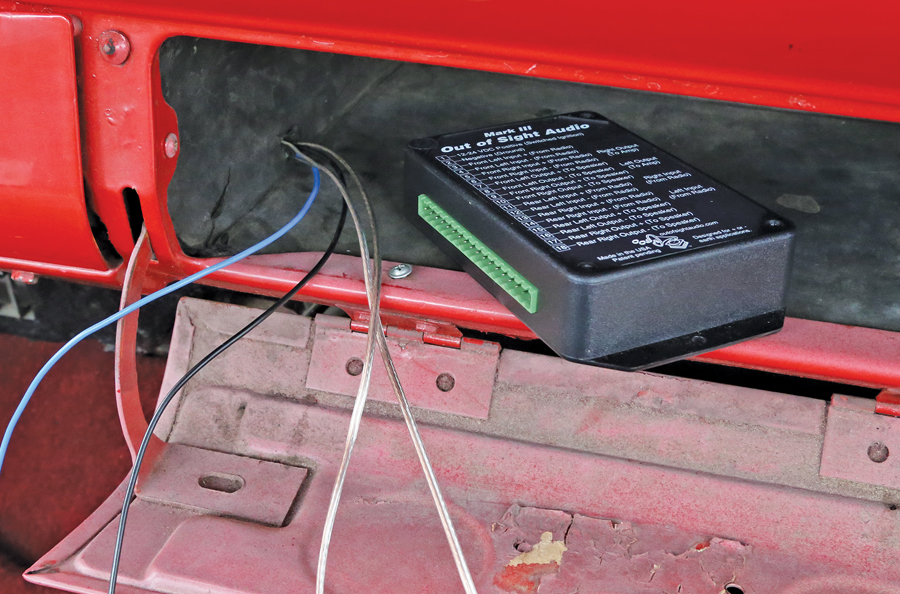
After picking our mounting location, we ran wires directly to the head unit. In our case, wiring was simple: power (blue), ground (black), right channel and left channel. 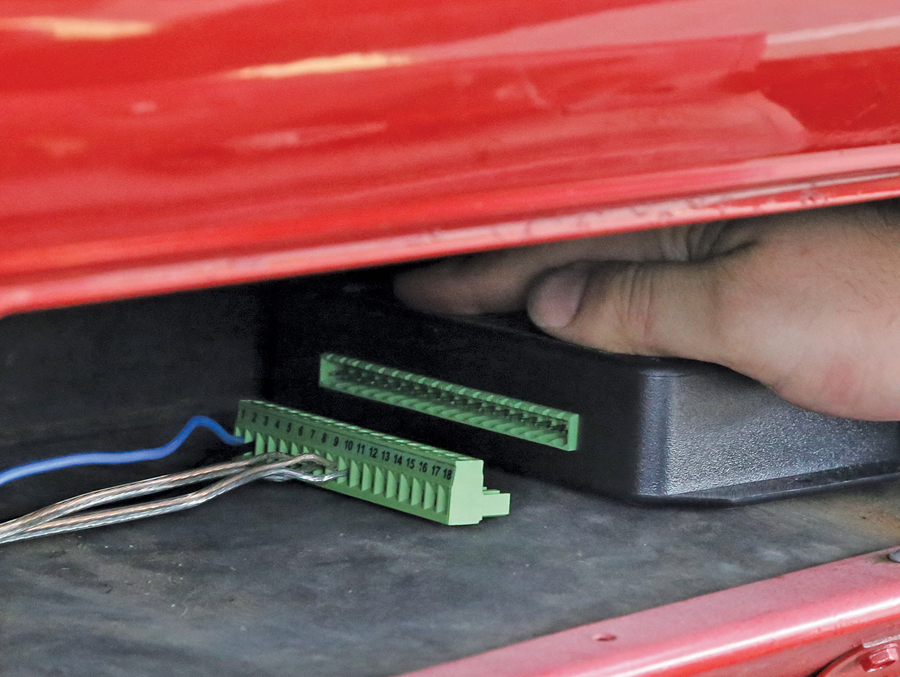
The stereo uses a cool plug with a screw clamp for each wire. Installation is easy thanks to a numbered chart printed on top of the head unit. After cutting each wire to length and installing them in the plug, we then used 3M double-sided emblem tape to affix the stereo to the inside of the glovebox. 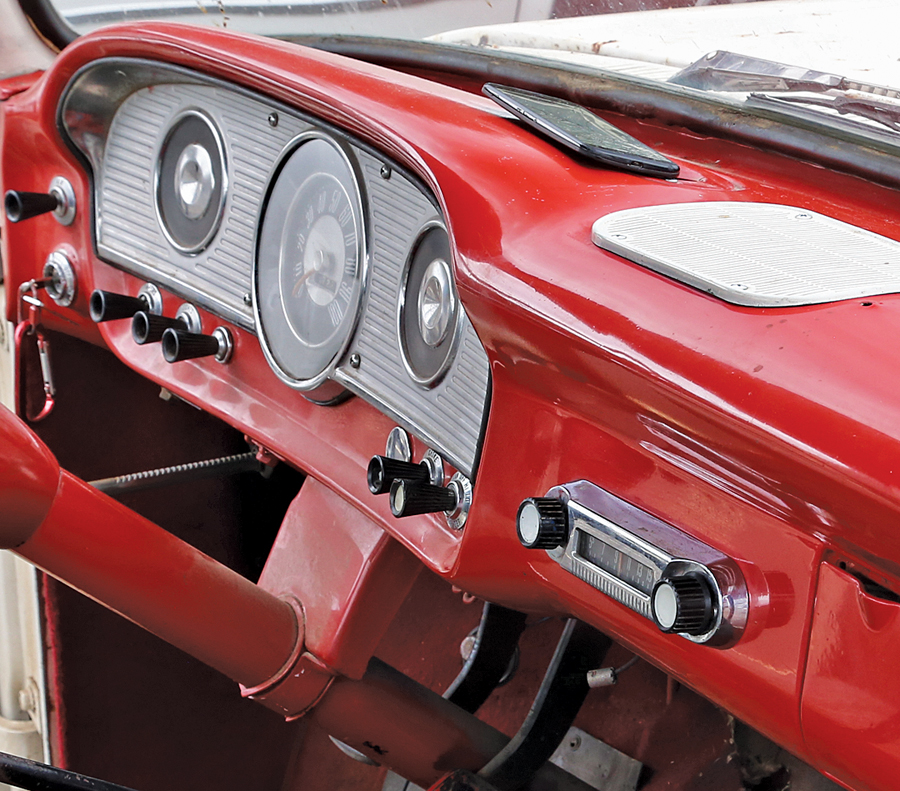
Lastly, we reinstalled the original AM radio for a stock look. As you can see, nothing looks out of place — no visible speakers, no visible head unit. Aside from the add-on seat cover, a floor mat, and some dirt and remnants of hay still stuck in the carpets, this thing looks time-warp 1963. 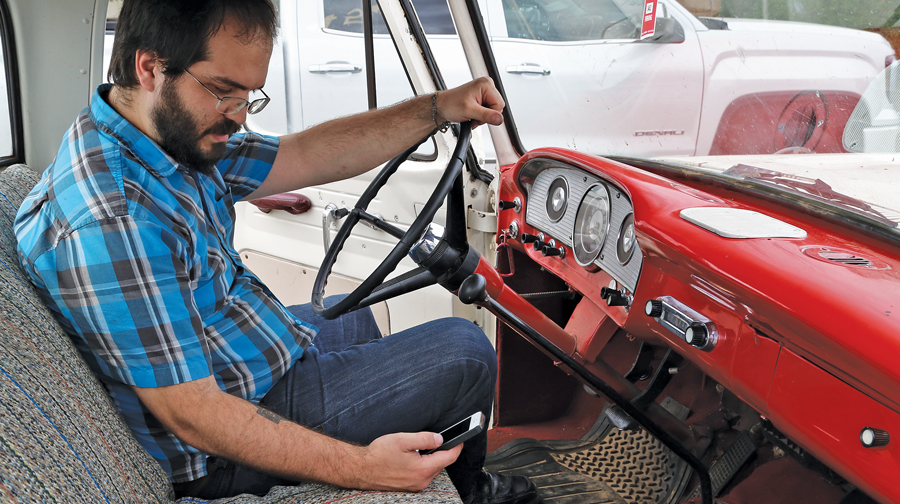
Using the new stereo is as simple as this: Turn on the ignition, sync your device to the “OOSA” Bluetooth connection, and start playing music. All the controls for volume are done via your phone, as is selecting whatever you want to hear from Pandora, iTunes, iHeartRadio, etc. Best of all, everything looks 100% stock.