Shiny, deep paint has always been the go-to for car people looking to turn heads with their classic cars. But for car purists — especially those concerned with originality over everything else — there’s nothing better than having that OE paint on your classic.
For years, original paint wasn’t a priority for many car restorers, and that has made original-paint cars relatively rare today — with those cars that do have OE finishes sometimes valued higher than their resprayed counterparts, because “it’s only original once.” But those original finishes have lived full lives and have the bumps and bruises to show it — scratches, thin spots, cracking, you name it.
If you have an original-paint car, however, you don’t need to choose between a great, deep shine and that all-important originality. If you’re careful, and if you use the right methods and products, you can eliminate imperfections and bring a lot of depth to your car’s original paint without hurting what makes it so special.
We got together with Nick Griot and Sam Battersby — a couple of the experts at Griot’s Garage in Tacoma, WA — to show you the right way to make your car’s original paint look its best while maintaining its integrity.
Griot’s Garage Parts List
- Spray-On Car Wash, 22 oz., P/N 10984, $14.99
- Paint Cleaning Clay, 8 oz., P/N 11153, $19.99
- Speed Shine, 35 oz., P/N 11146, $13.99
- BOSS Long-Throw Random Orbital Polisher, P/N BG15, $365
- BOSS Correcting Pad, set of two, P/N B120F5, $23 (2)
- BOSS Perfecting Pad, set of two, P/N B130F5, $23 (2)
- Correcting Cream, pint, P/N B120P, $24
- BOSS Perfecting Cream, pint, P/N B130P, $20
- Foam Pad Conditioning Brush, P/N 15548, $15.99
- Best of Show Paste Wax, 9.5 oz., P/N 10871, $24.99
- PFM Terry Weave Towel, set of two, P/N 55586, $19.99 (2)
- PFM Detailing Towels, set of three, P/N 55526, $19.99 (3)
- PFM Dual Weave Wax Removal Towels, set of four, P/N 55525, $19.99 (4)
- Three-inch Red Foam Wax Pads, set of three, P/N 11263, $13.99 (3)
- Palm Grip Pad Holder, P/N 10637, $9.99
Time spent: About eight to 12 hours, depending on vehicle size
Difficulty: 2/5
Here’s how we did it:
-
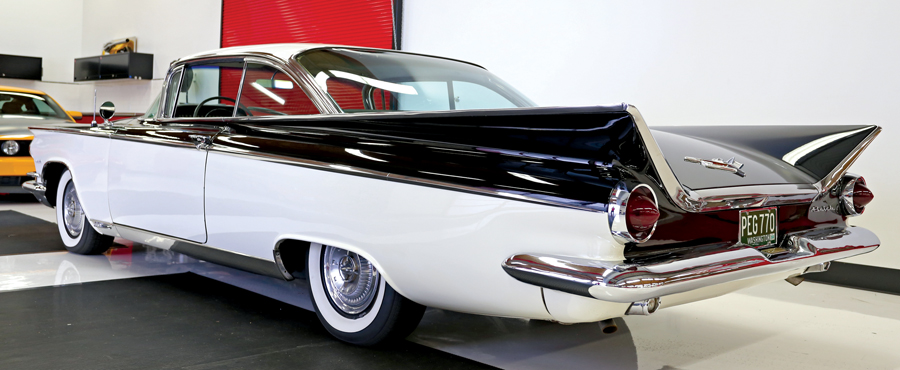
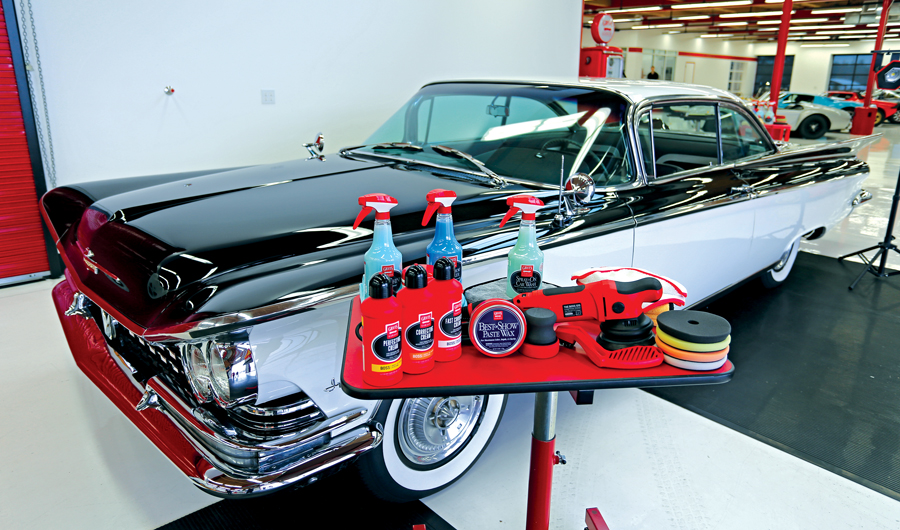
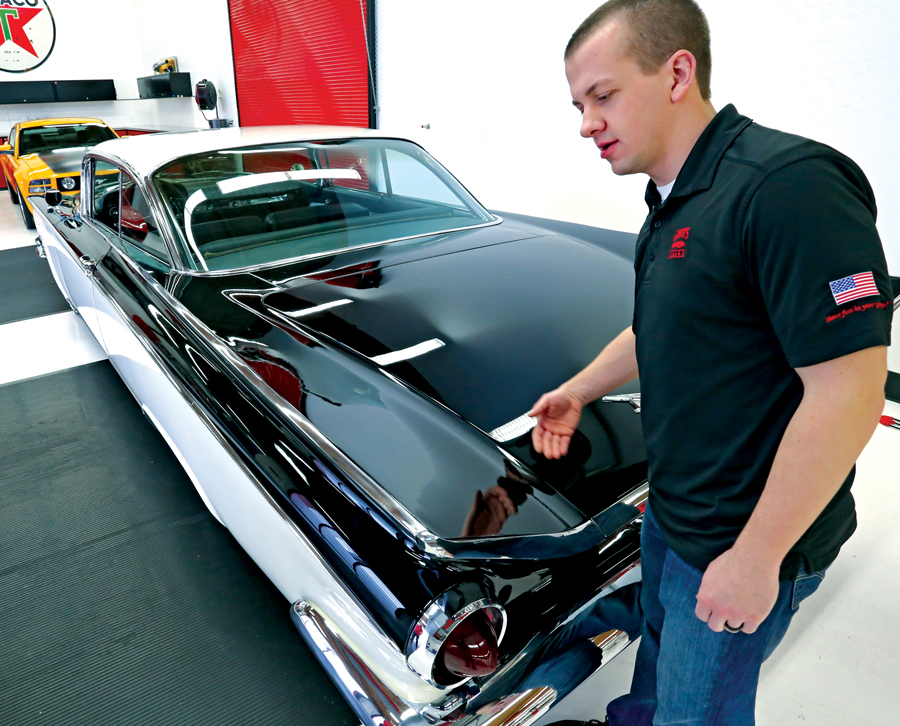
Our subject car is this beautiful 30,000-mile 1959 Buick Invicta. As you can see, it’s already in pretty good overall shape, but a little bit of polish work will bring it up another level and add a bunch of depth to its original paint. -
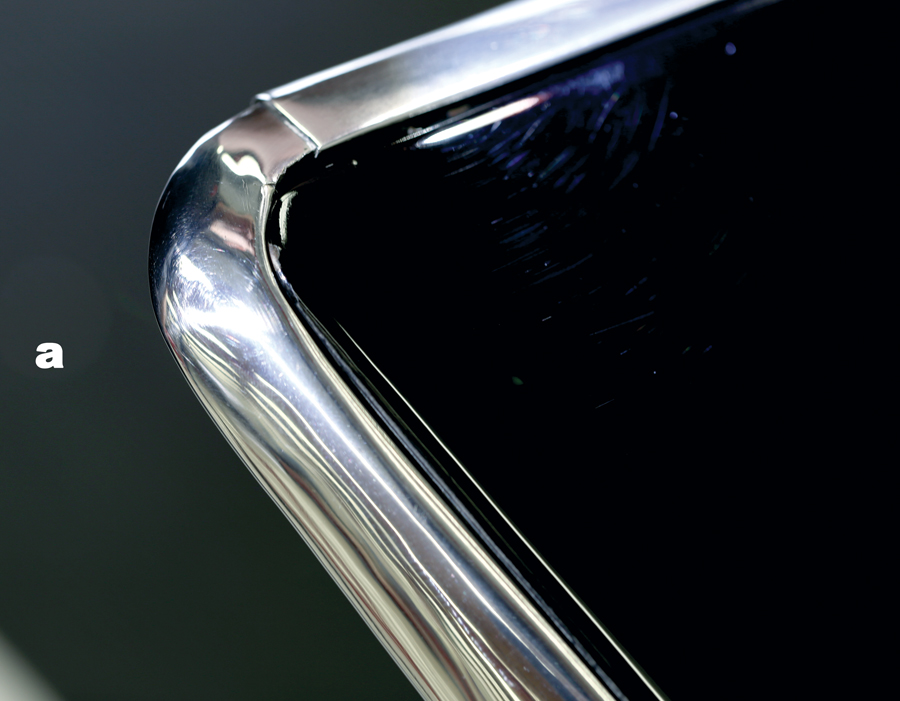
How can you tell if it’s original paint? Give the car a visual examination for age-related imperfections. Check the door jambs and underhood for evidence of tape lines or overspray. Also look under hard-to-remove trim pieces, such as on this Buick’s fin (a), for evidence of overspray. We found none. 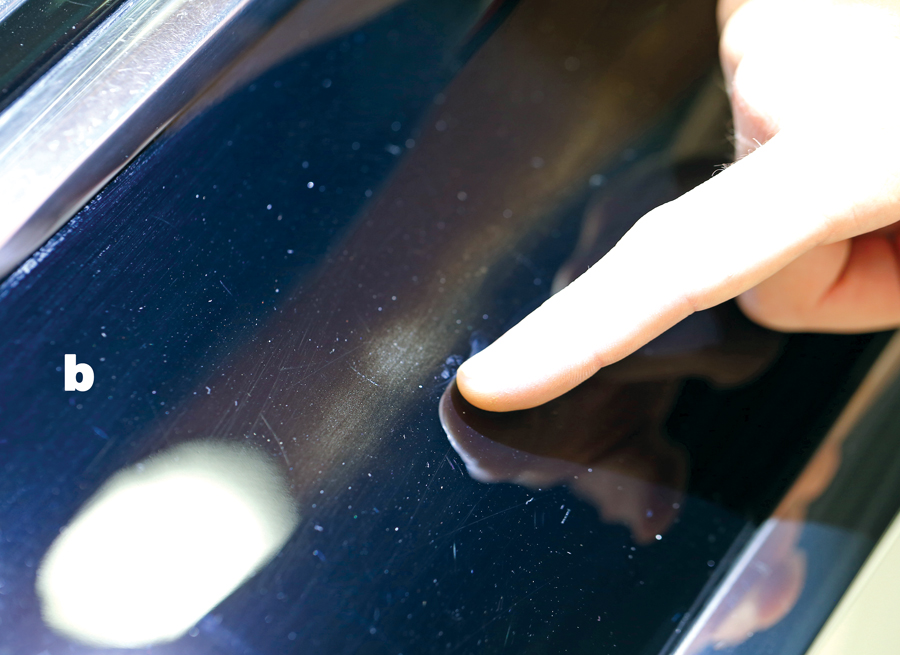
Thin spots (b) are also good clues that you’re dealing with original — or at least old — paint. But the best method is to measure the paint’s thickness, and we’ll get to that in a second. -
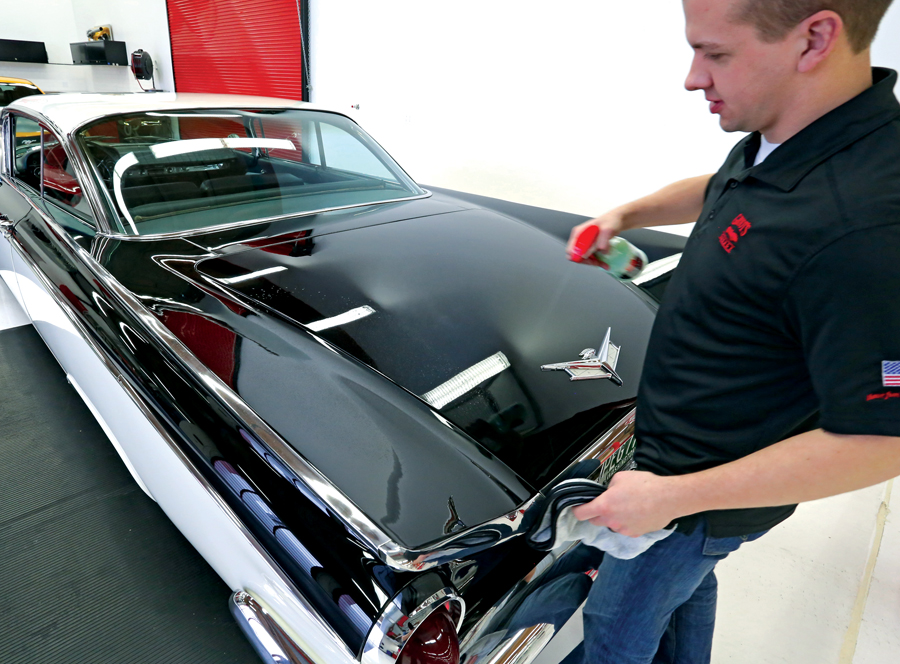
The first step is an overall cleaning of the car. Start with a wash, or in this case, as the car was free of heavy dirt, we went after the surface with Griot’s Spray-On Car Wash (P/N 10984) and a microfiber towel, using straight drying motions from front to rear to eliminate the possibility of grinding contaminants into the paint surface. A waterless product such as this replaces a soap/water method to prevent damage to delicate areas of the paint/trim and removes the possibility of water settling in common rust areas. -
The surface may be clean, but it’s not free of contaminants — you can tell by the tactile feel and sound you get by rubbing the back of your hand across the surface you just washed. The noise and resistance is caused by embedded contaminants in the paint surface — for the best results, these need to be removed before you move on to polishing. This will also help expose the true nature of the paint. -
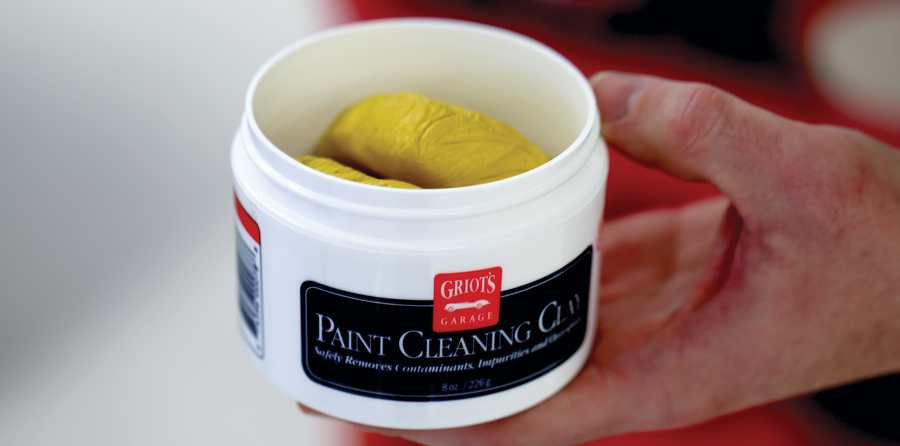
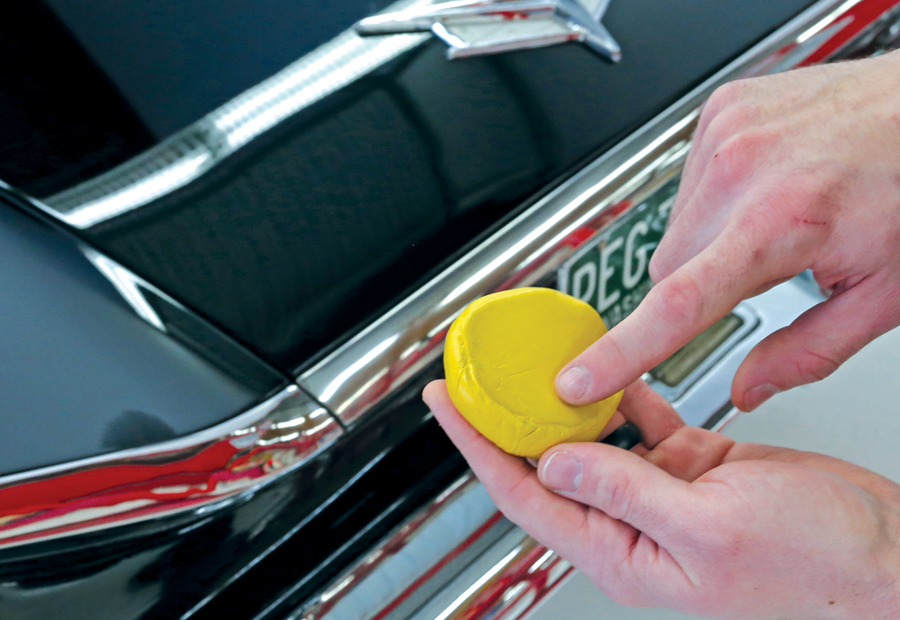
Paint Cleaning Clay (P/N 11153) is your best bet to remove those contaminants, as it’s abrasive-free and built of a soft compound that’s safe for older, original paint. -
Starting with half or a quarter of the 8-ounce clay bar (don’t use it all at once — in case you drop it on the ground you’ll still have some left), spray down the surface you’re working with Speed Shine (P/N 11146) and work the clay across it, on the base of your fingers, in a cross-hatch pattern. Use a liberal amount of Speed Shine to ensure the tacky clay doesn’t stick to the paint surface. As it removes the fallout, sap, road grime and water spots, it’ll start to glide easier across the surface. -
That dirty surface is how you can tell the clay is working. All you need to do to expose a fresh, new clay surface is fold it over onto itself and continue. You’ll want to complete at least two passes with the clay bar and Speed Shine before wiping the surface down with a soft, clean microfiber cloth. Then run the back of your hand across the surface and note the difference now that it’s clean and free of contaminants. The surface should feel perfectly smooth; if not, repeat the process. 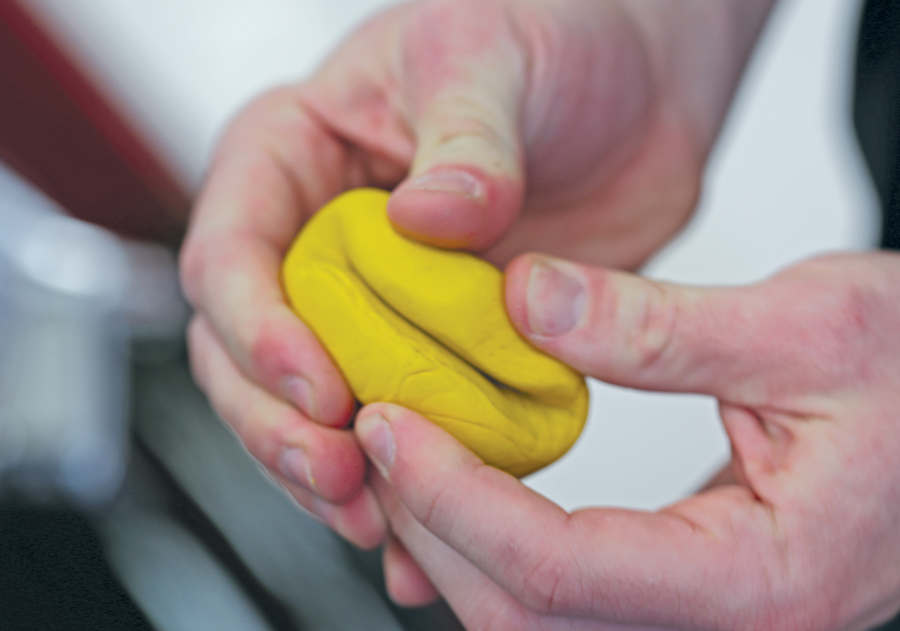
-
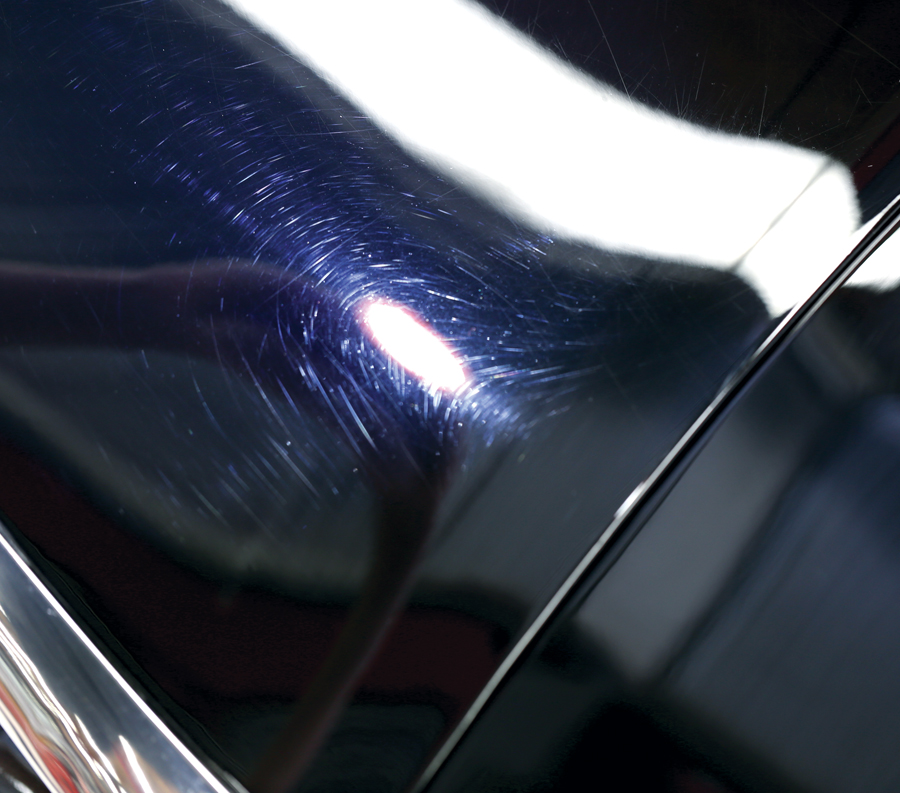
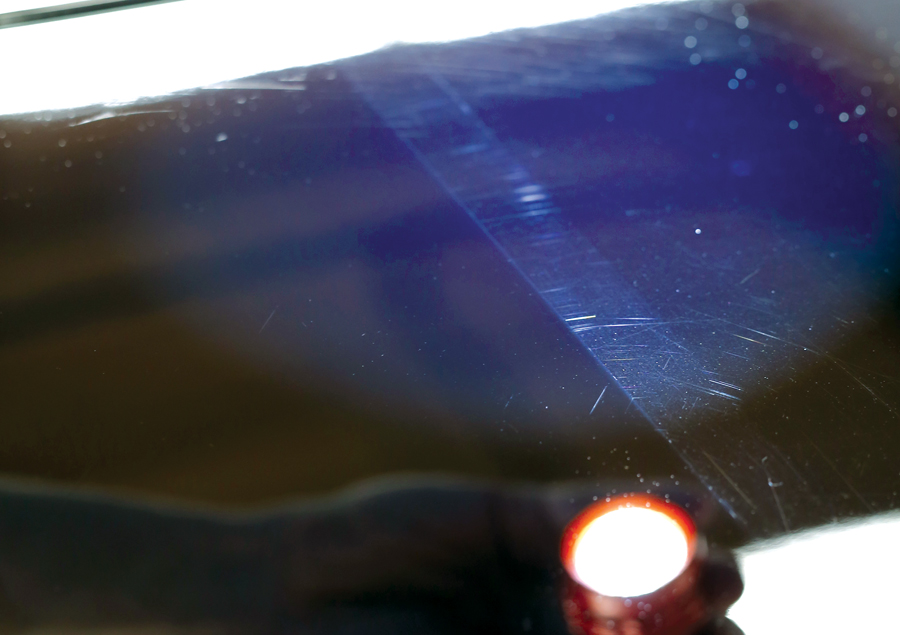
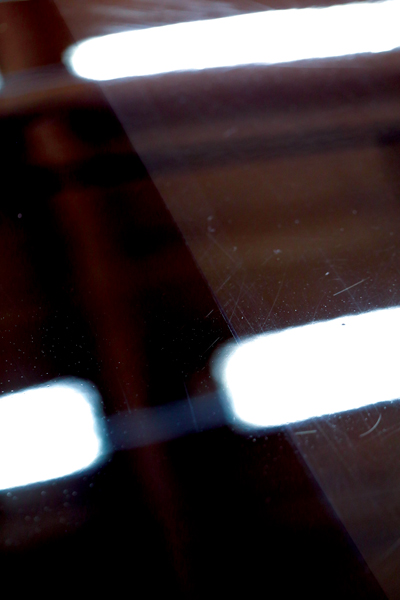
Here’s a good example of what remains after a good cleaning — note the swirl marks and deeper scratches that show up under direct light. We can fix this. -
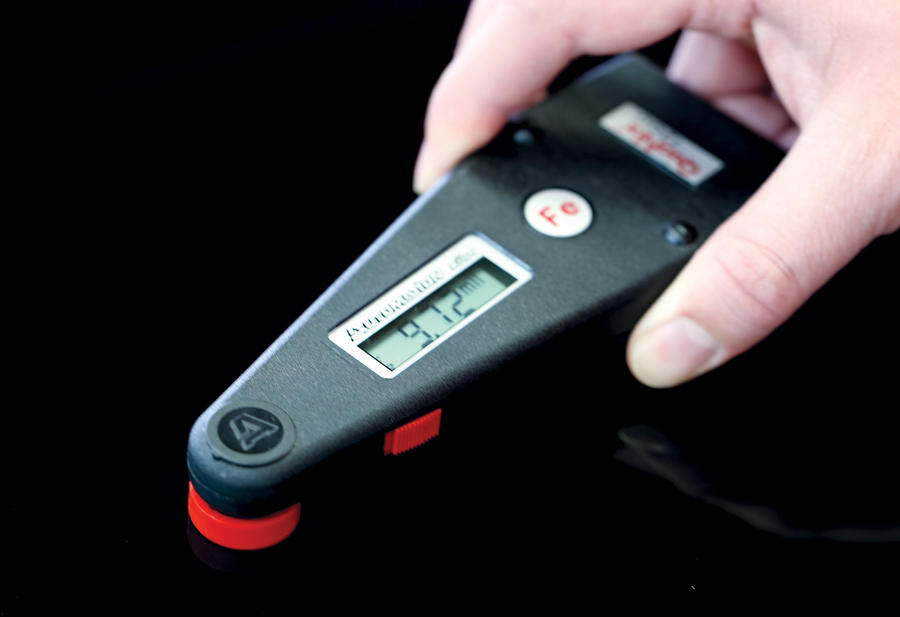
Before moving on, it’s time to check paint thickness. Why? Because any sort of machine polishing removes a small amount of the paint surface, and we need to know we’ve got enough surface to work with before diving in. The best way to do this is with a paint-thickness meter. The larger the number here, the more paint there is. Check all over — it’ll clue you in to any thin spots you can’t see, or any touch-ups you might have not otherwise known about. Resprays generally come in at the 12–14 mil range (1 mil = 0.0254 mm). Here, this panel shows 9.7 mil, reinforcing our belief of original paint. -

Now that you have a clean surface and you know how much paint you’re working with, it’s time to think about what approach to take. Starting with the least-invasive approach is best, and then step up from there as needed. Since we’re only dealing with removing some light defects, going conservative is our best bet. -

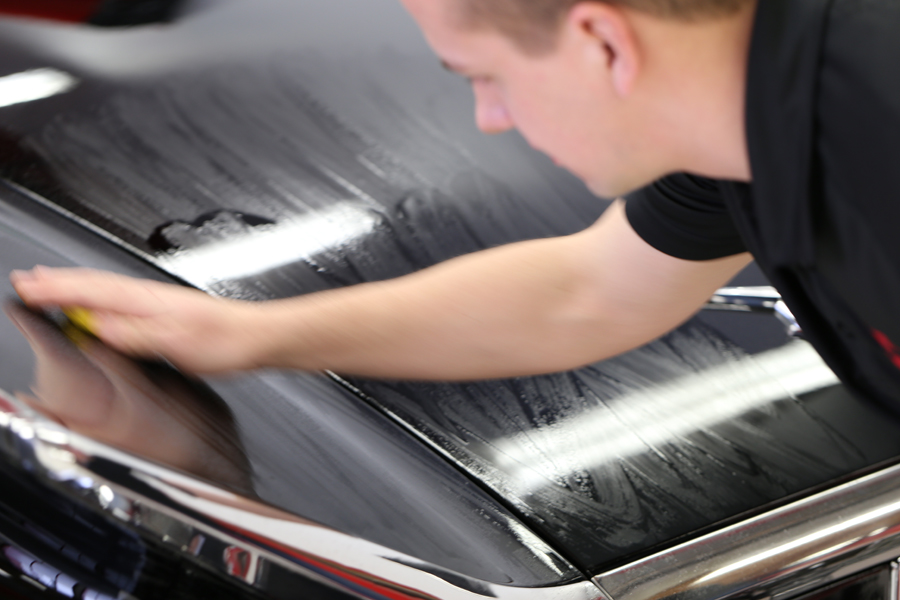
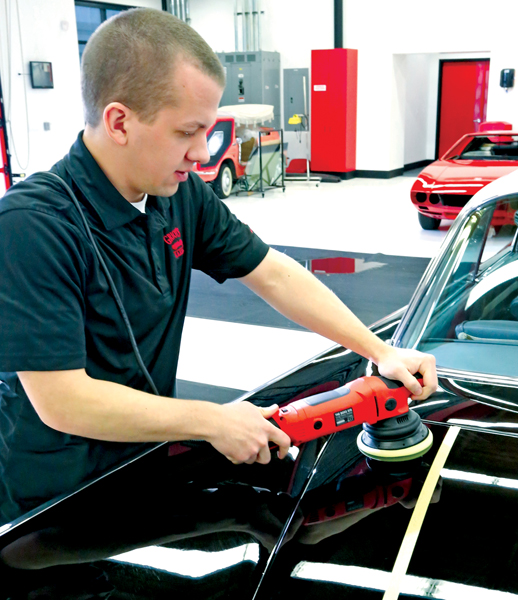
It’s random orbital time. Why? Because doing this kind of work by hand will take you forever, and you won’t get the results you’re after. Note we’re not using a rotary polisher, which is a great tool but has a much smaller margin for error and can cause burns in inexperienced hands. Instead, we used Griot’s BOSS Long-Throw Random Orbital Polisher (P/N BG15) and the Orange BOSS Correcting Pad (P/N B120F5) with Griot’s Correcting Cream (P/N B120P), applied liberally at first to the surface of the pad. This setup is relatively low-impact and serves as a great starting point for light-to-moderate correction. -
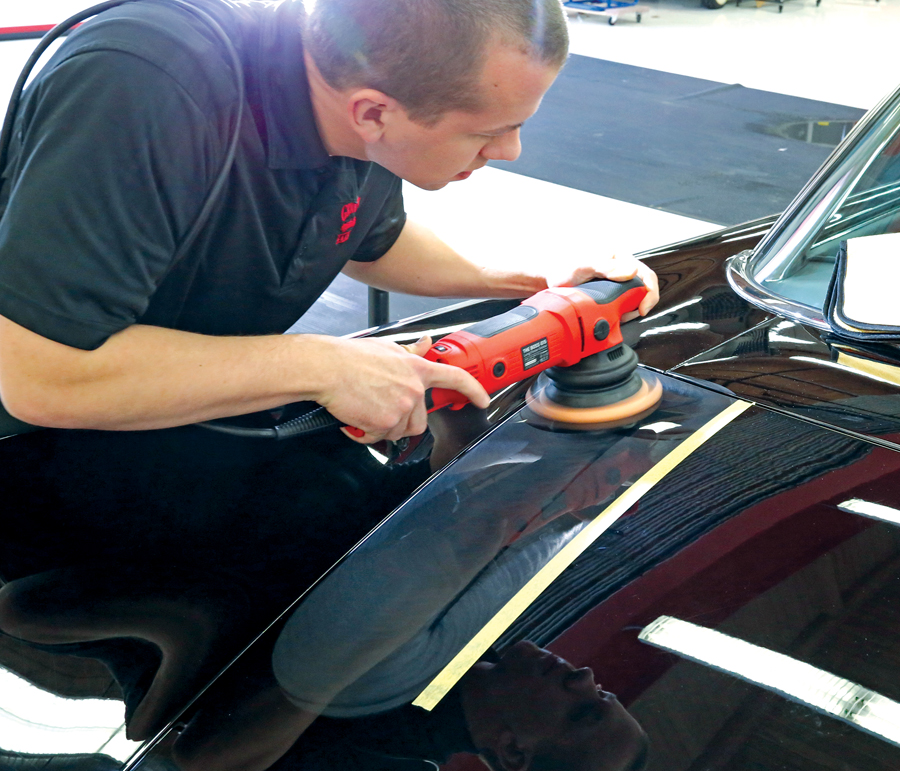
The trick here is to start out slowly to spread out the product, and to only work a small section at a time so you can watch your work. Increase your speed from there, using light pressure on the tool, and let the compound do the work. Count your passes over the section you’re working — you want to do no more than two to three passes as a test. One pass equals up-down and side to side in the area you are working. -
Stop to check your work. Wipe down the area with your microfiber towel and inspect to see if you’re satisfied. If you aren’t happy with the result, you can always step up to a stronger pad and polish — although for original paint, you may want to consider leaving some of those deeper blemishes alone. We measured our paint again and saw we’d removed 1 mil of paint. We decided it wasn’t worth going thinner on our original paint in the drive for perfection. -
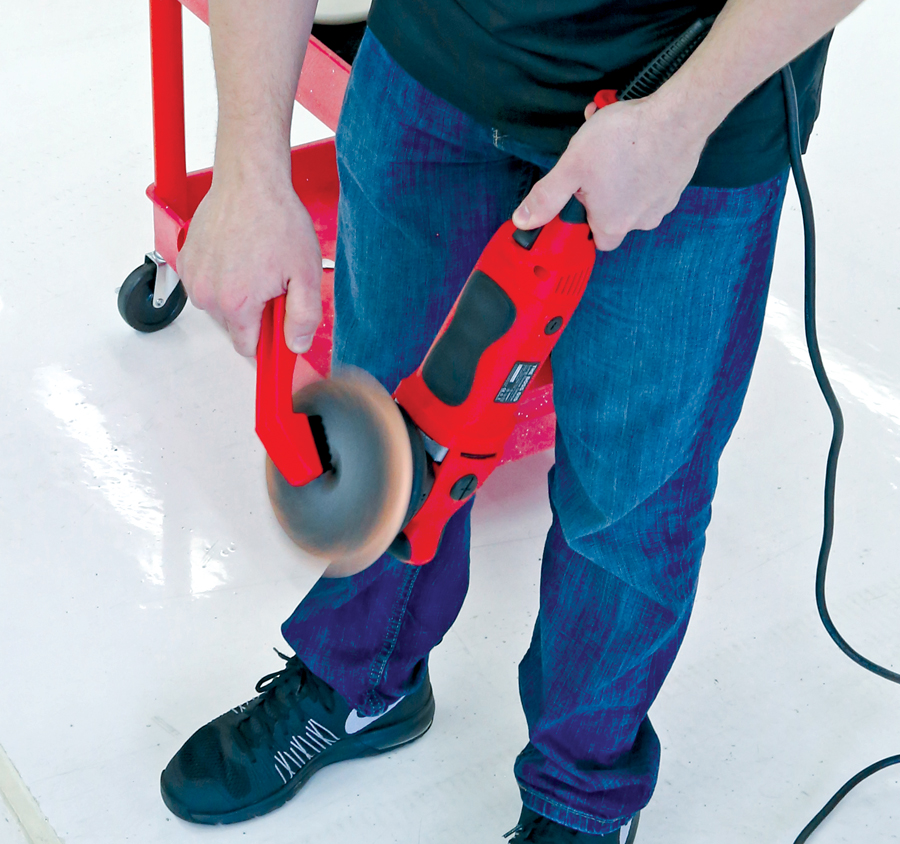
Note the color transfer the orange pad got while working our small section. Pads do load up with paint and polish, which can cause heat and will stop a pad from doing its job. Griot’s sells a special orbital pad cleaning brush specifically for this problem (P/N 15548). Simply run the tool against the brush to clean it. Consider you’ll need two pads per process per car — a big car like our Buick may require three or four pads per process. -
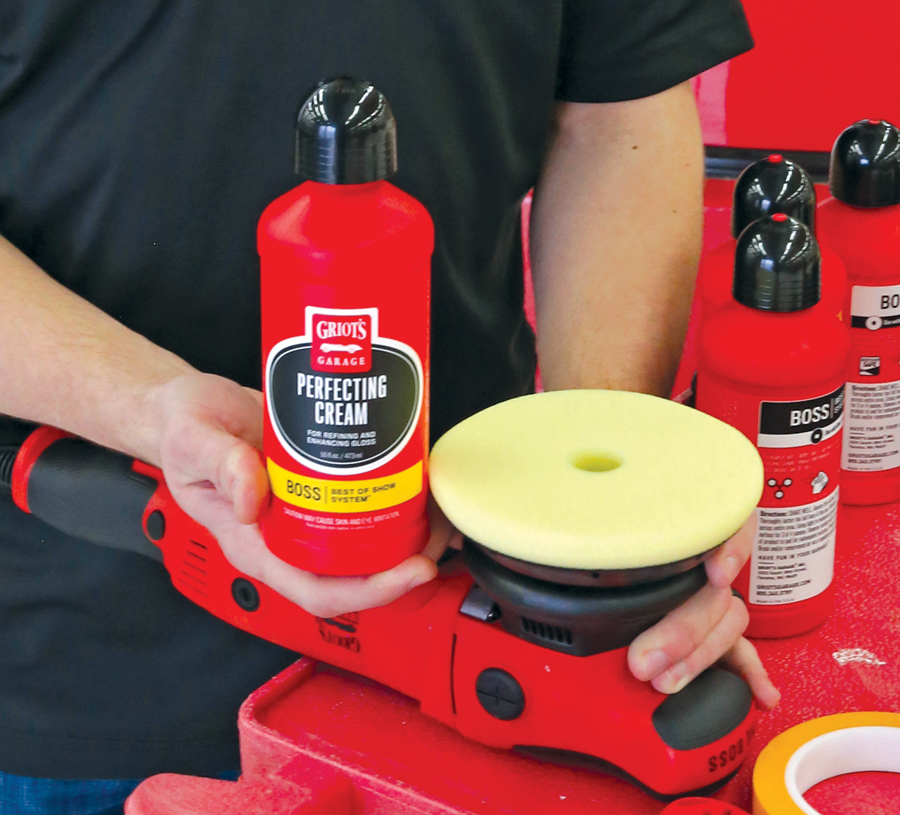
Now it’s time for Griot’s Perfecting Cream (P/N B130P) and a BOSS Perfecting Foam Pad (P/N B130F5). We’re stepping up to an even more fine abrasive here, which further refines the paint, removing any haze and improving depth and clarity. -
We worked the same area, this time using no pressure on the tool as it spun the pad. The idea here is to float the pad across the surface, letting it do the work for you. Again, aim for only a couple of passes here. Note how much material it removed compared to the harsher pad and compound used in the last step. 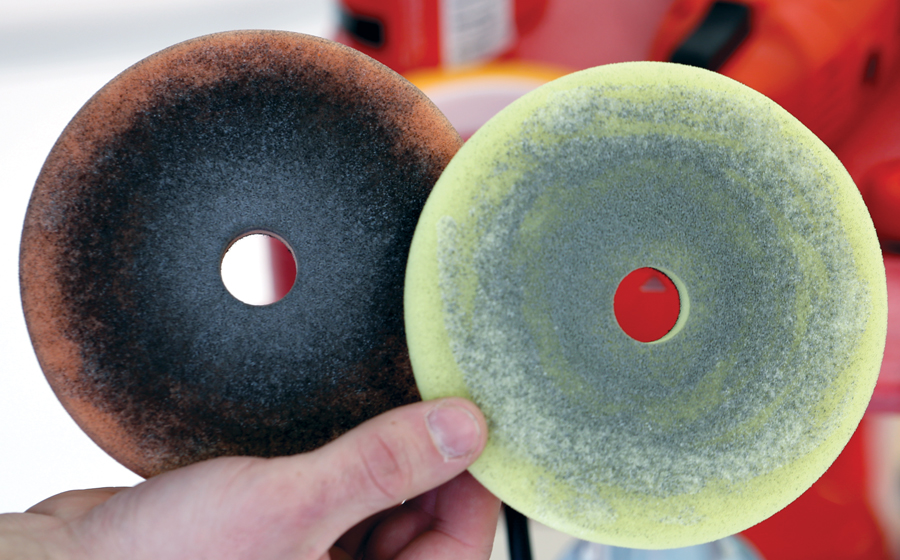
-
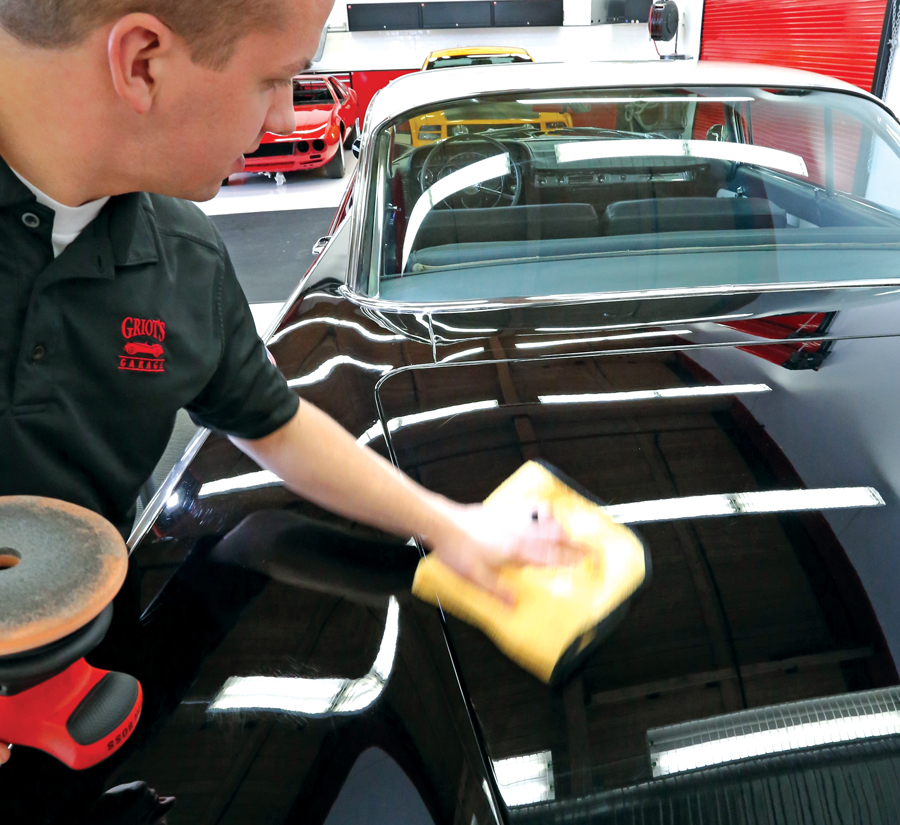
Wipe down your surface to remove the Perfecting Cream and you should see a vastly improved surface over what you started with — but the job’s not yet done. -
Decide on a process before moving on to complete the car. If this light work did the trick, repeat this around the car, doing less in areas where you noted thinner paint (edges, seams, etc.). You don’t want to polish an entire car and then realize you have to do it all over again with a different process. -
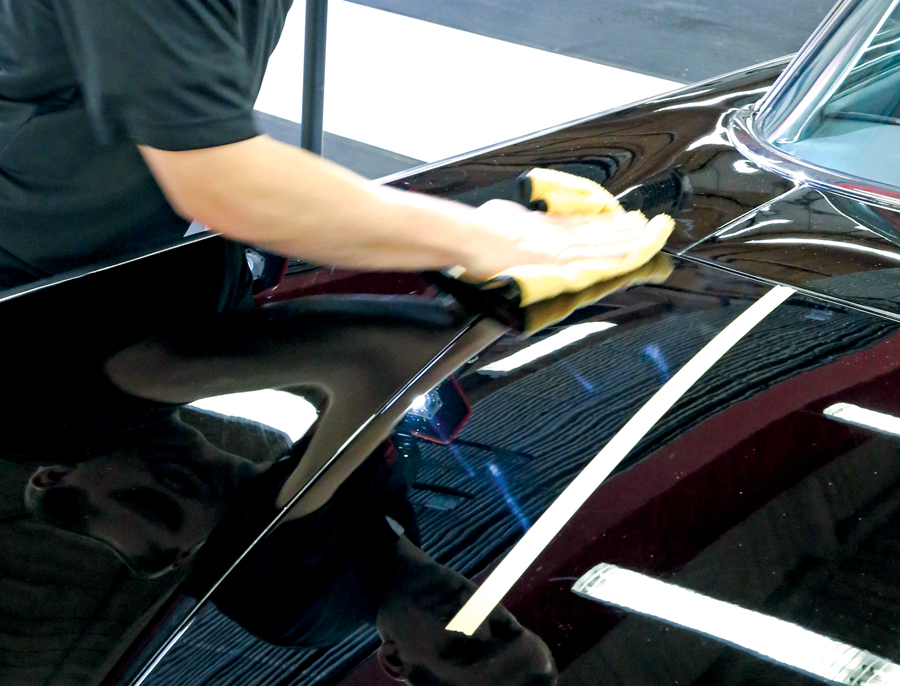
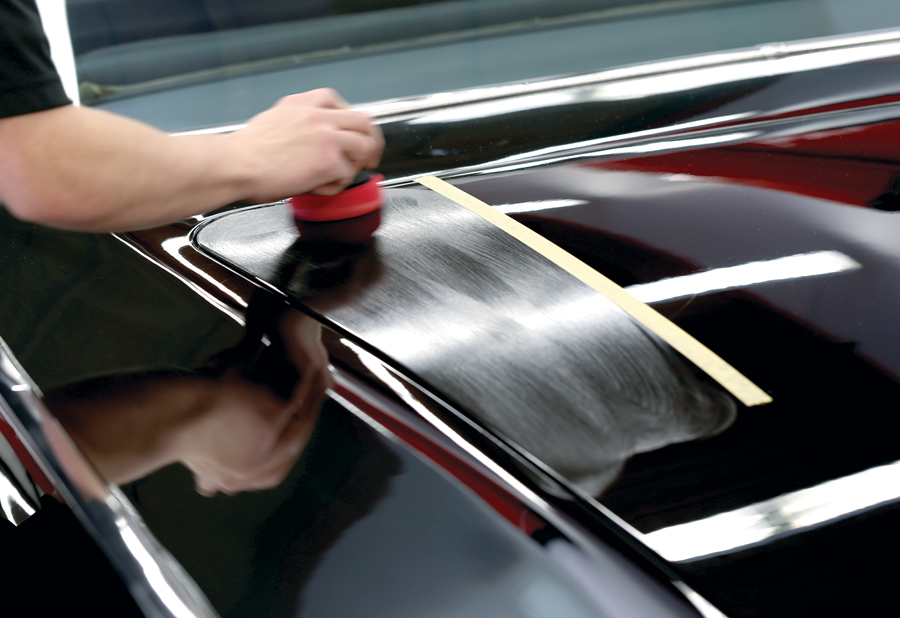
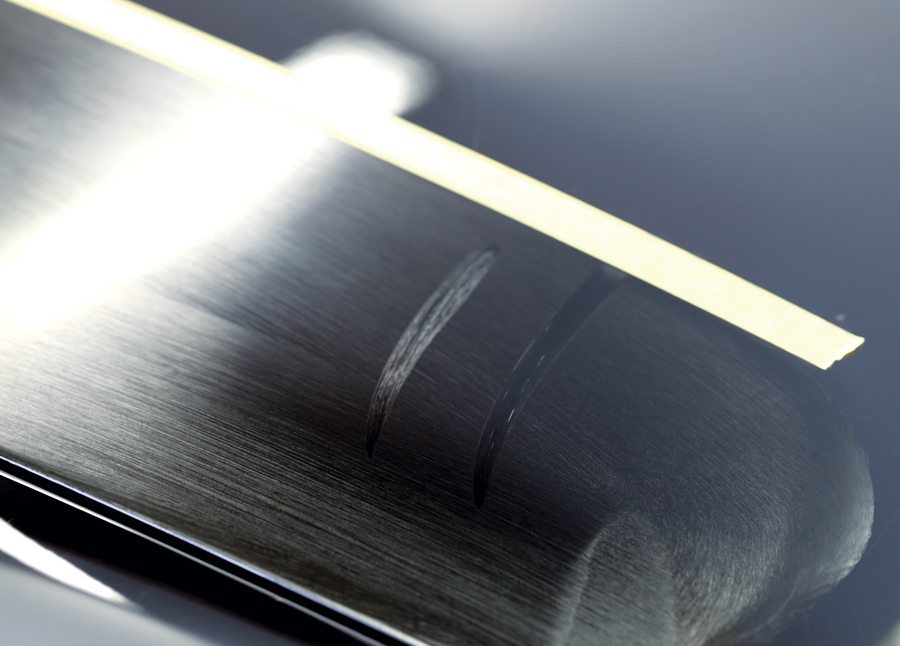
How much improvement can you expect? We used a tape line to show the contrast in before and after. You be the judge. -

Now to seal in the results. Here we used Griot’s Best of Show Paste Wax (P/N 10871), which is great for maximum color, depth and clarity of paint finish thanks to a high concentration of carnauba wax. -
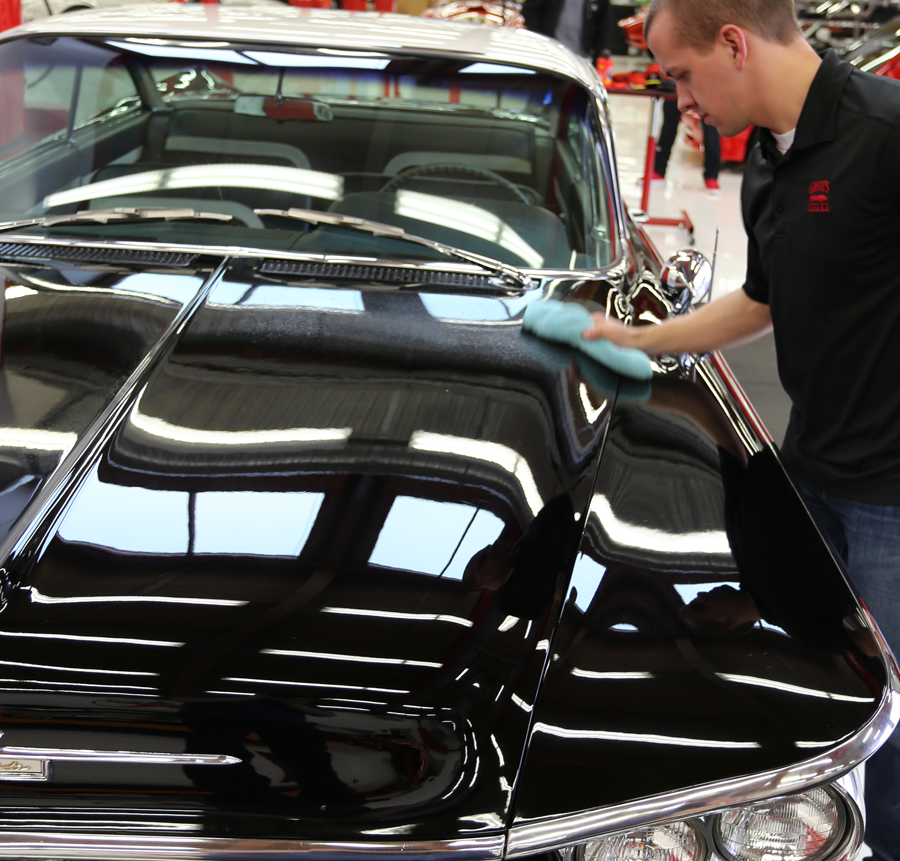
Using a foam applicator, spread the wax over the area you worked to seal the clean surface, and let it set up for 20 to 30 minutes before removal. -
Use the finger-swipe method to check to see if your wax has set. If you can mark it up without any real resistance, you need to wait longer before removal. Once it’s set, buff it off with a clean microfiber towel. -
Here’s our final result — note the tape line again. The black section we worked (on the left) now has much more clarity and depth, and with the wax protecting it, it should stay looking great for a long time. Not bad for original paint!